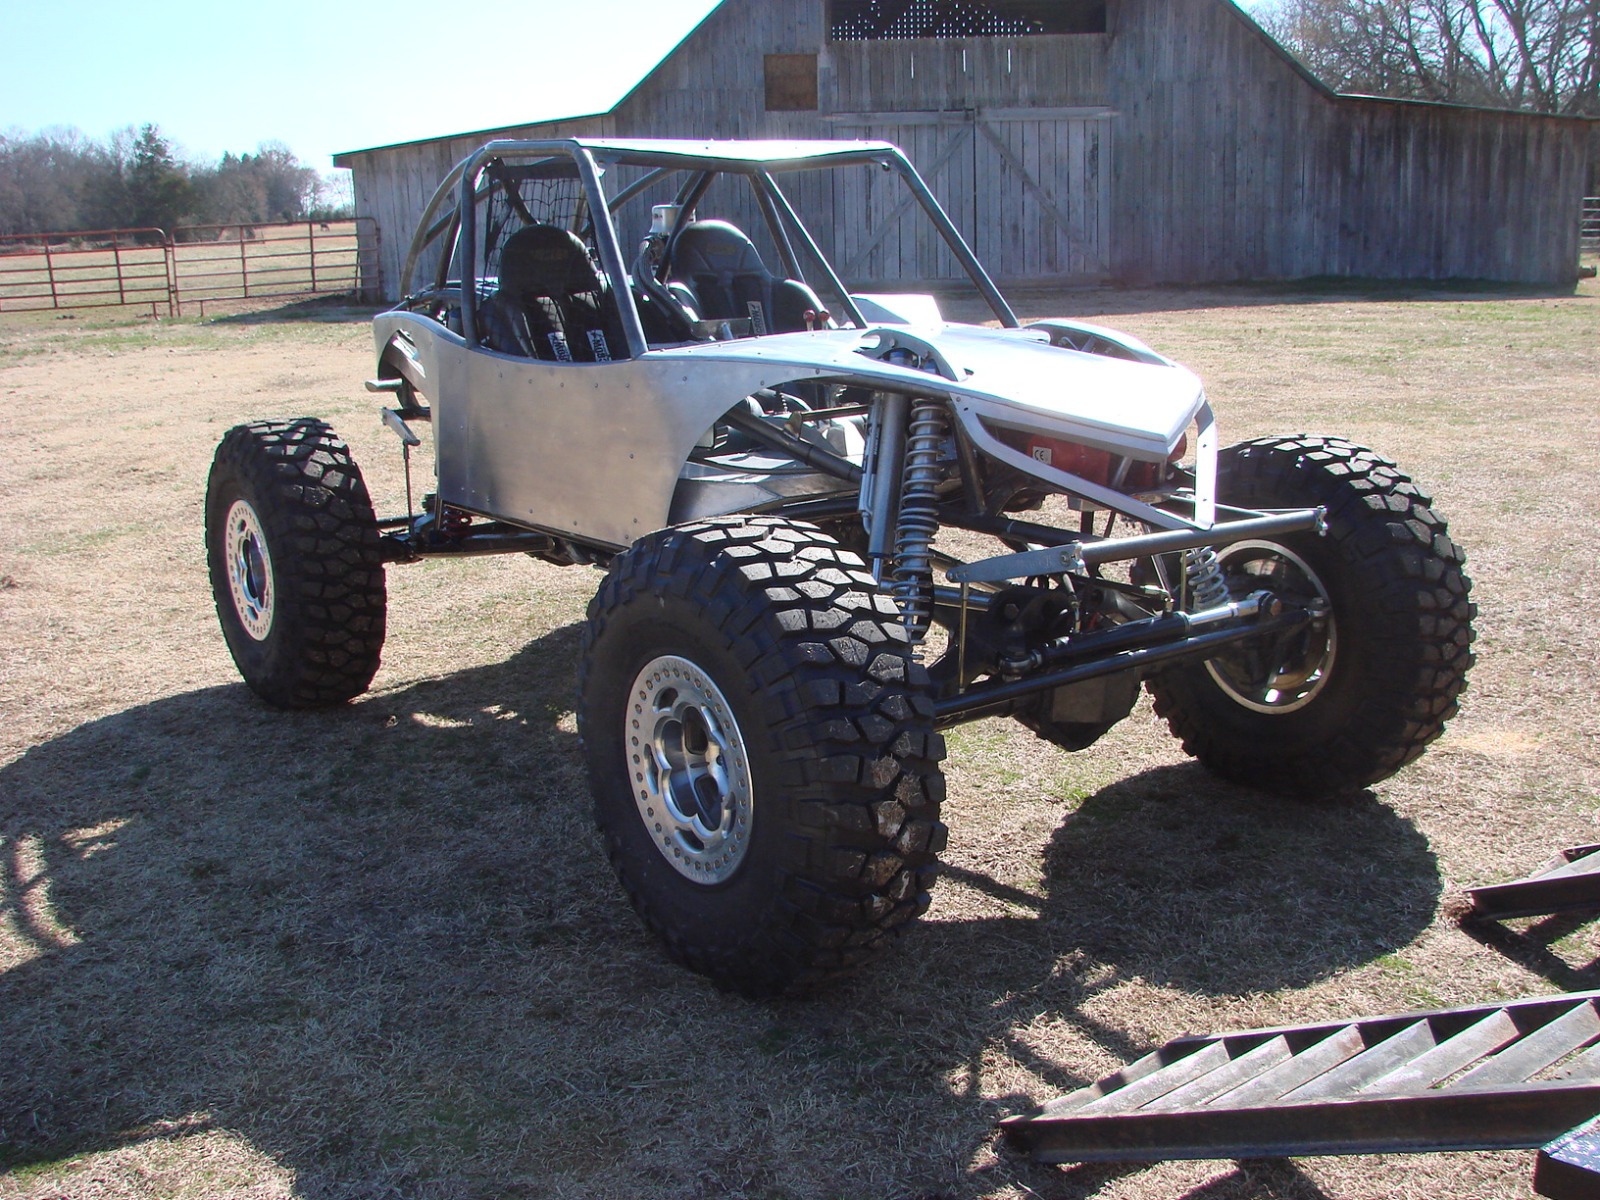
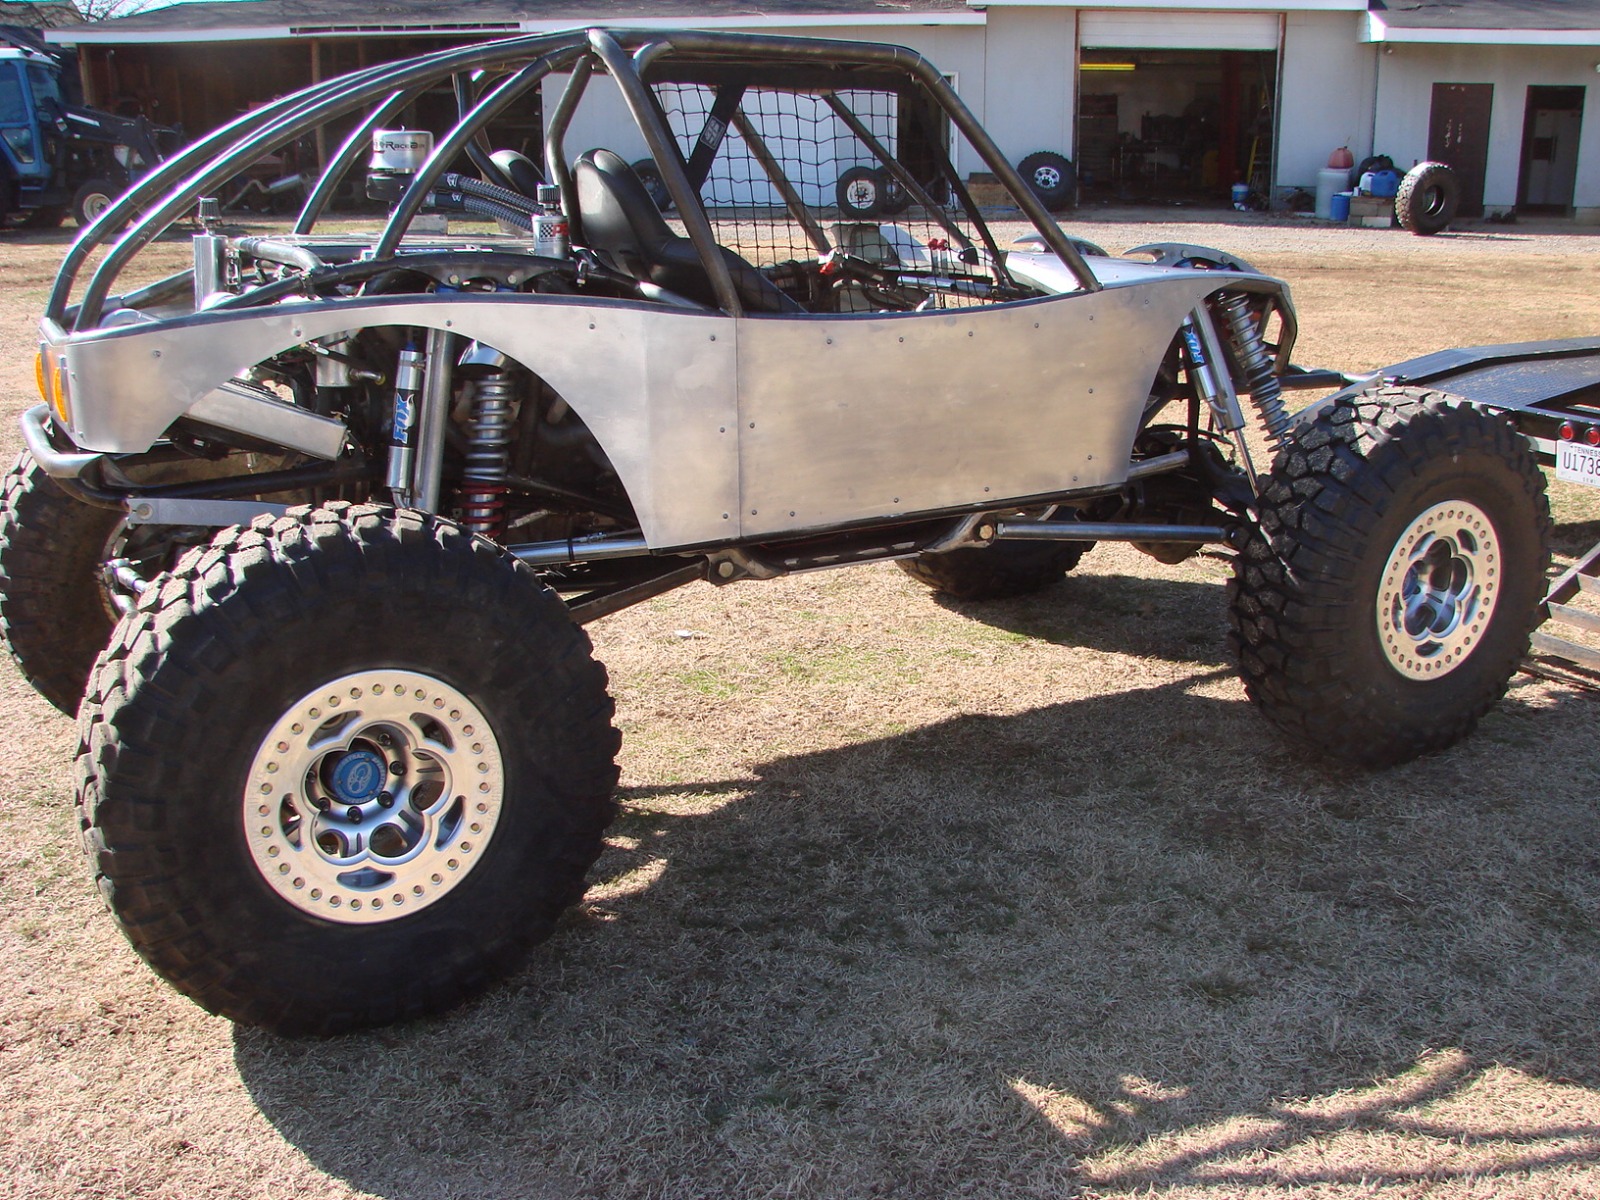
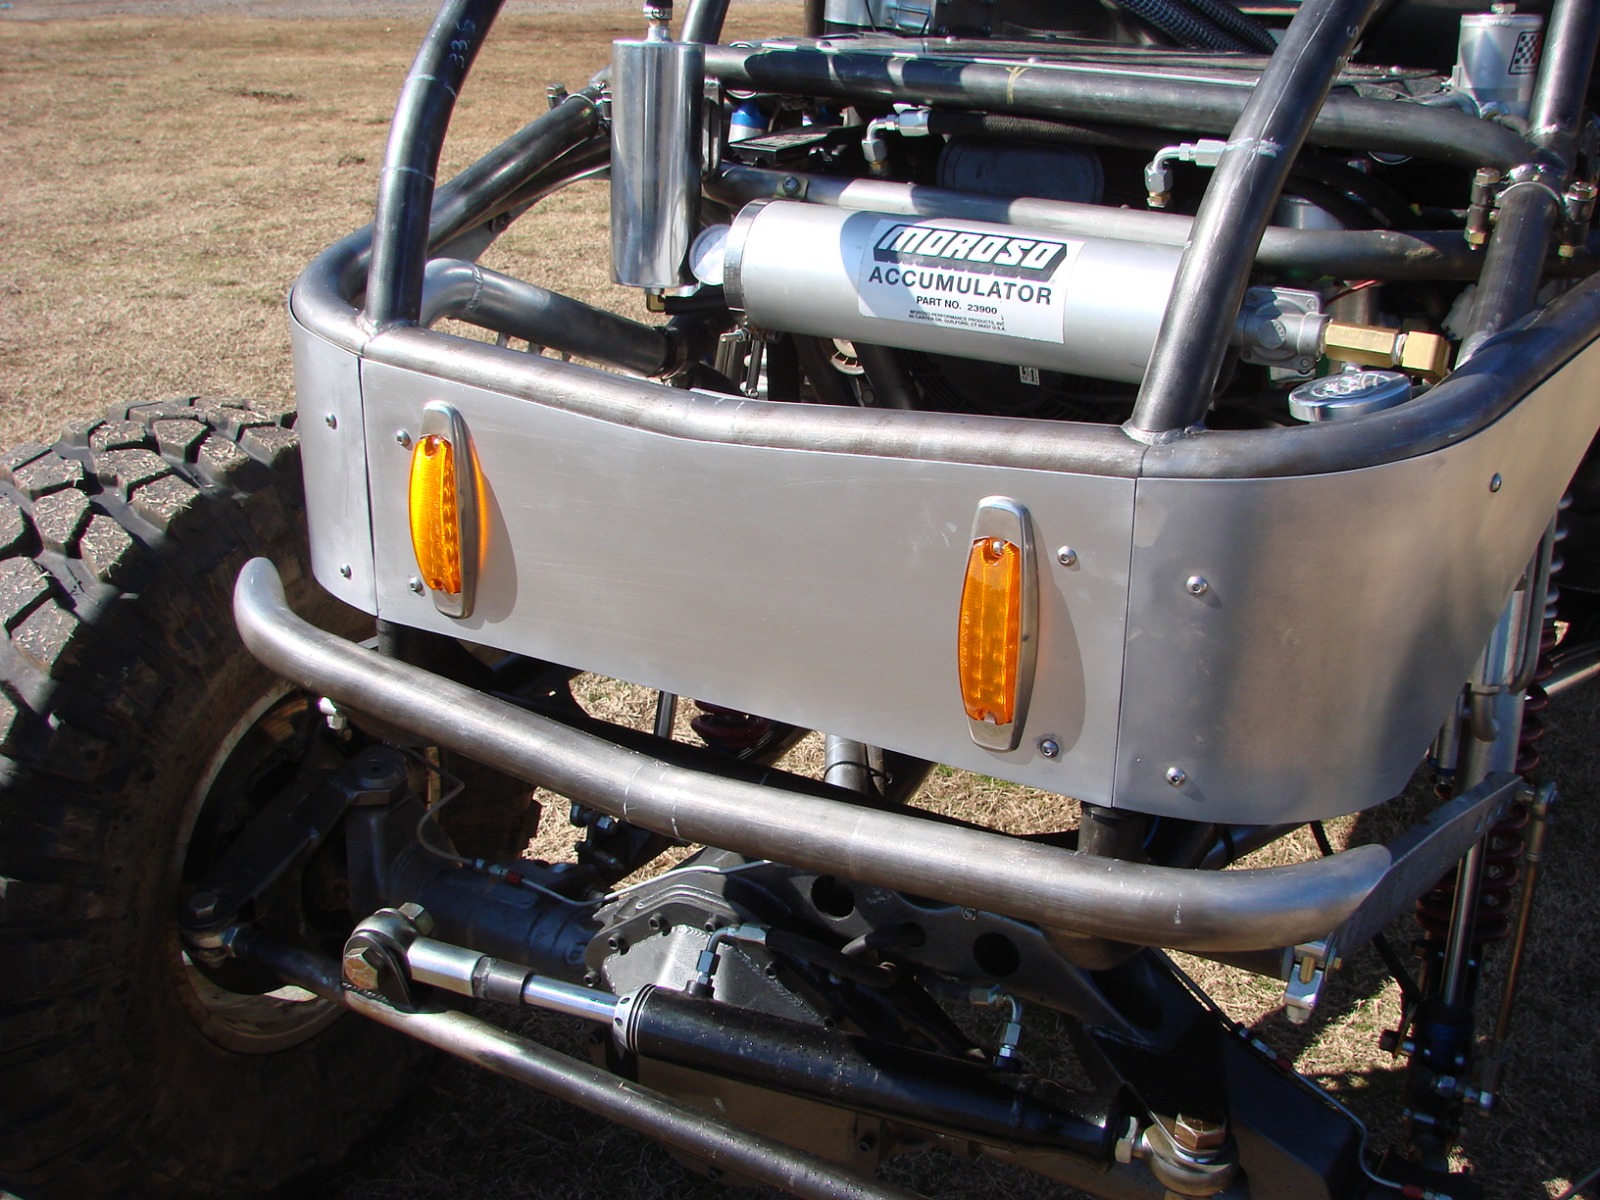
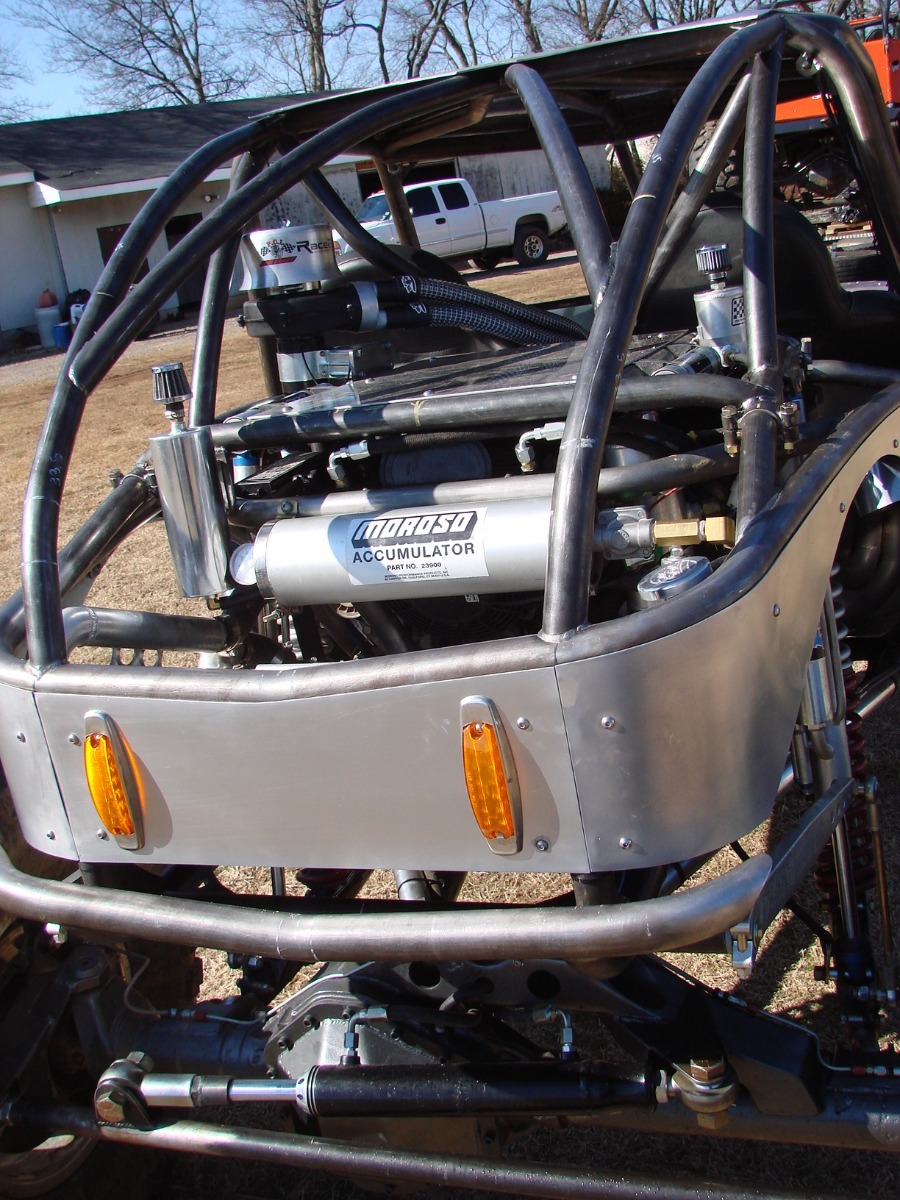
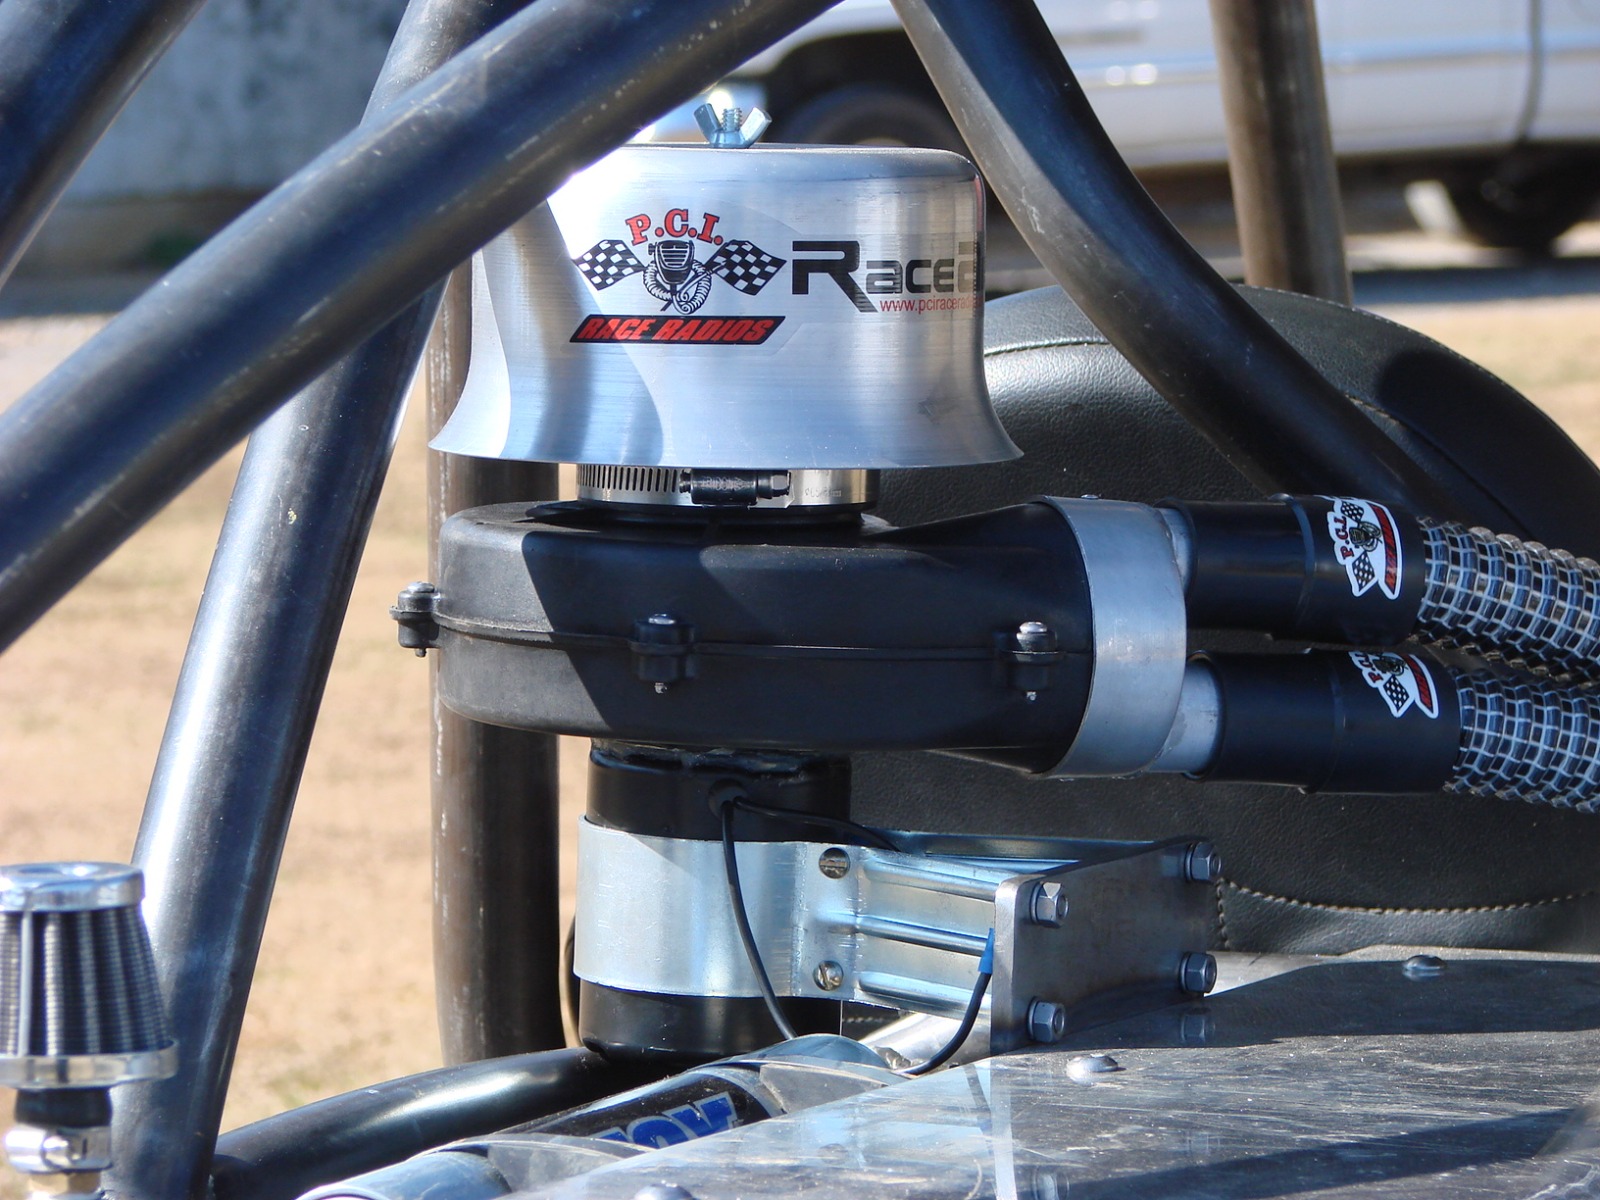
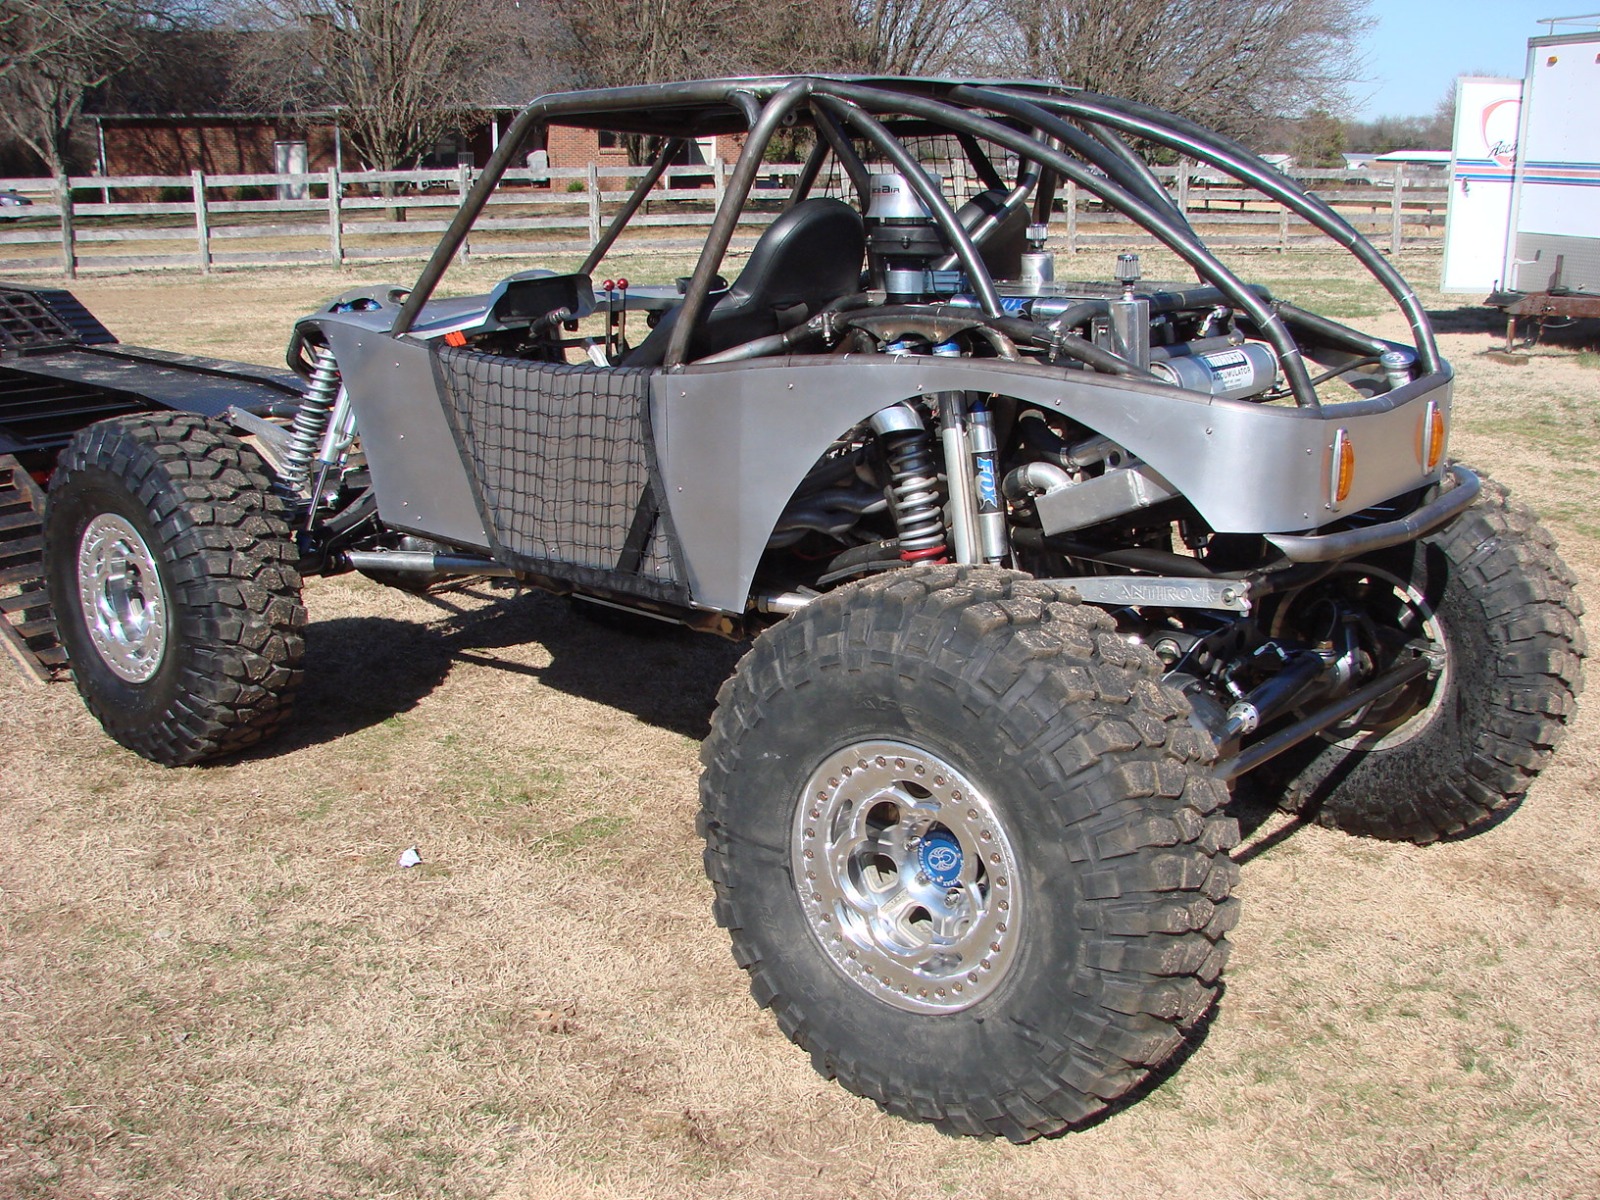
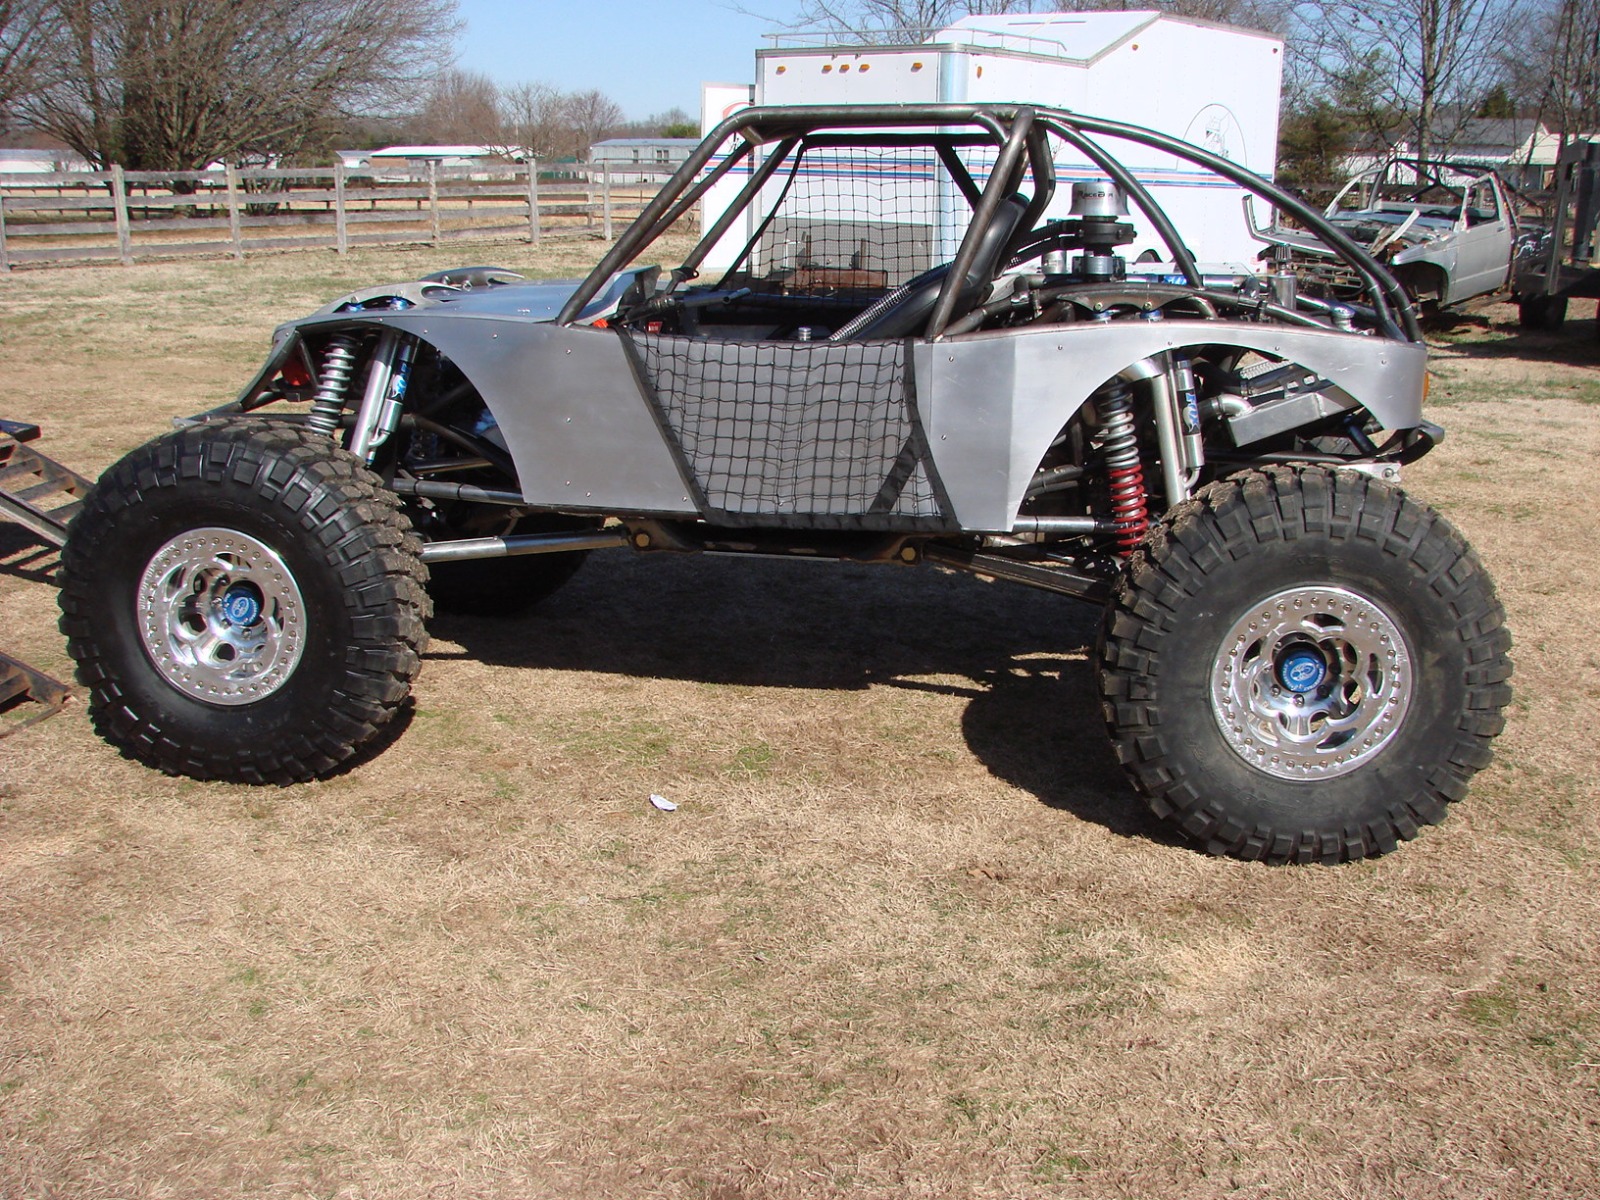
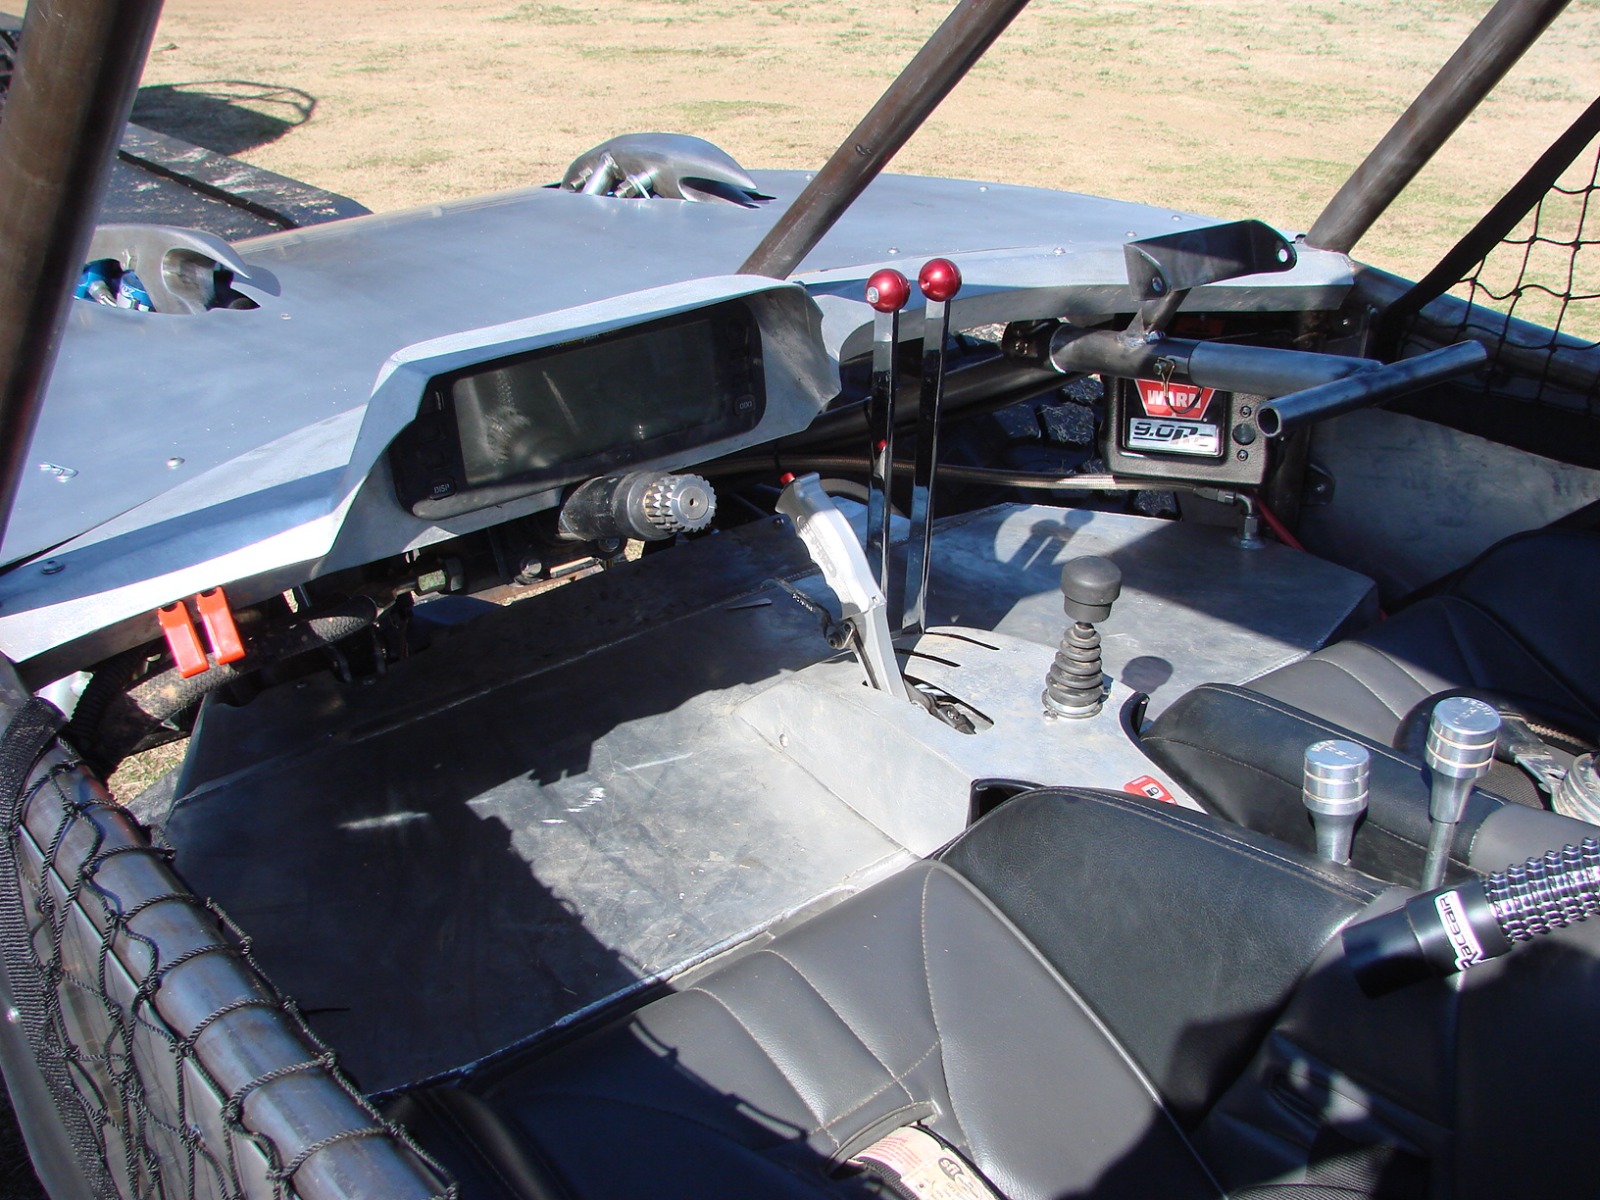
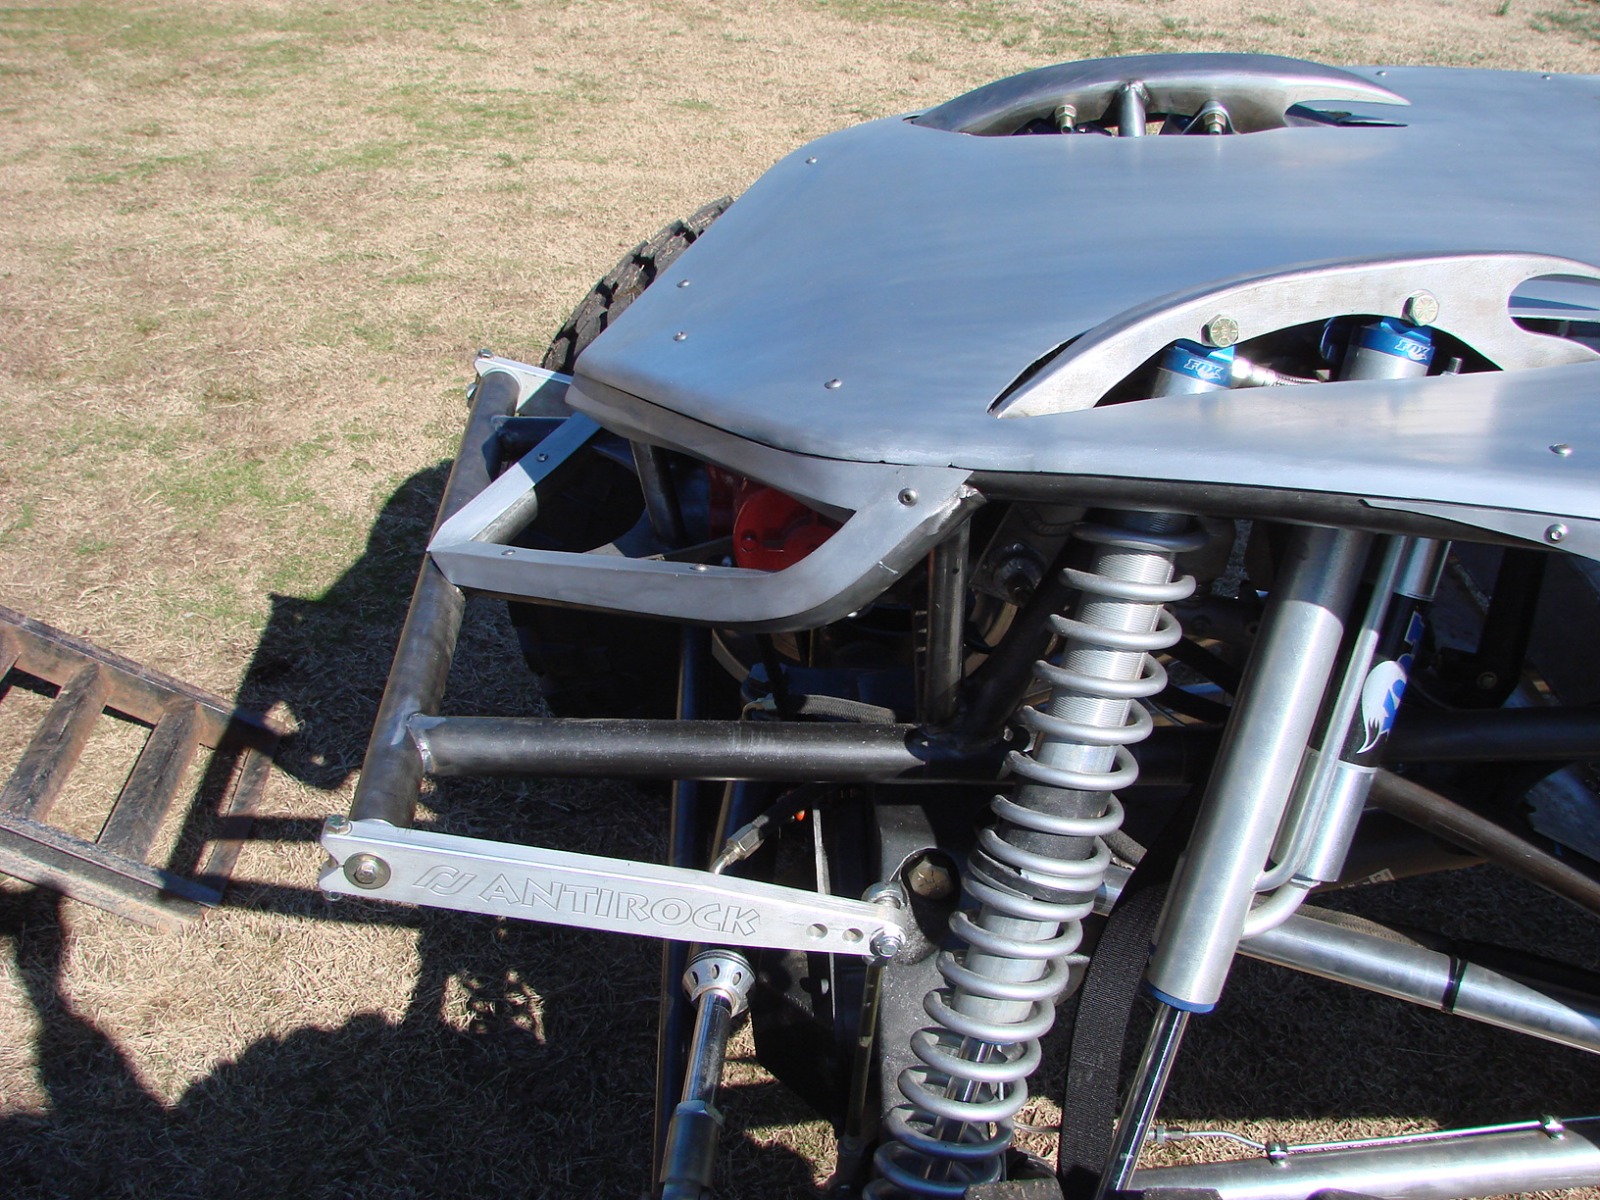
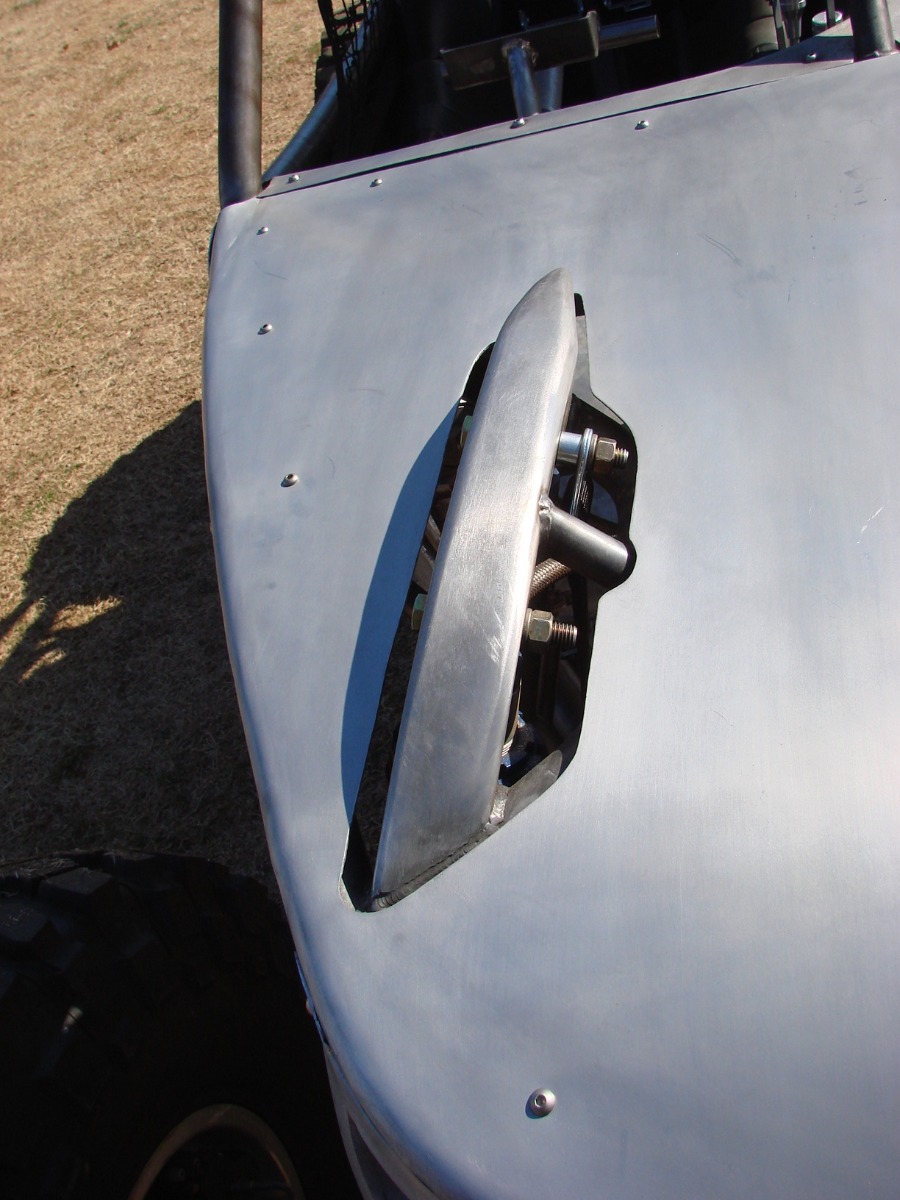
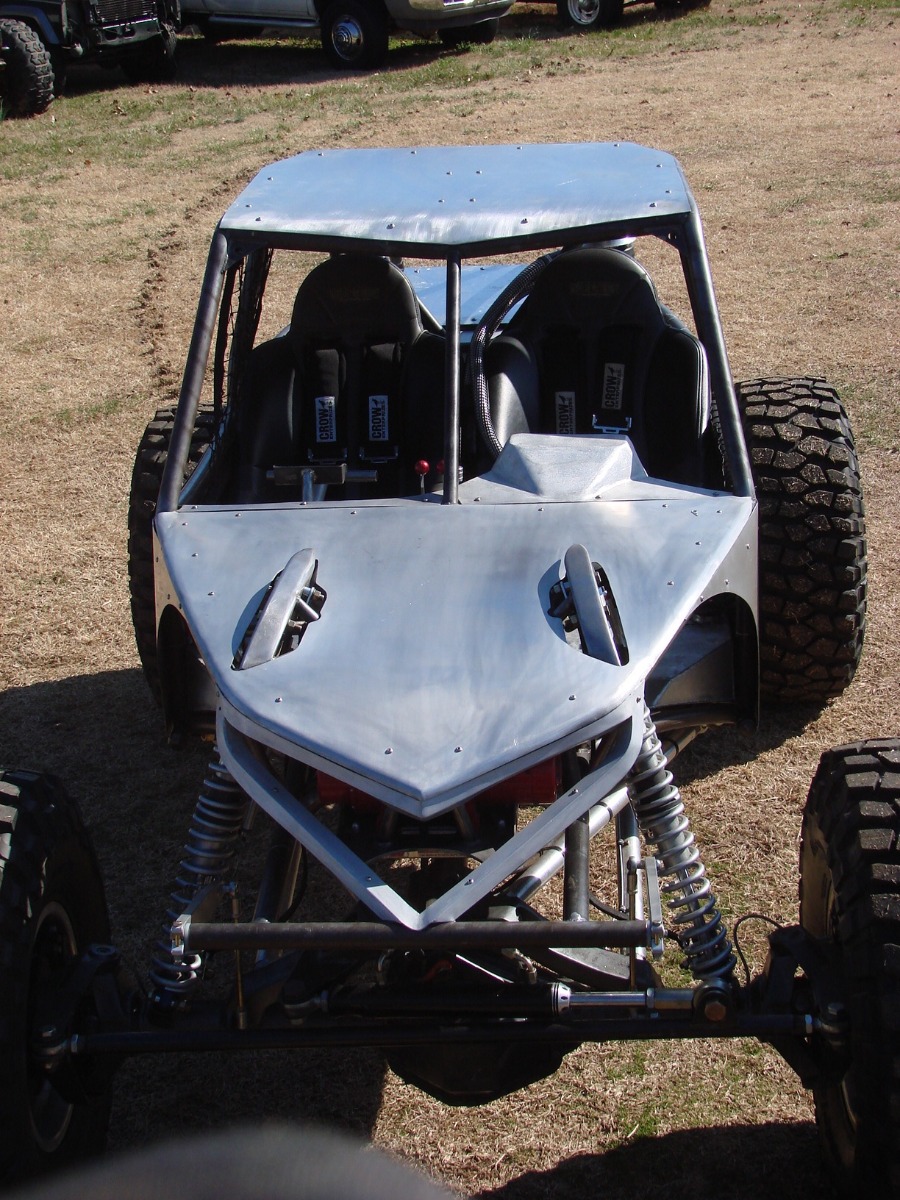
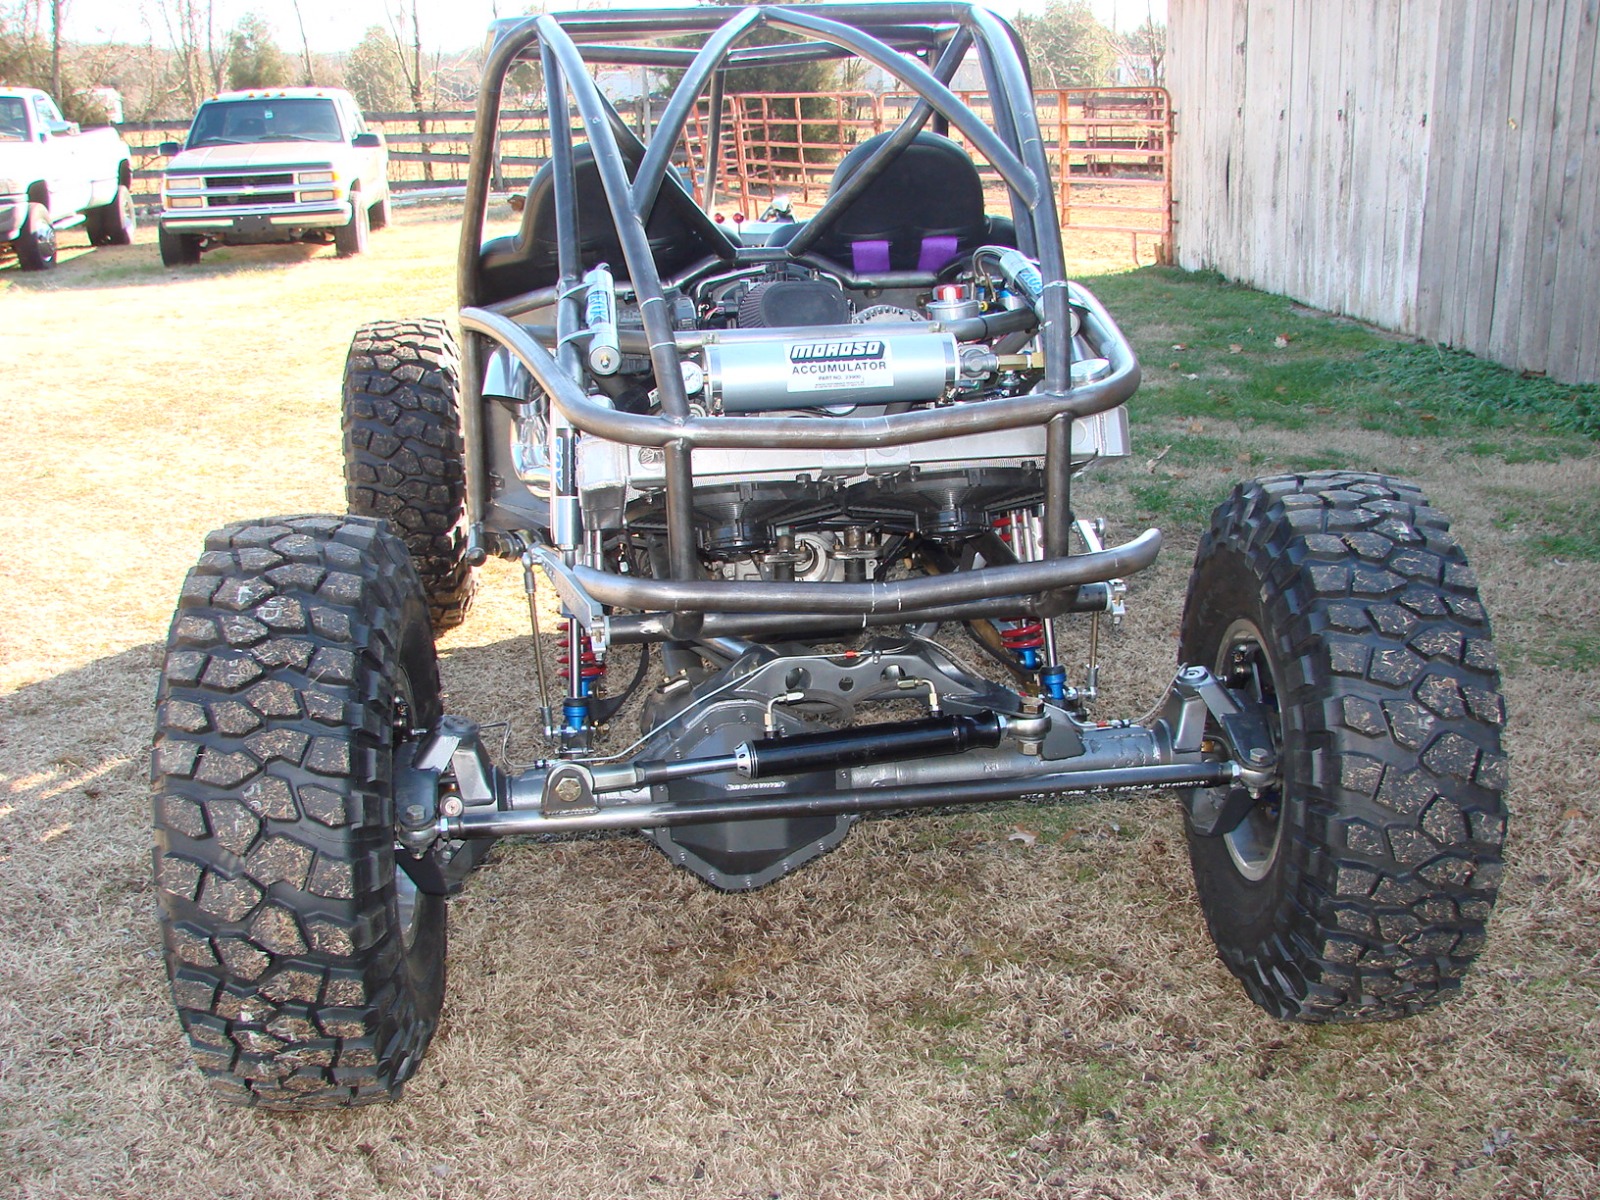
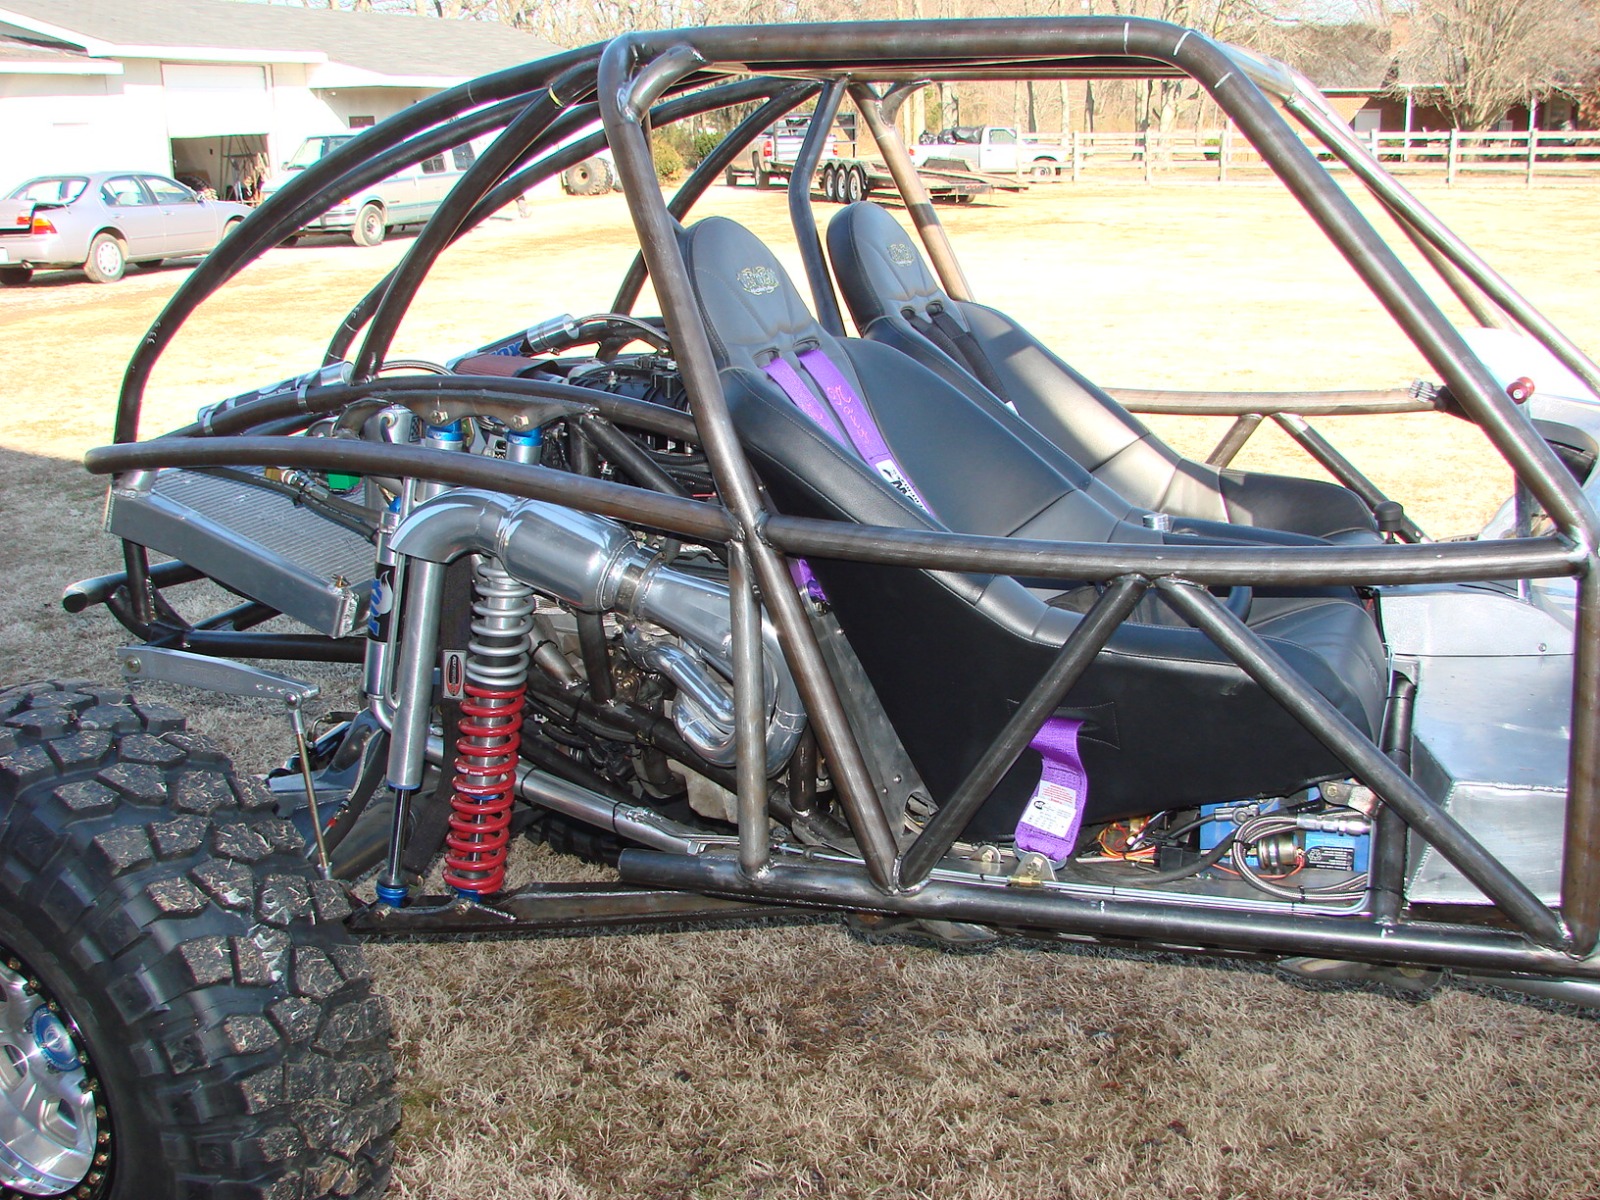
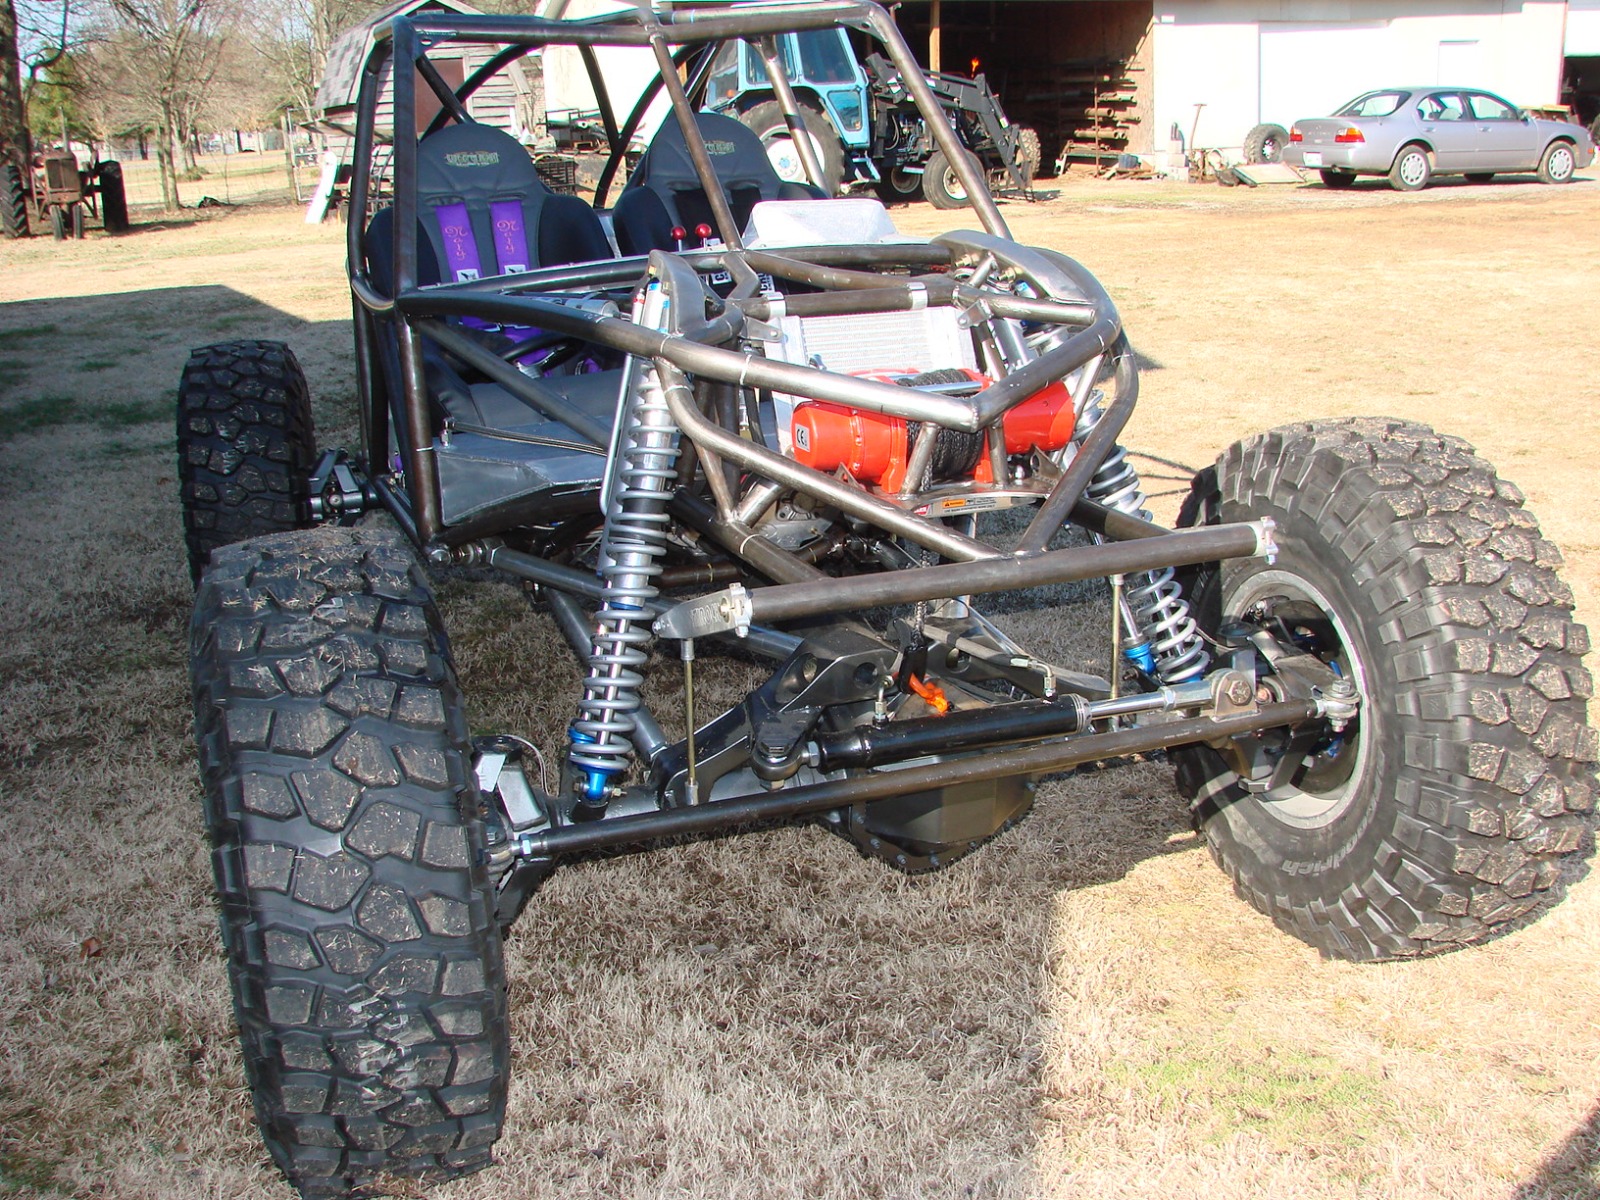
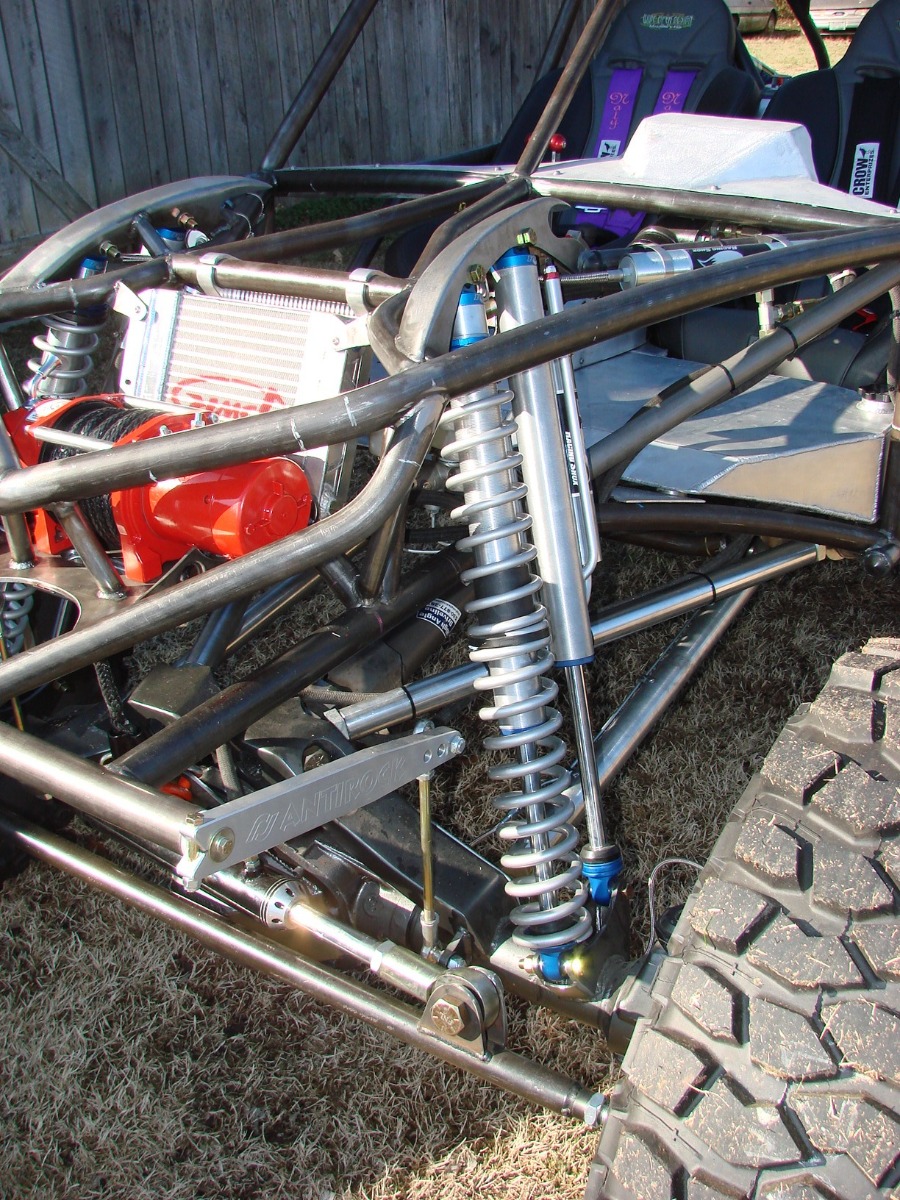
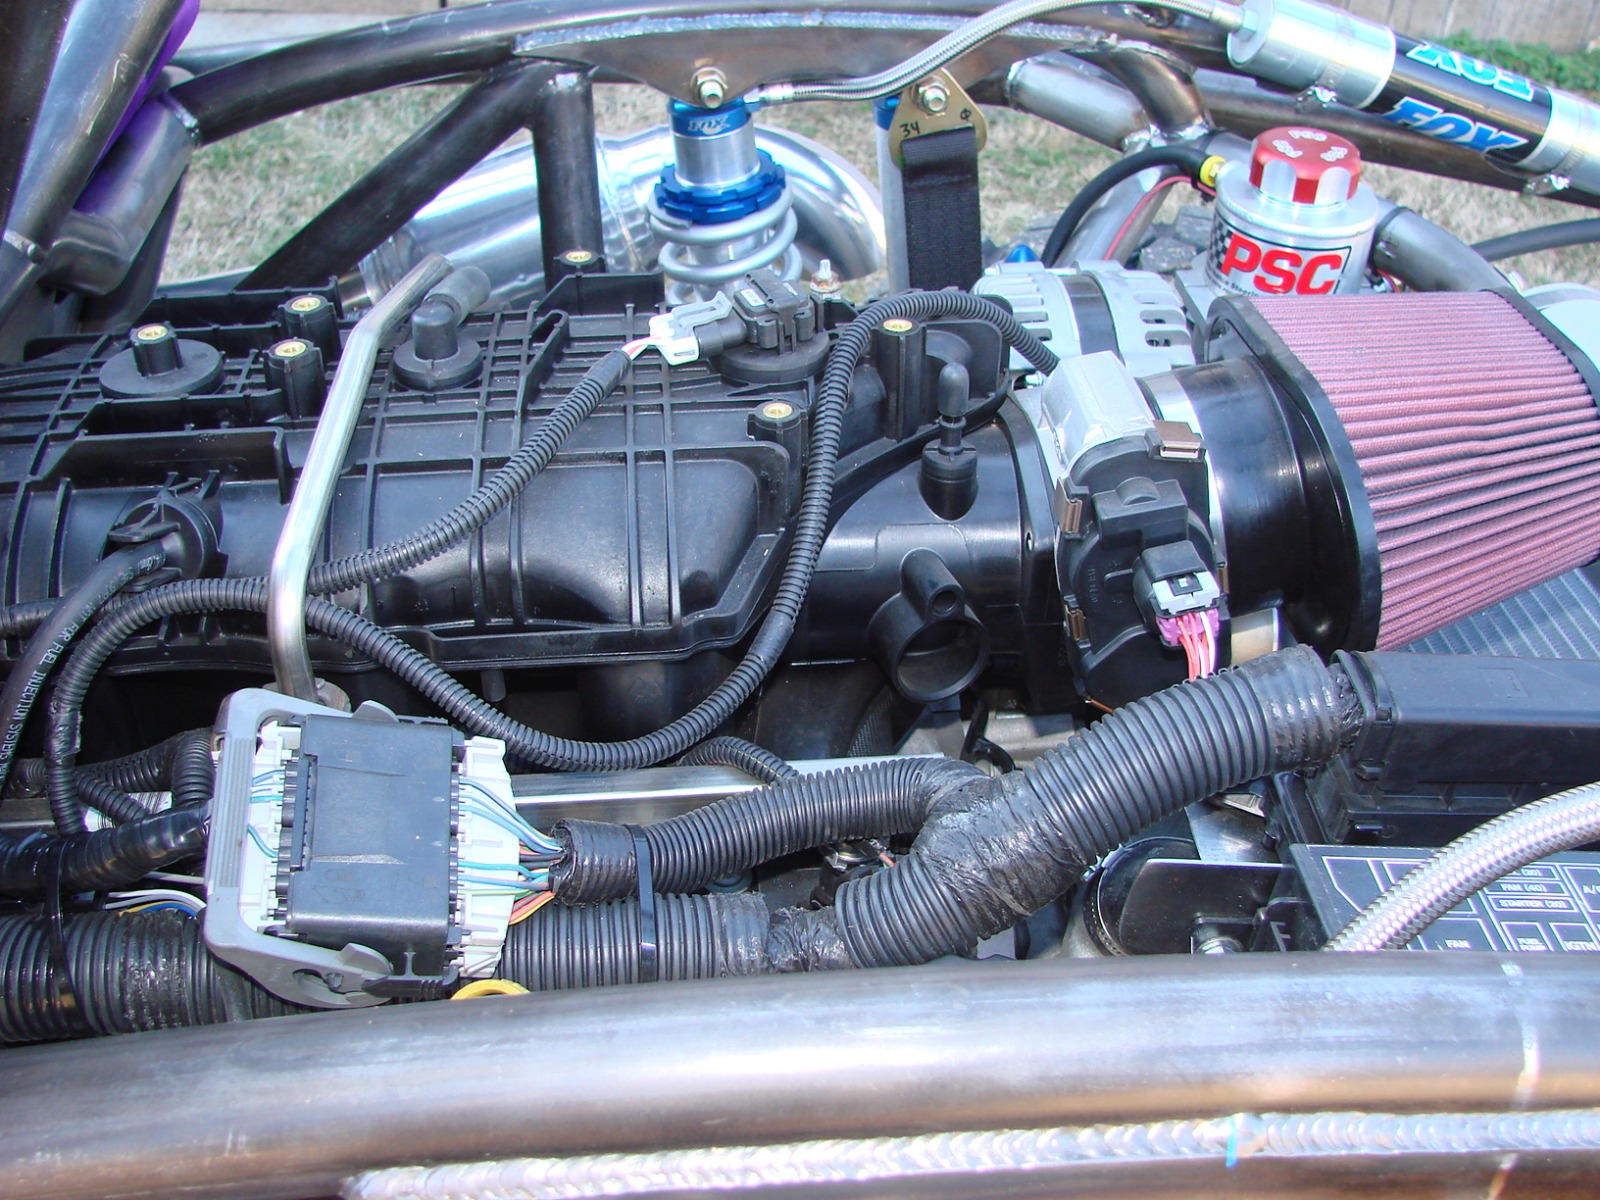
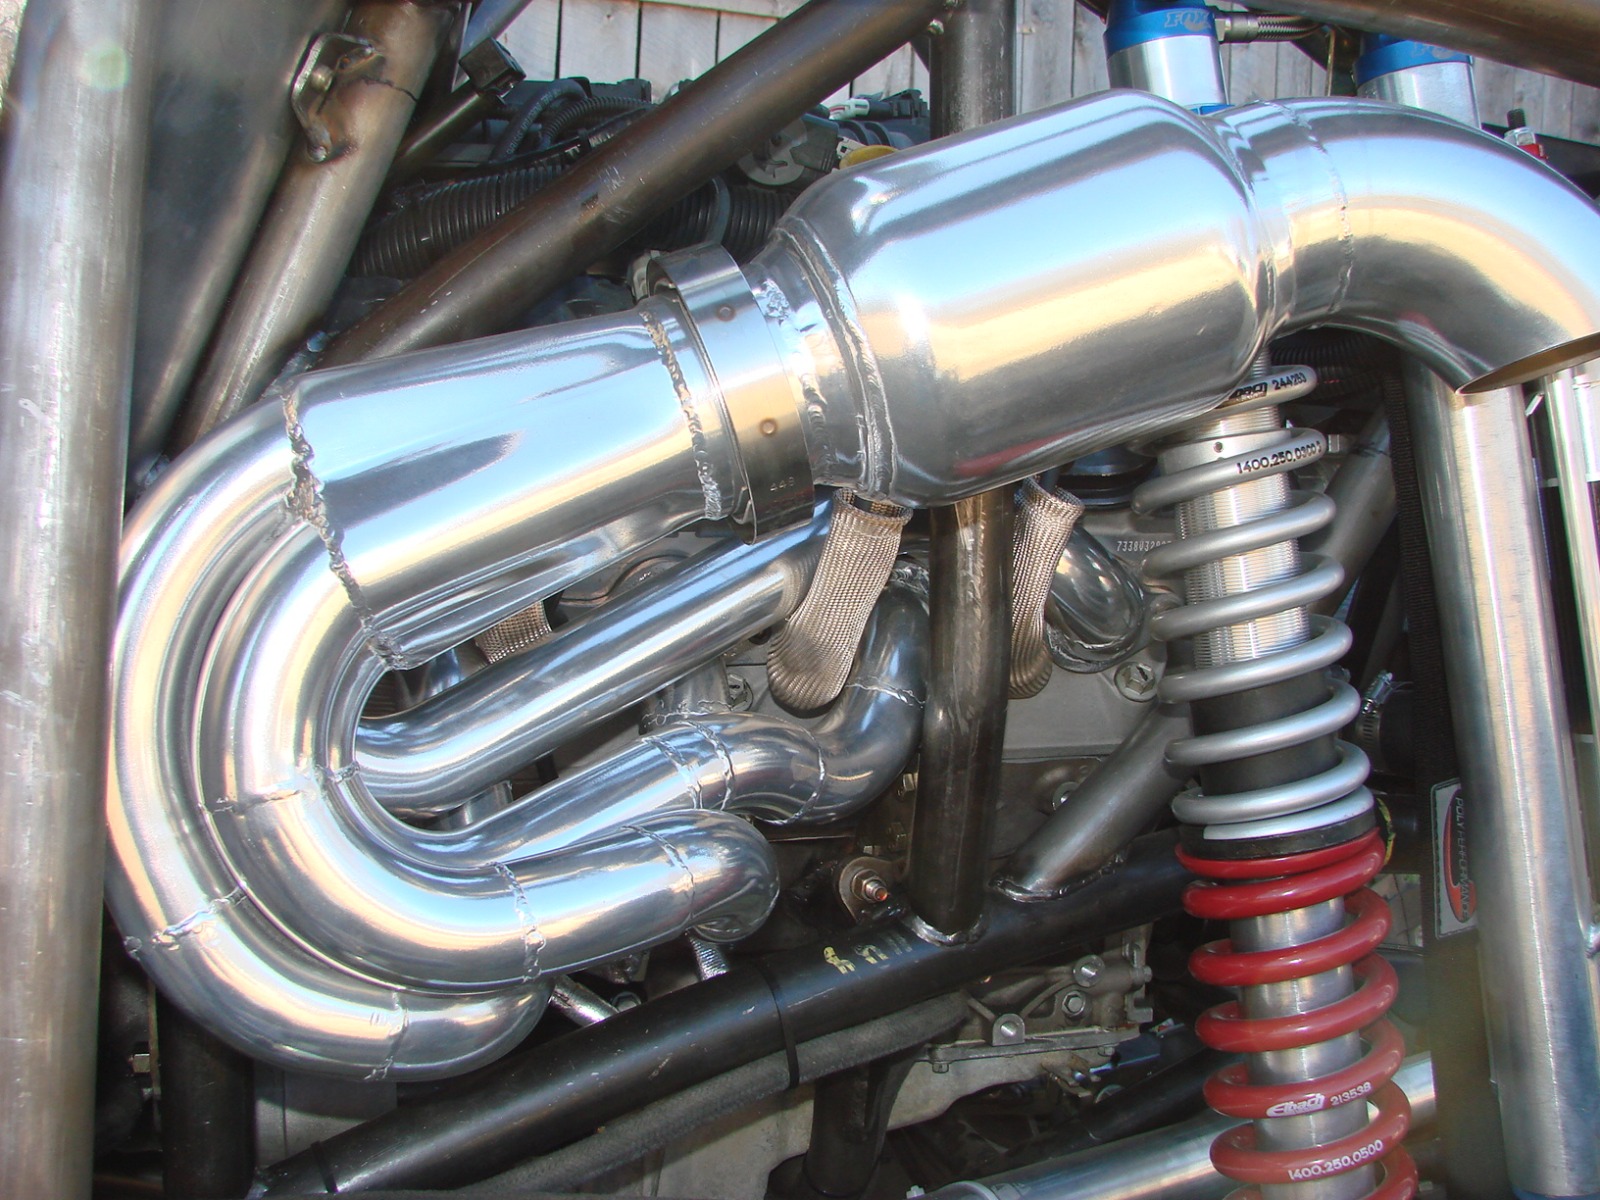
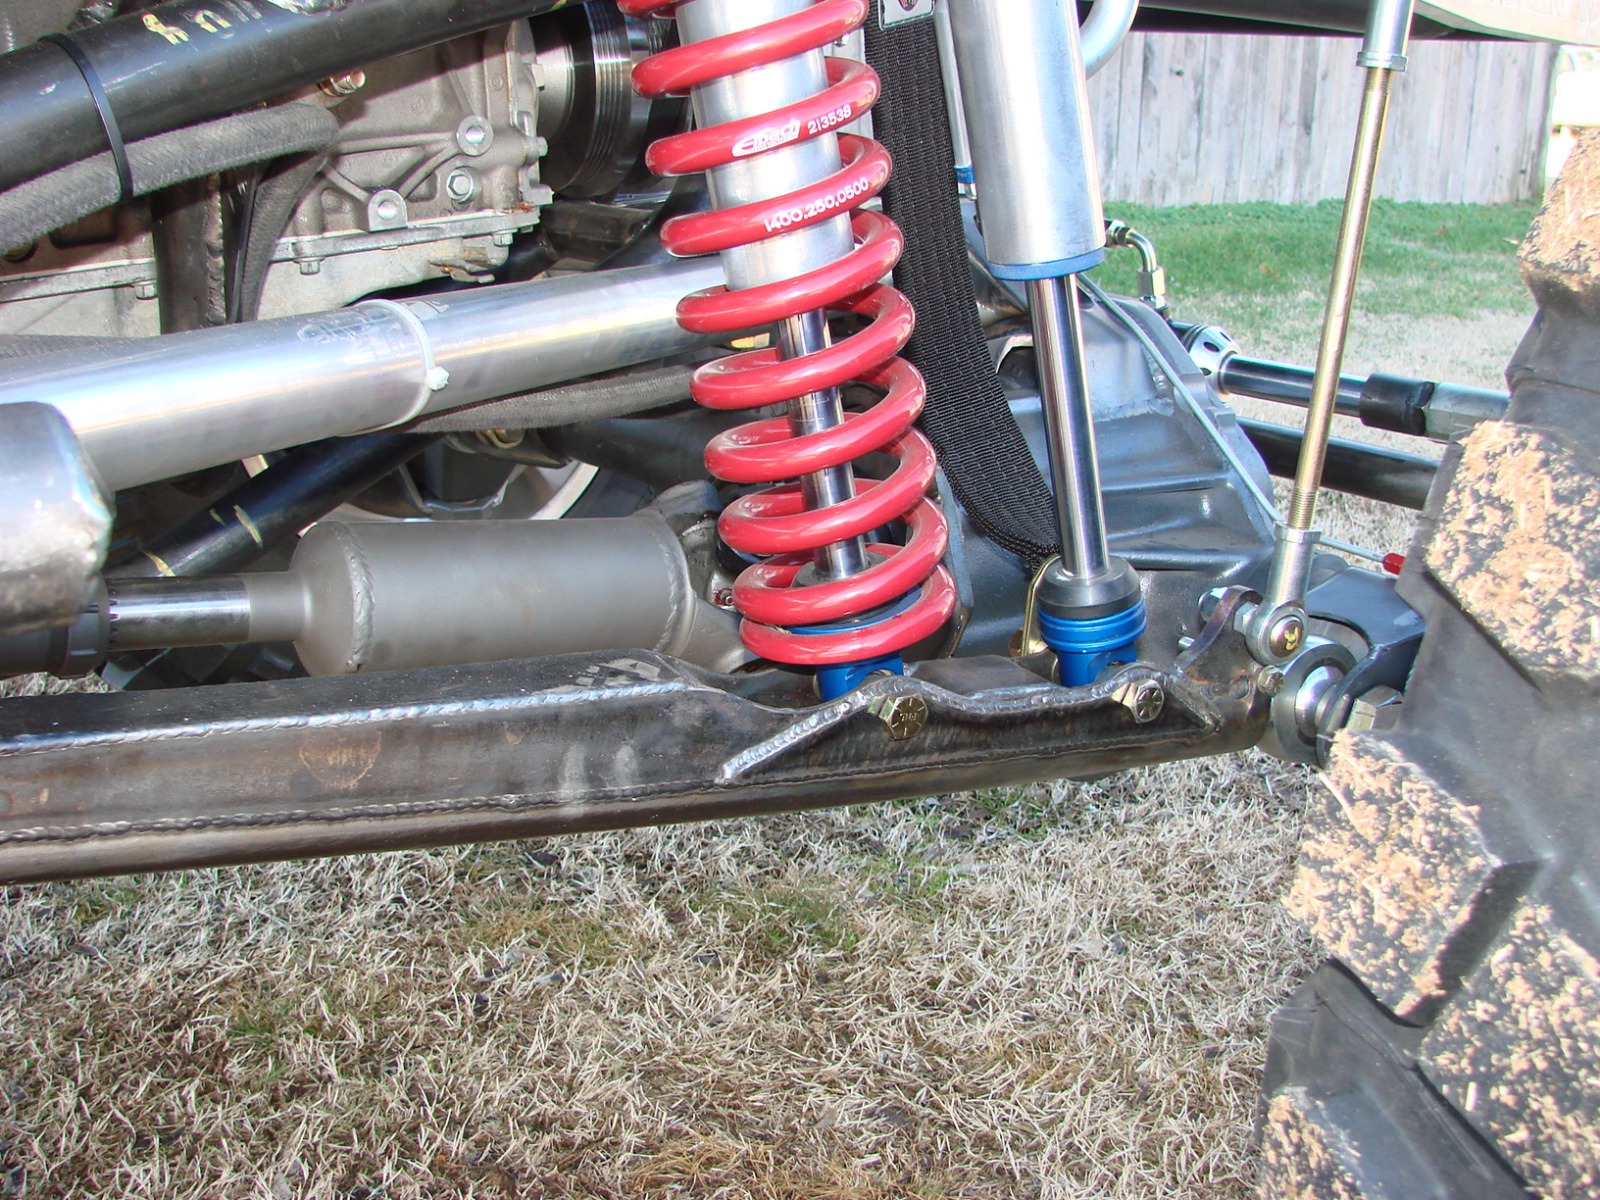
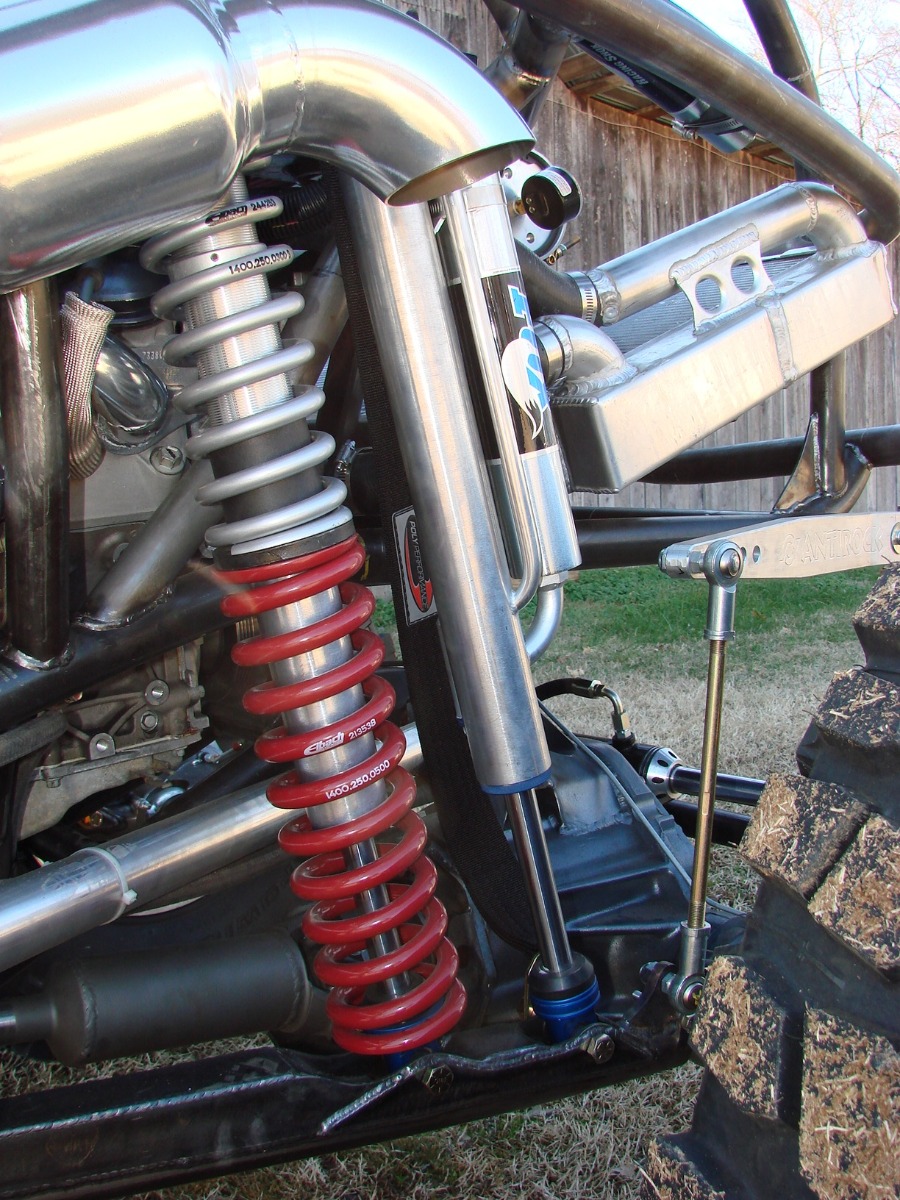
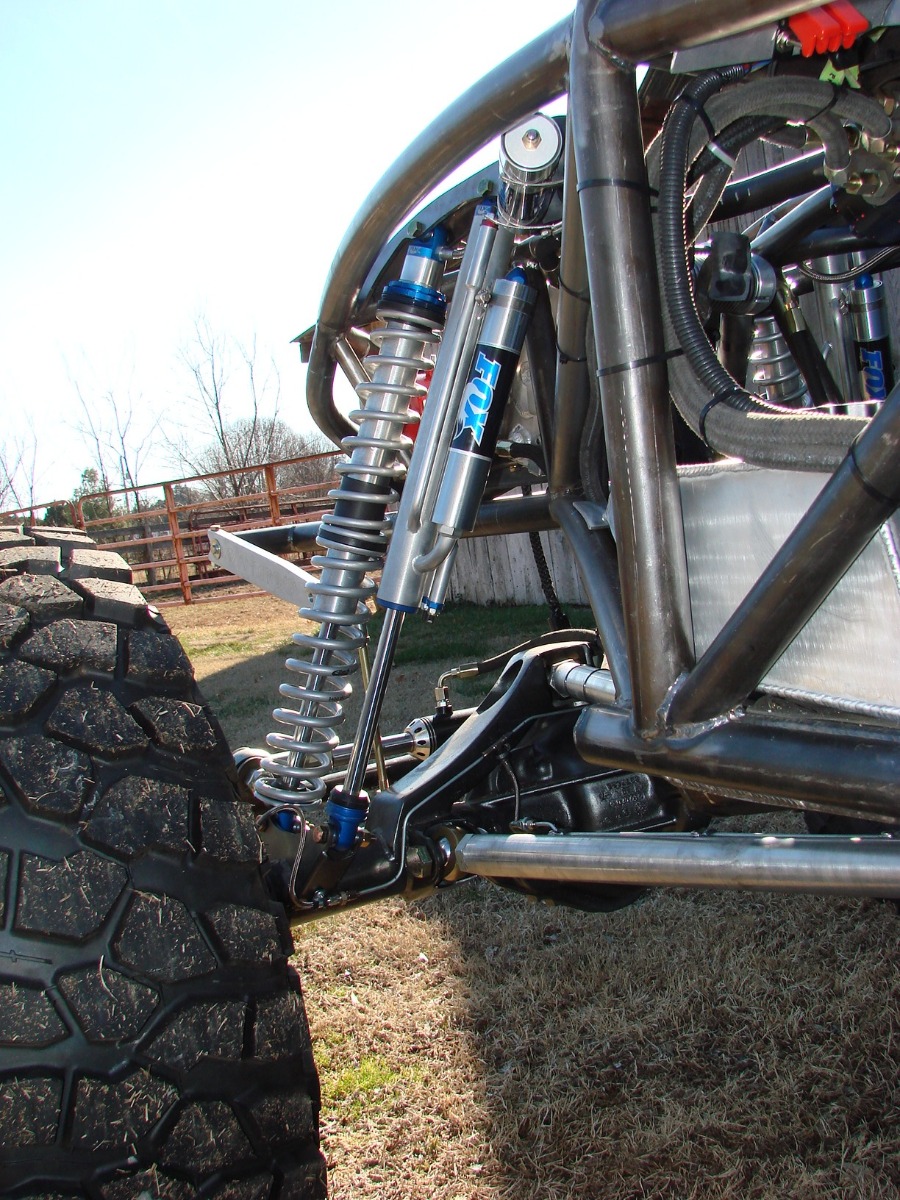
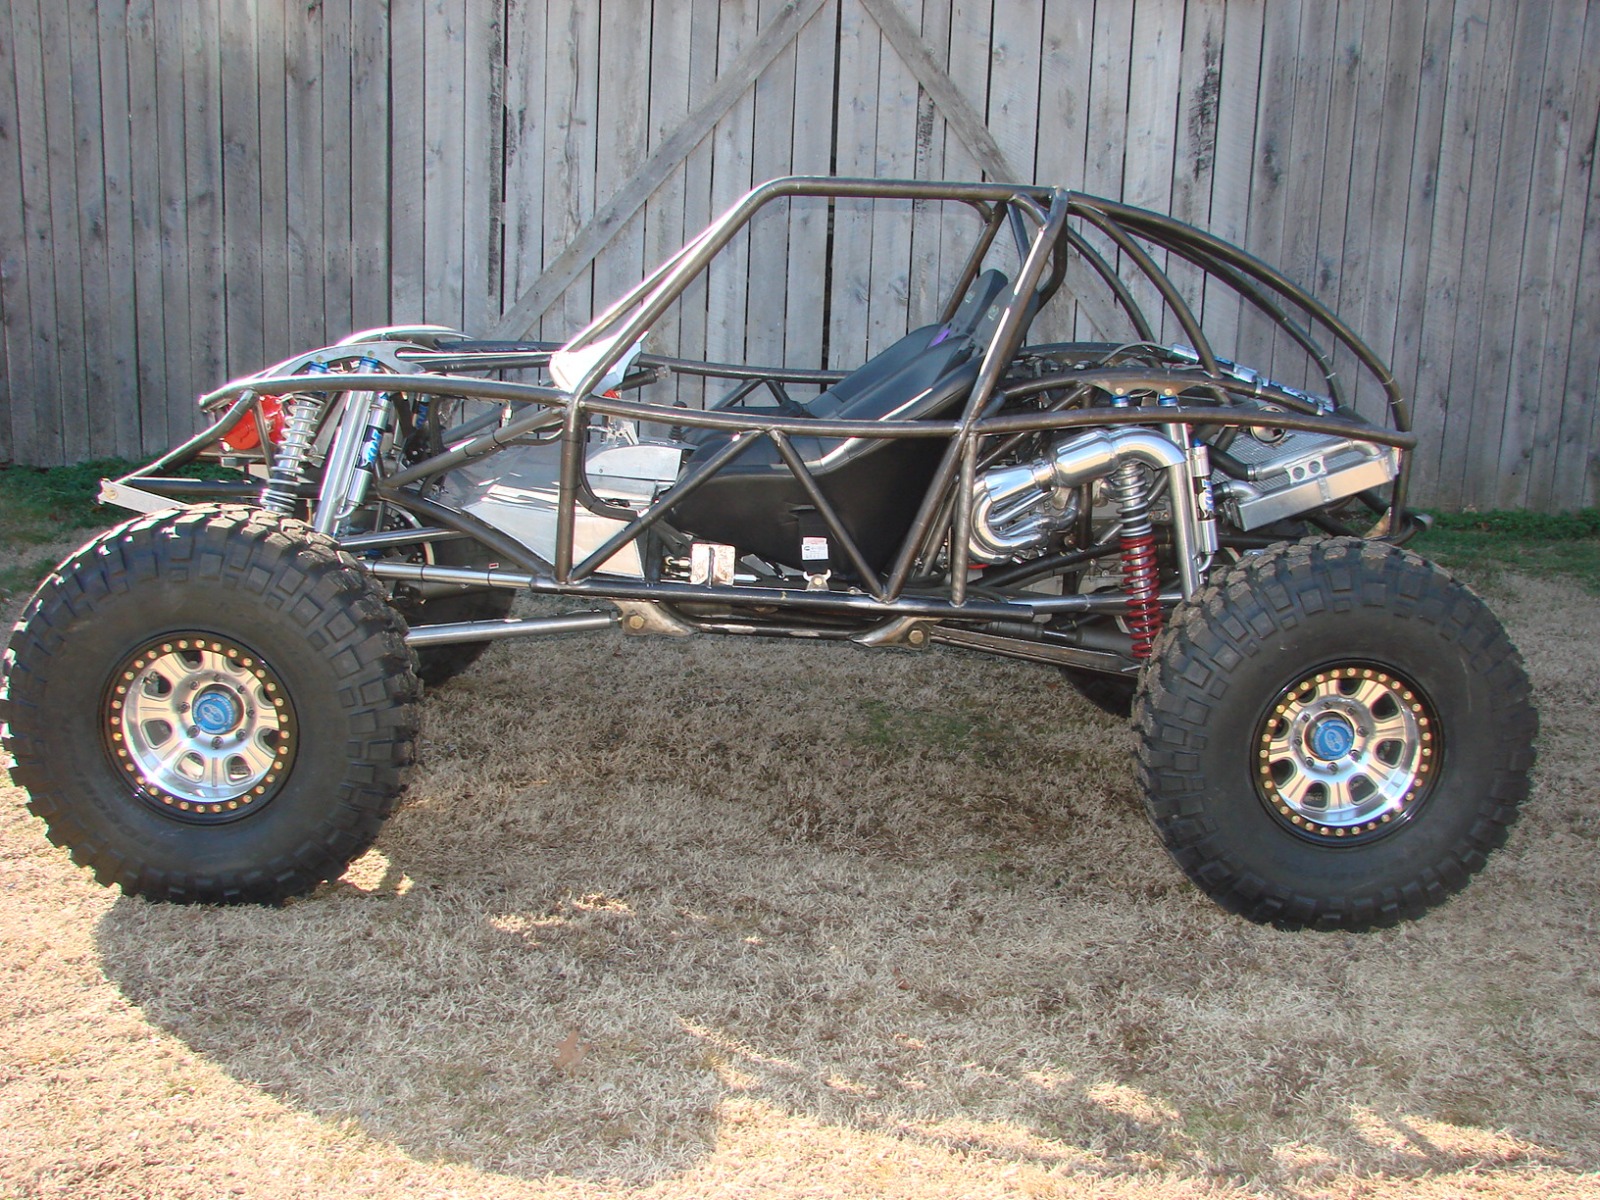
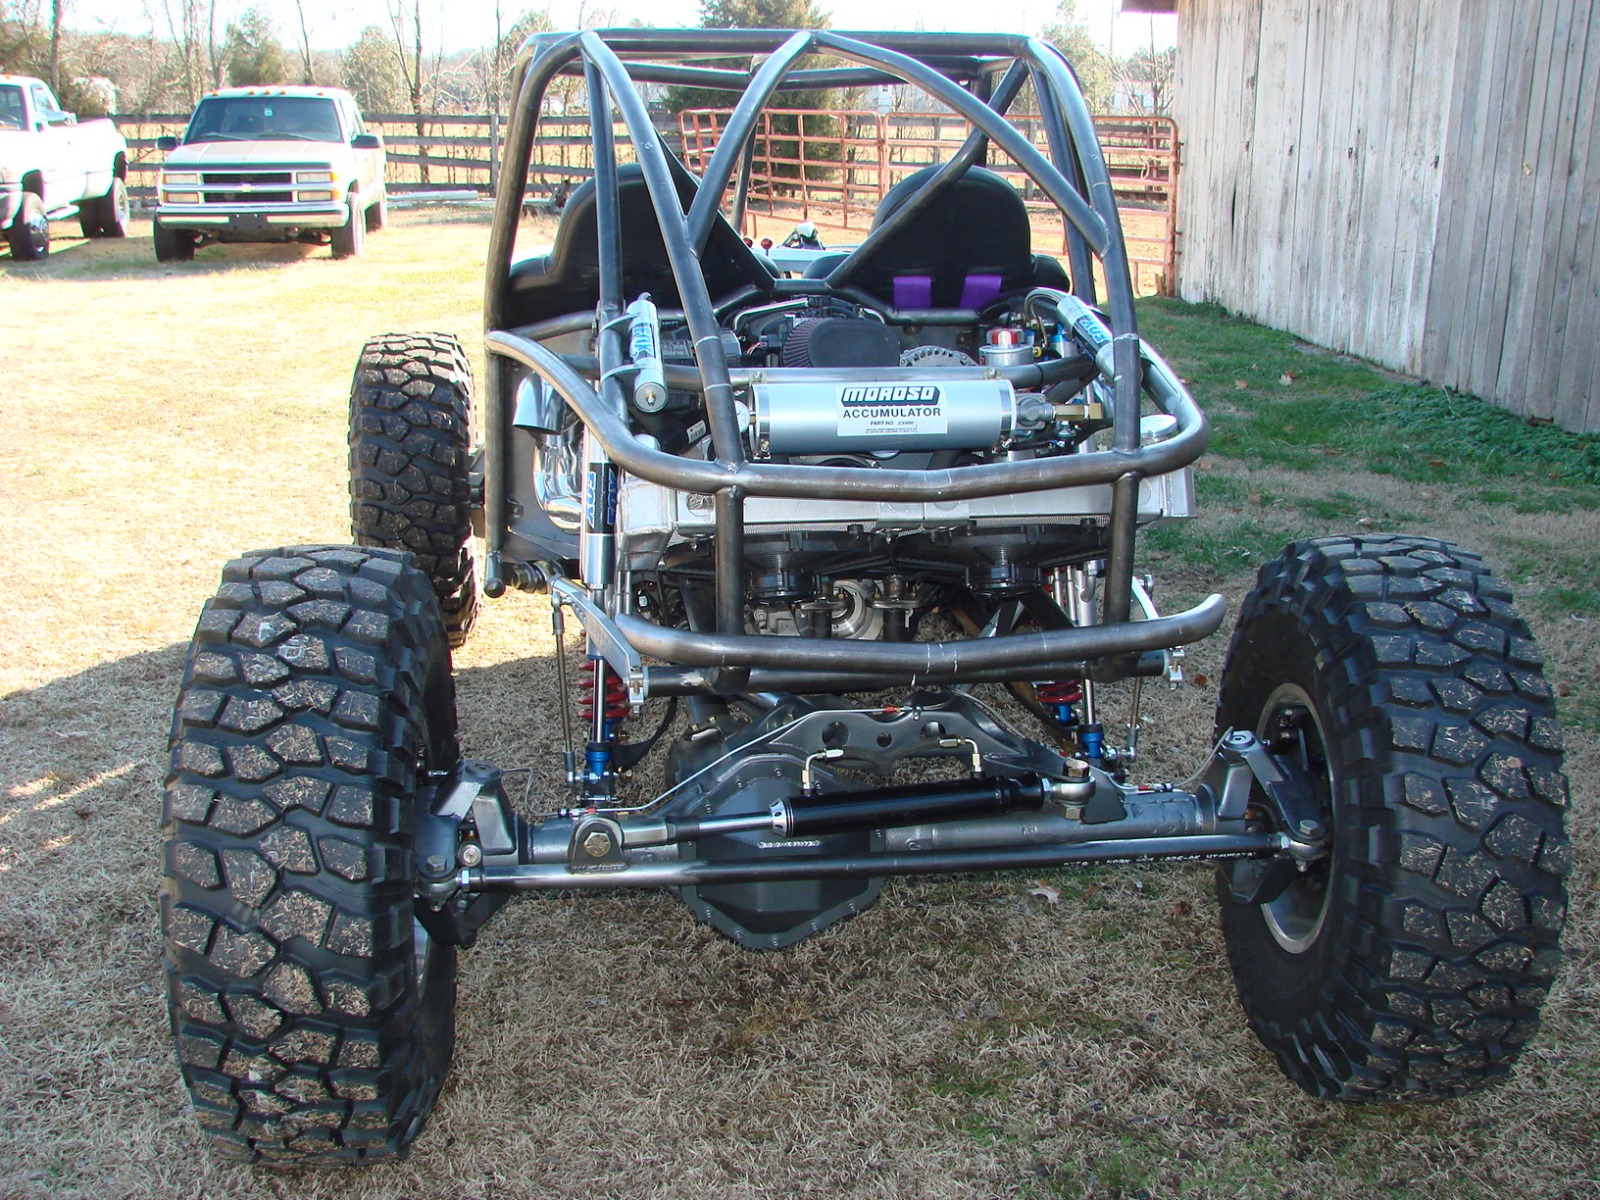
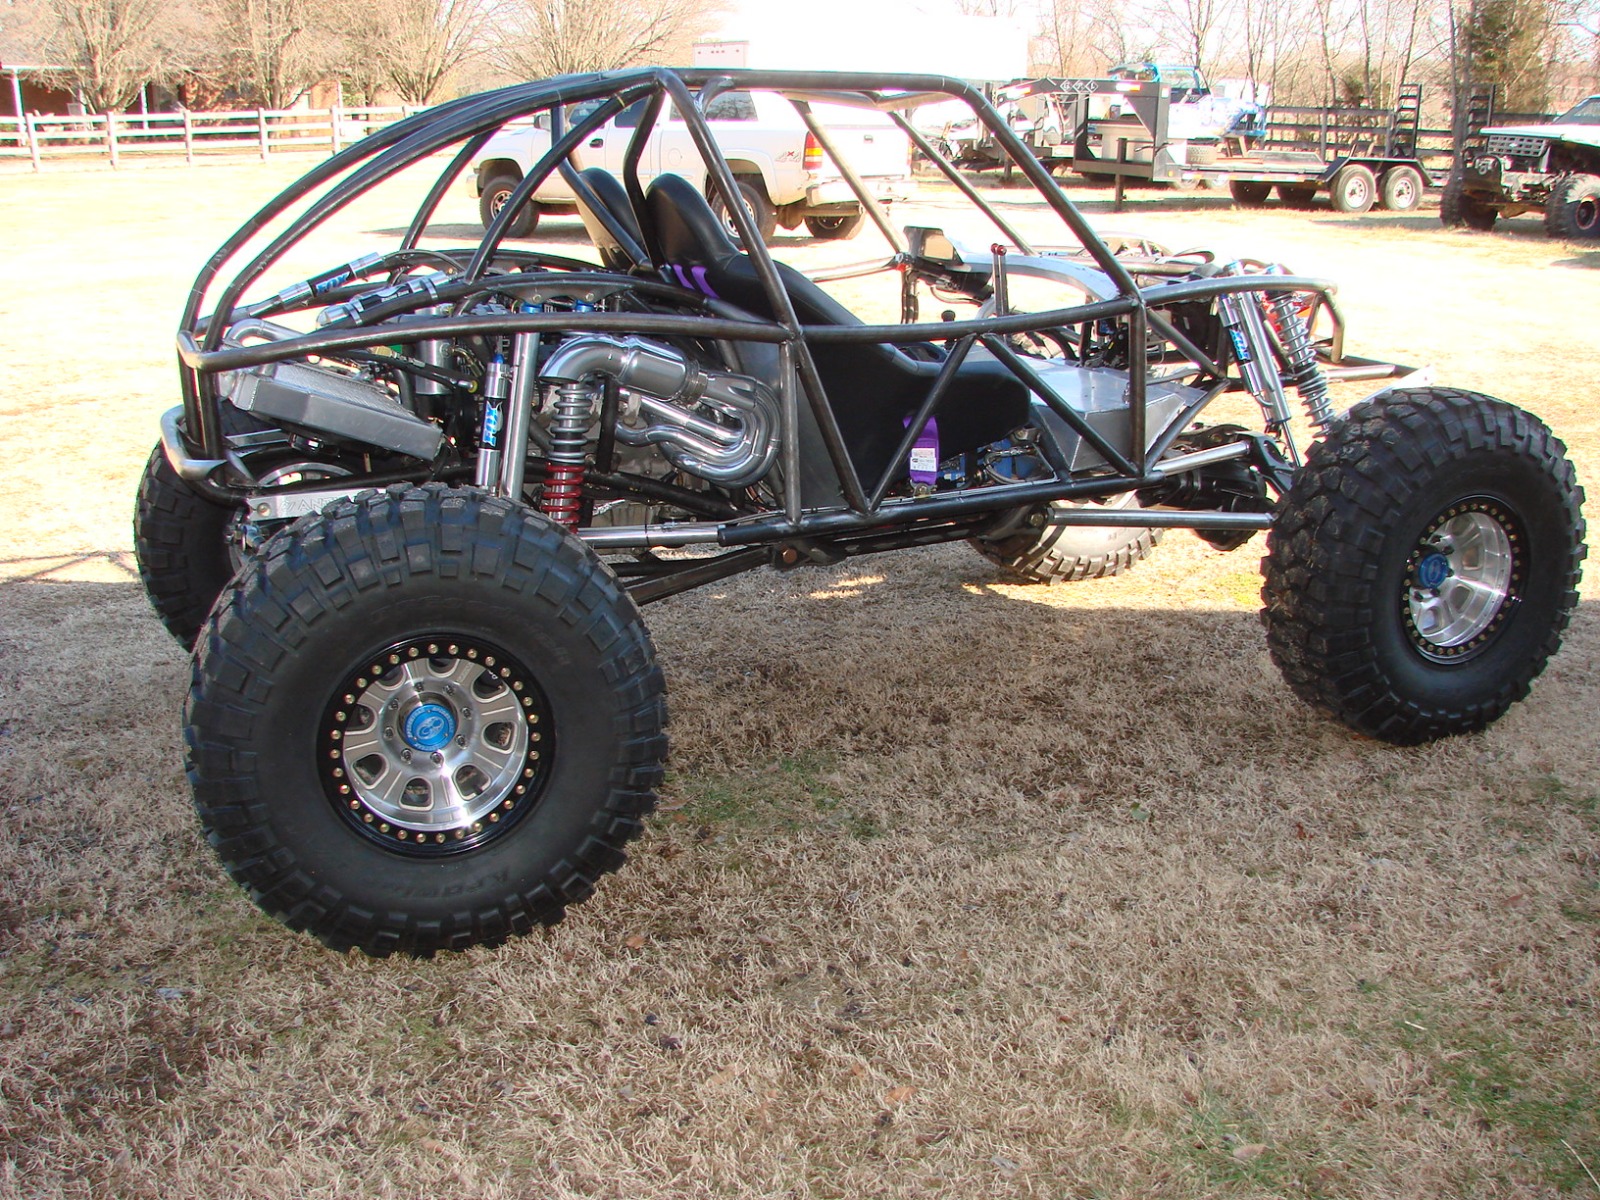
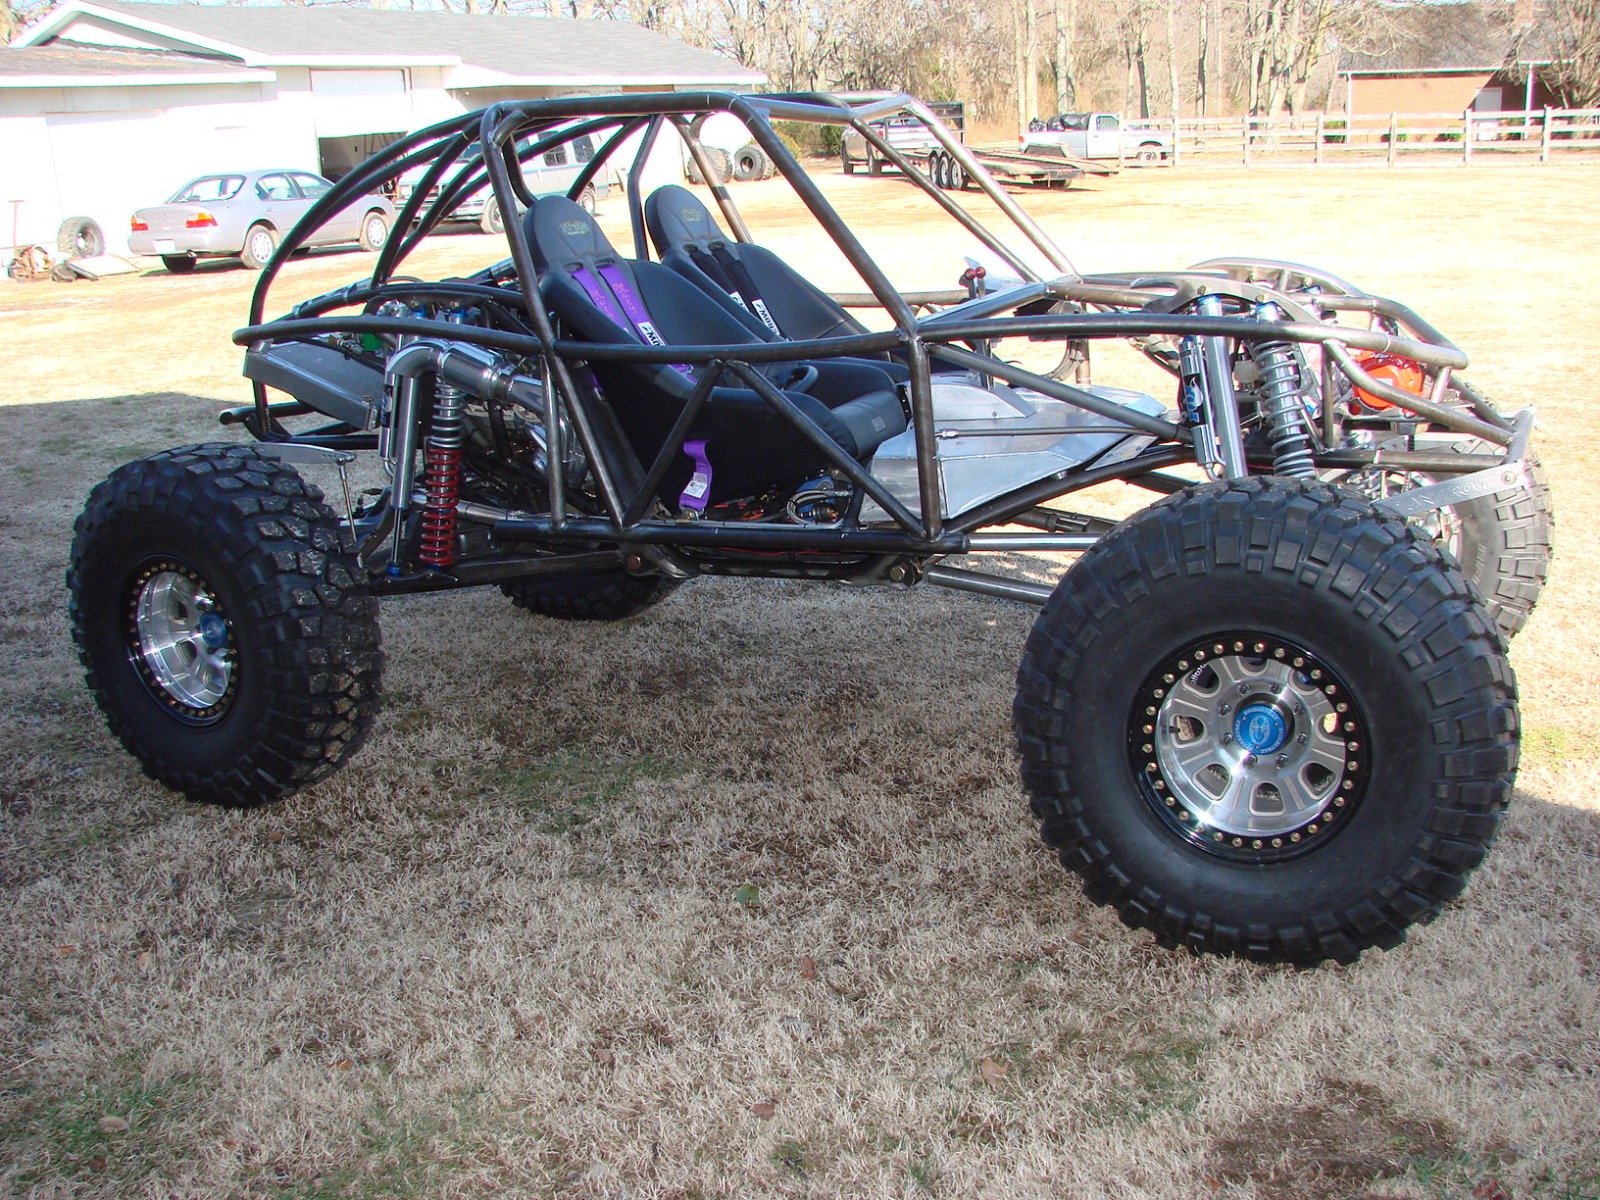
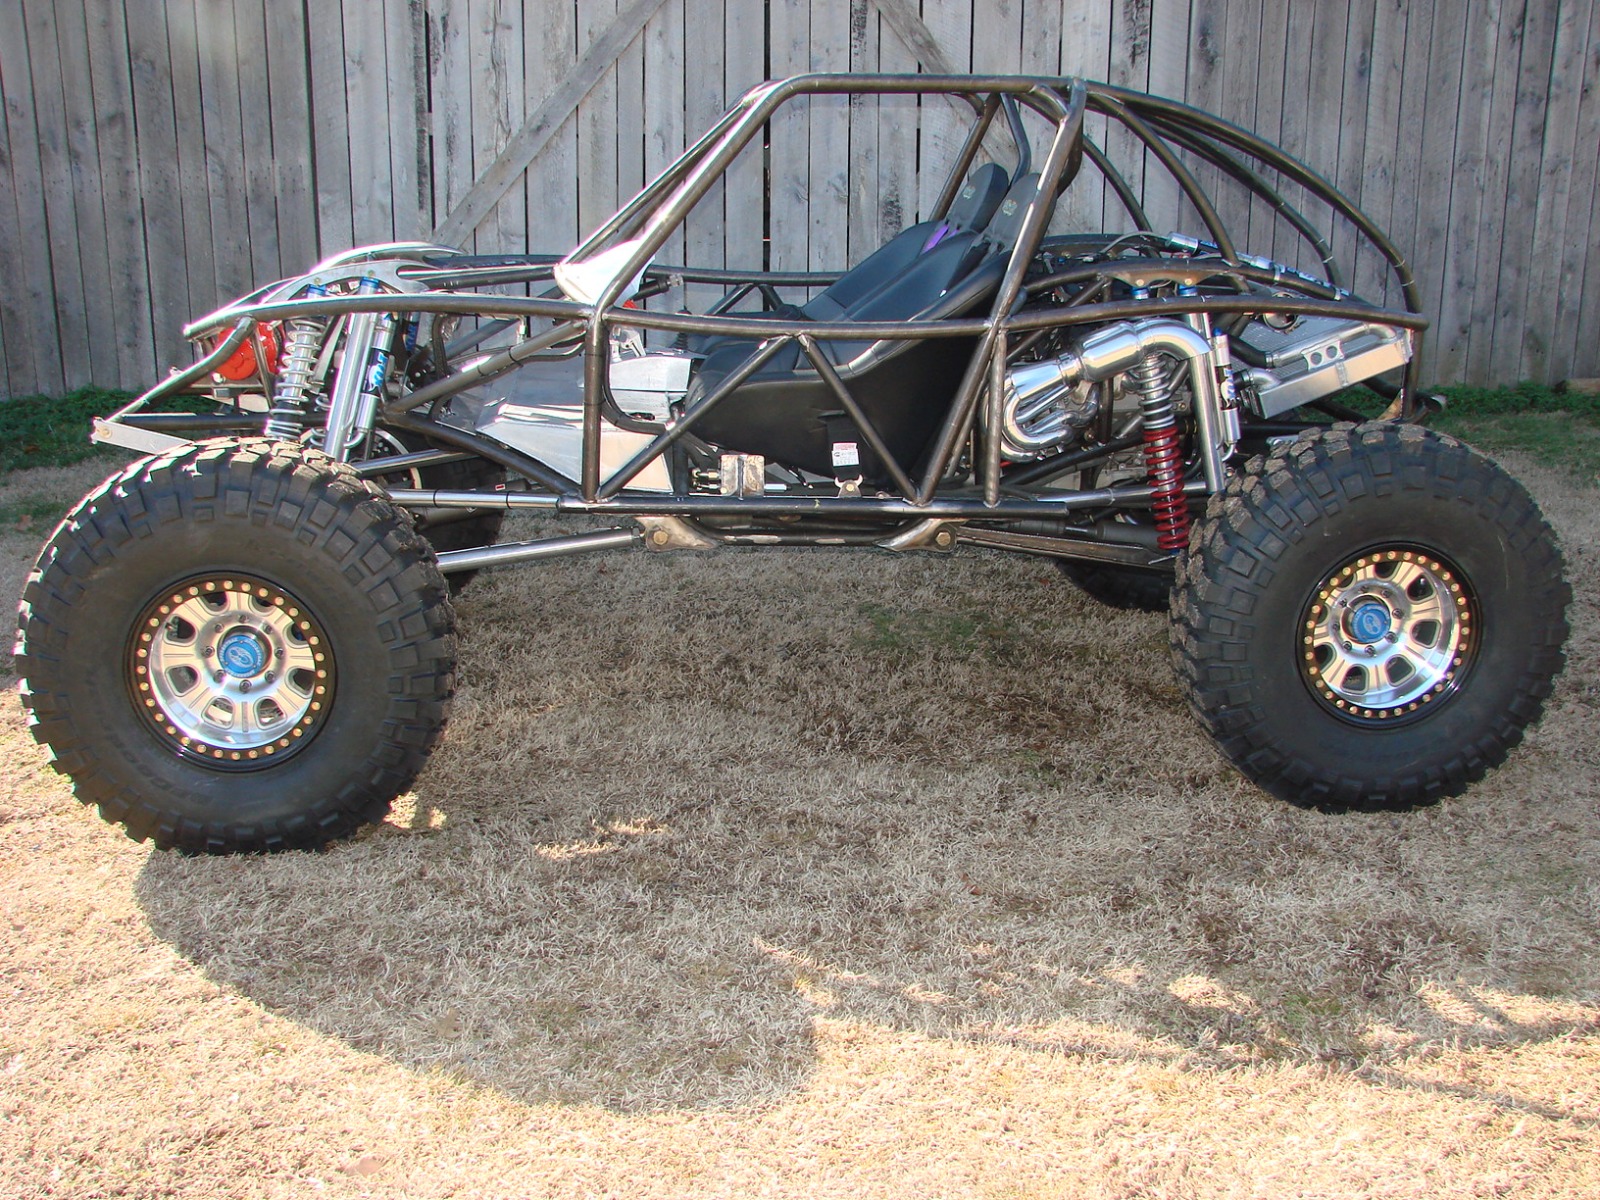
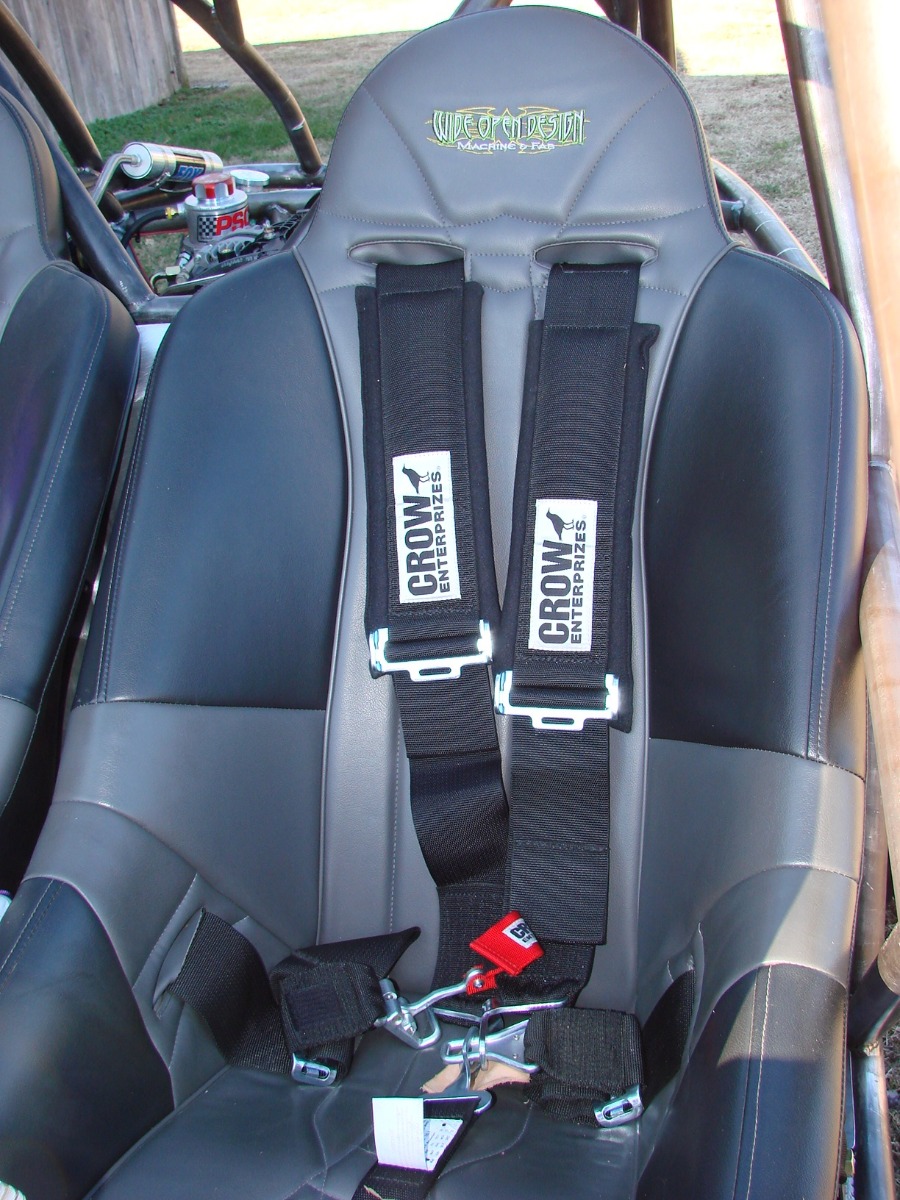
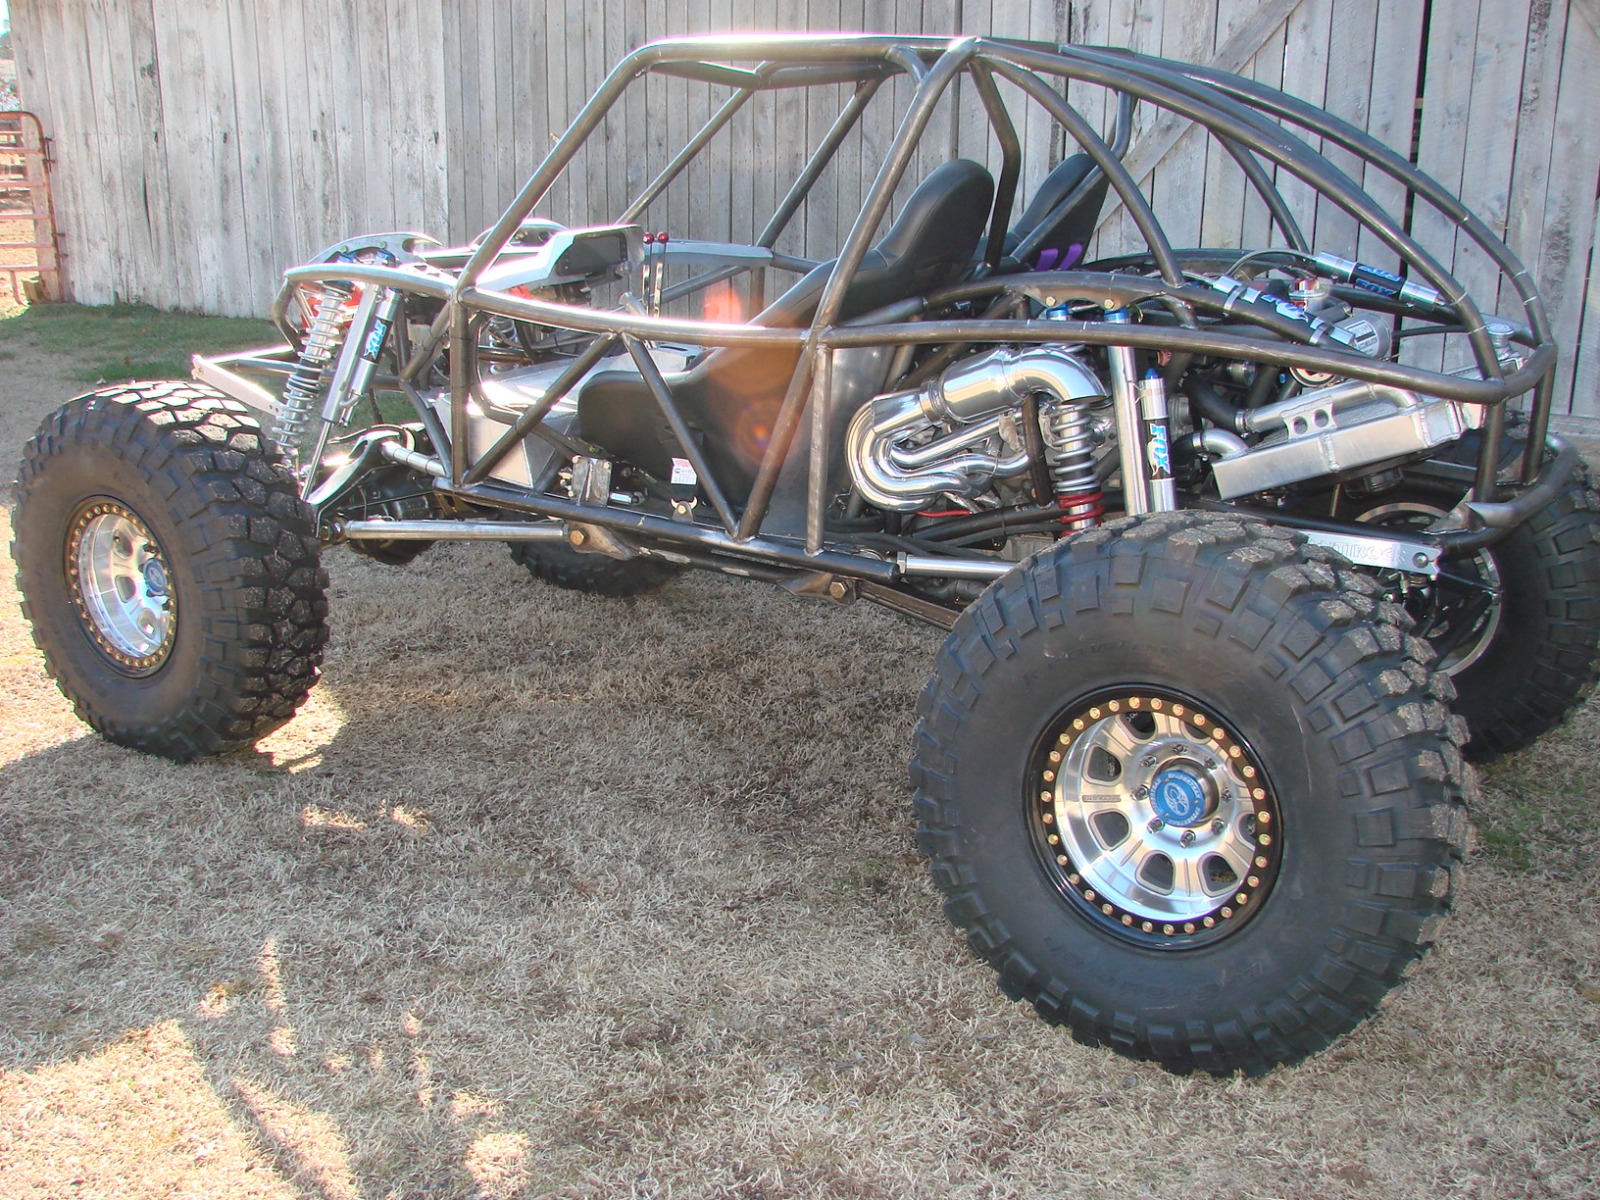
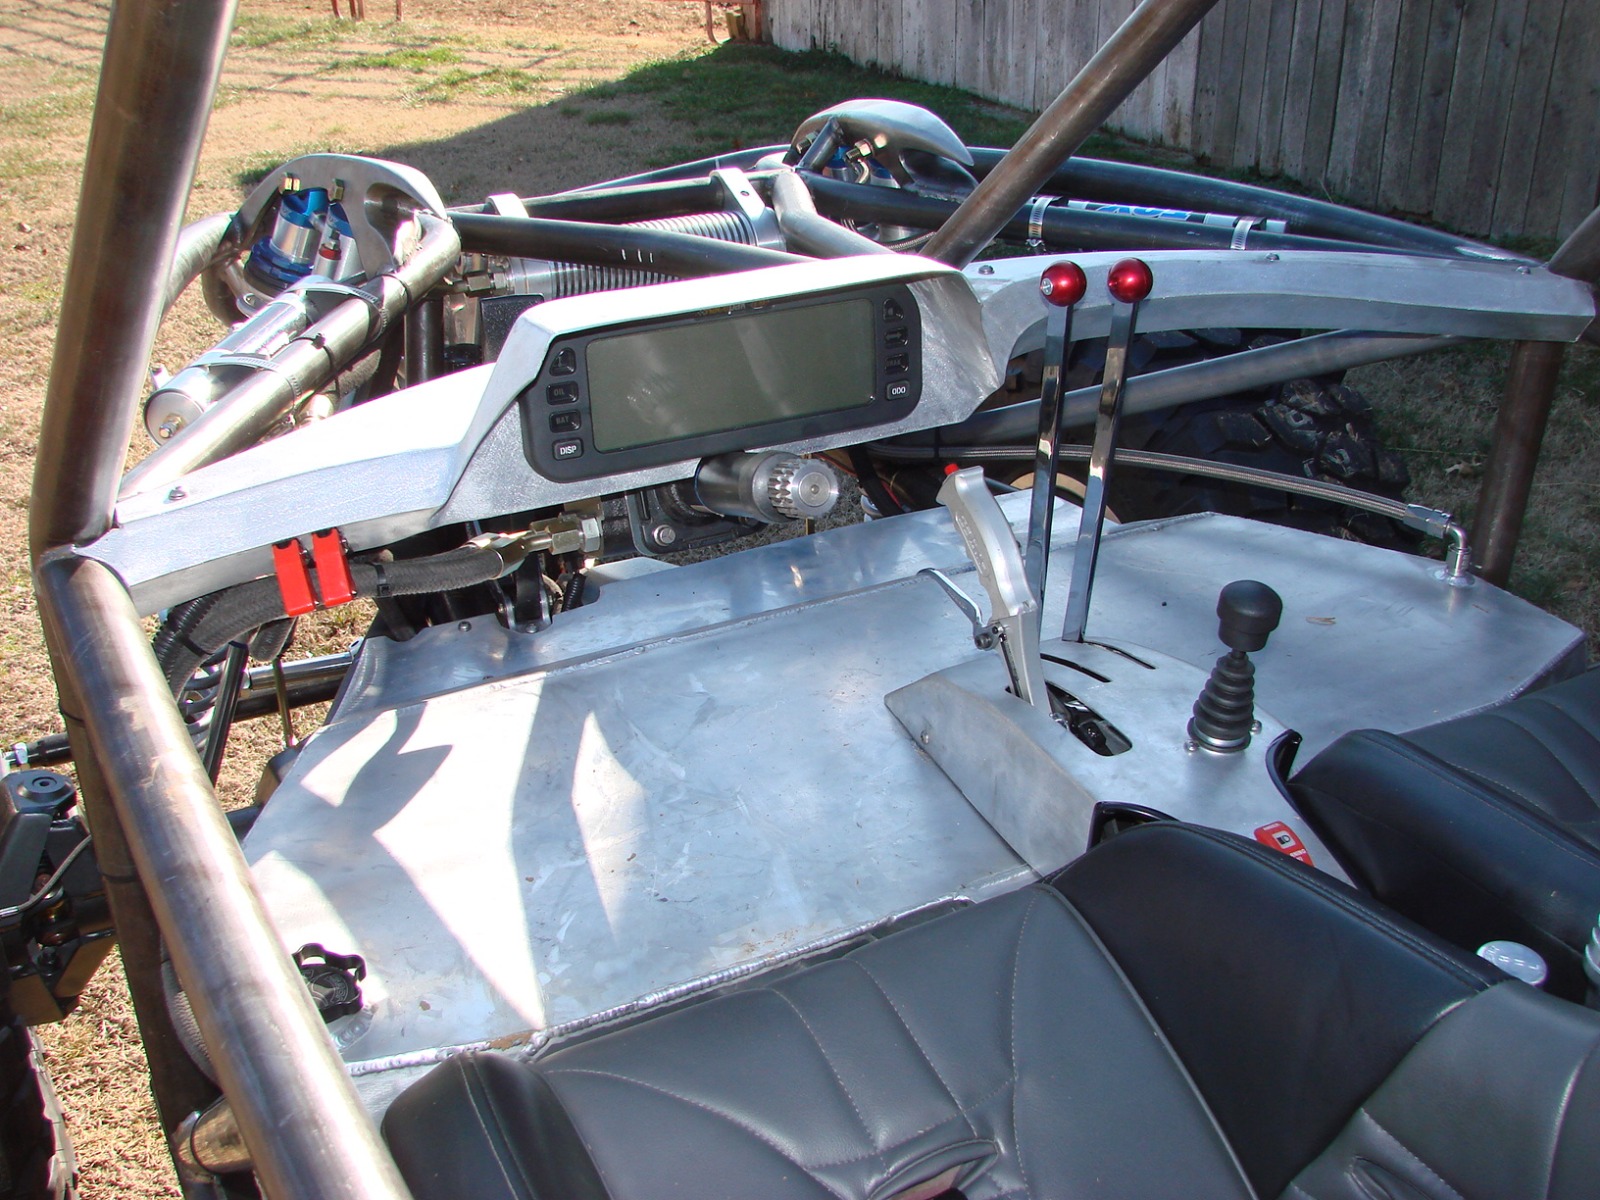
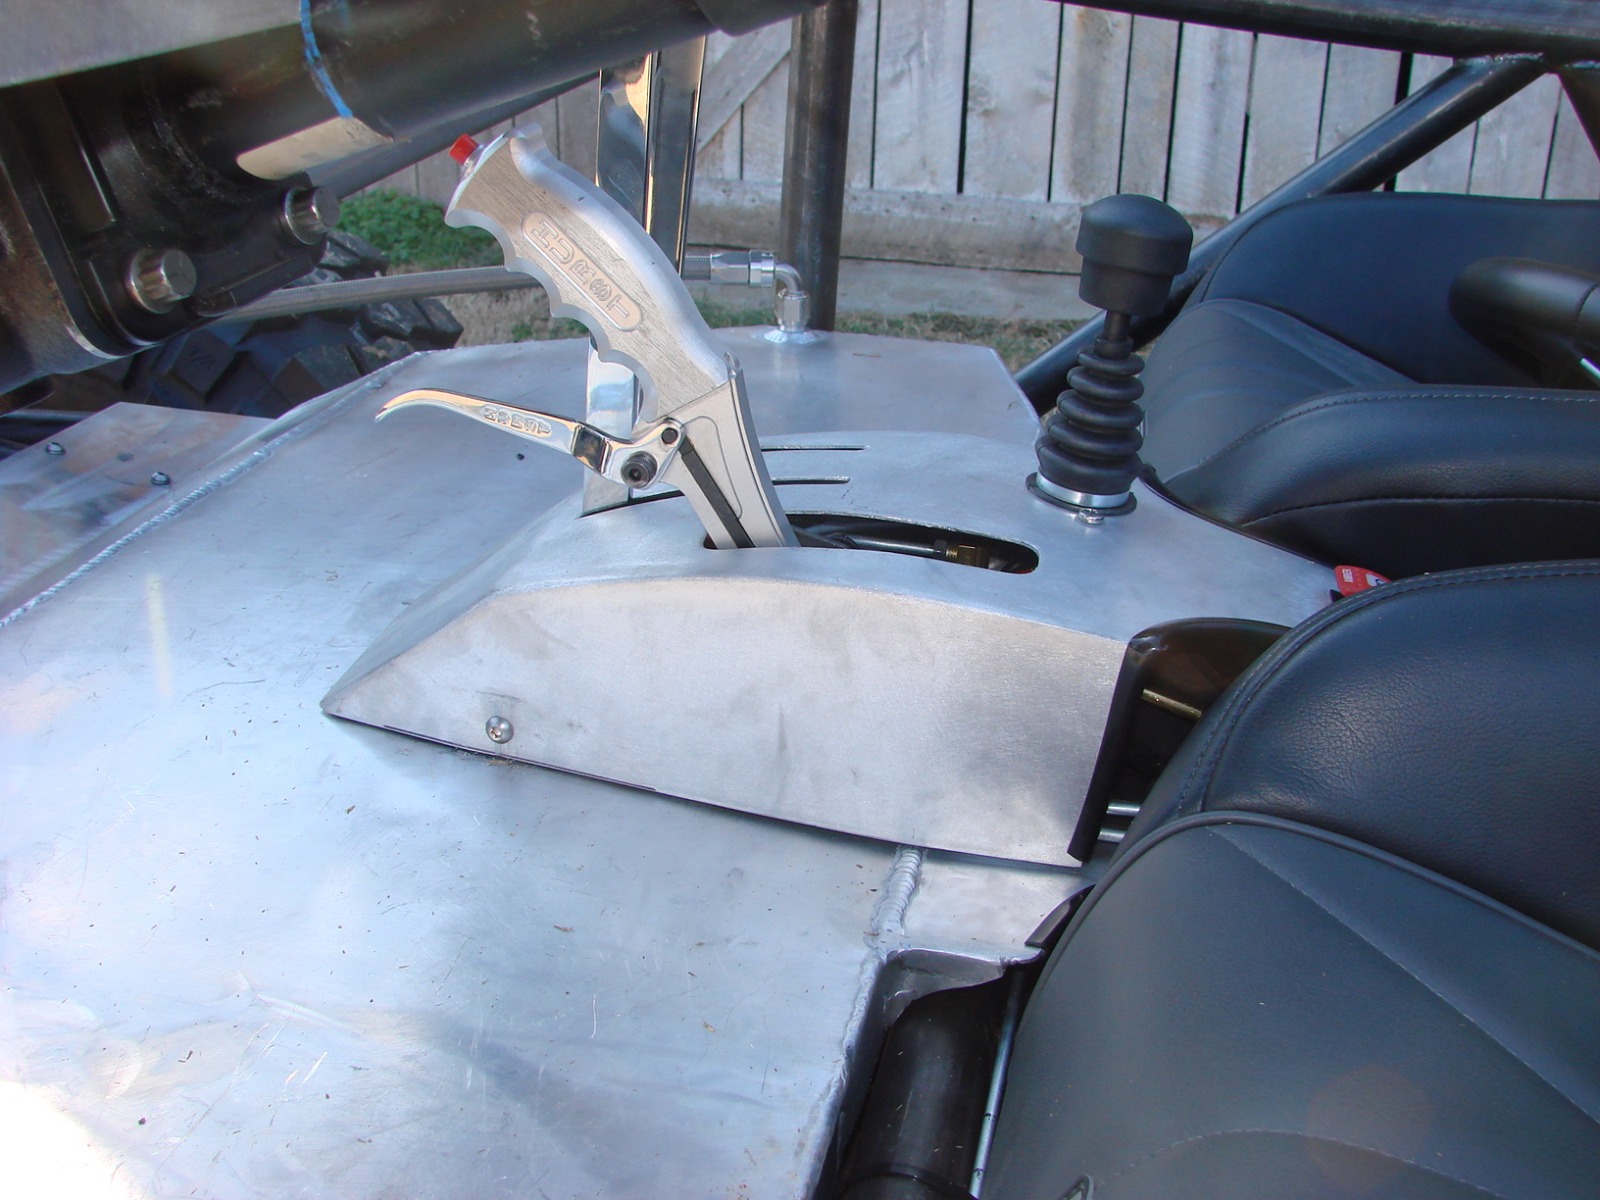
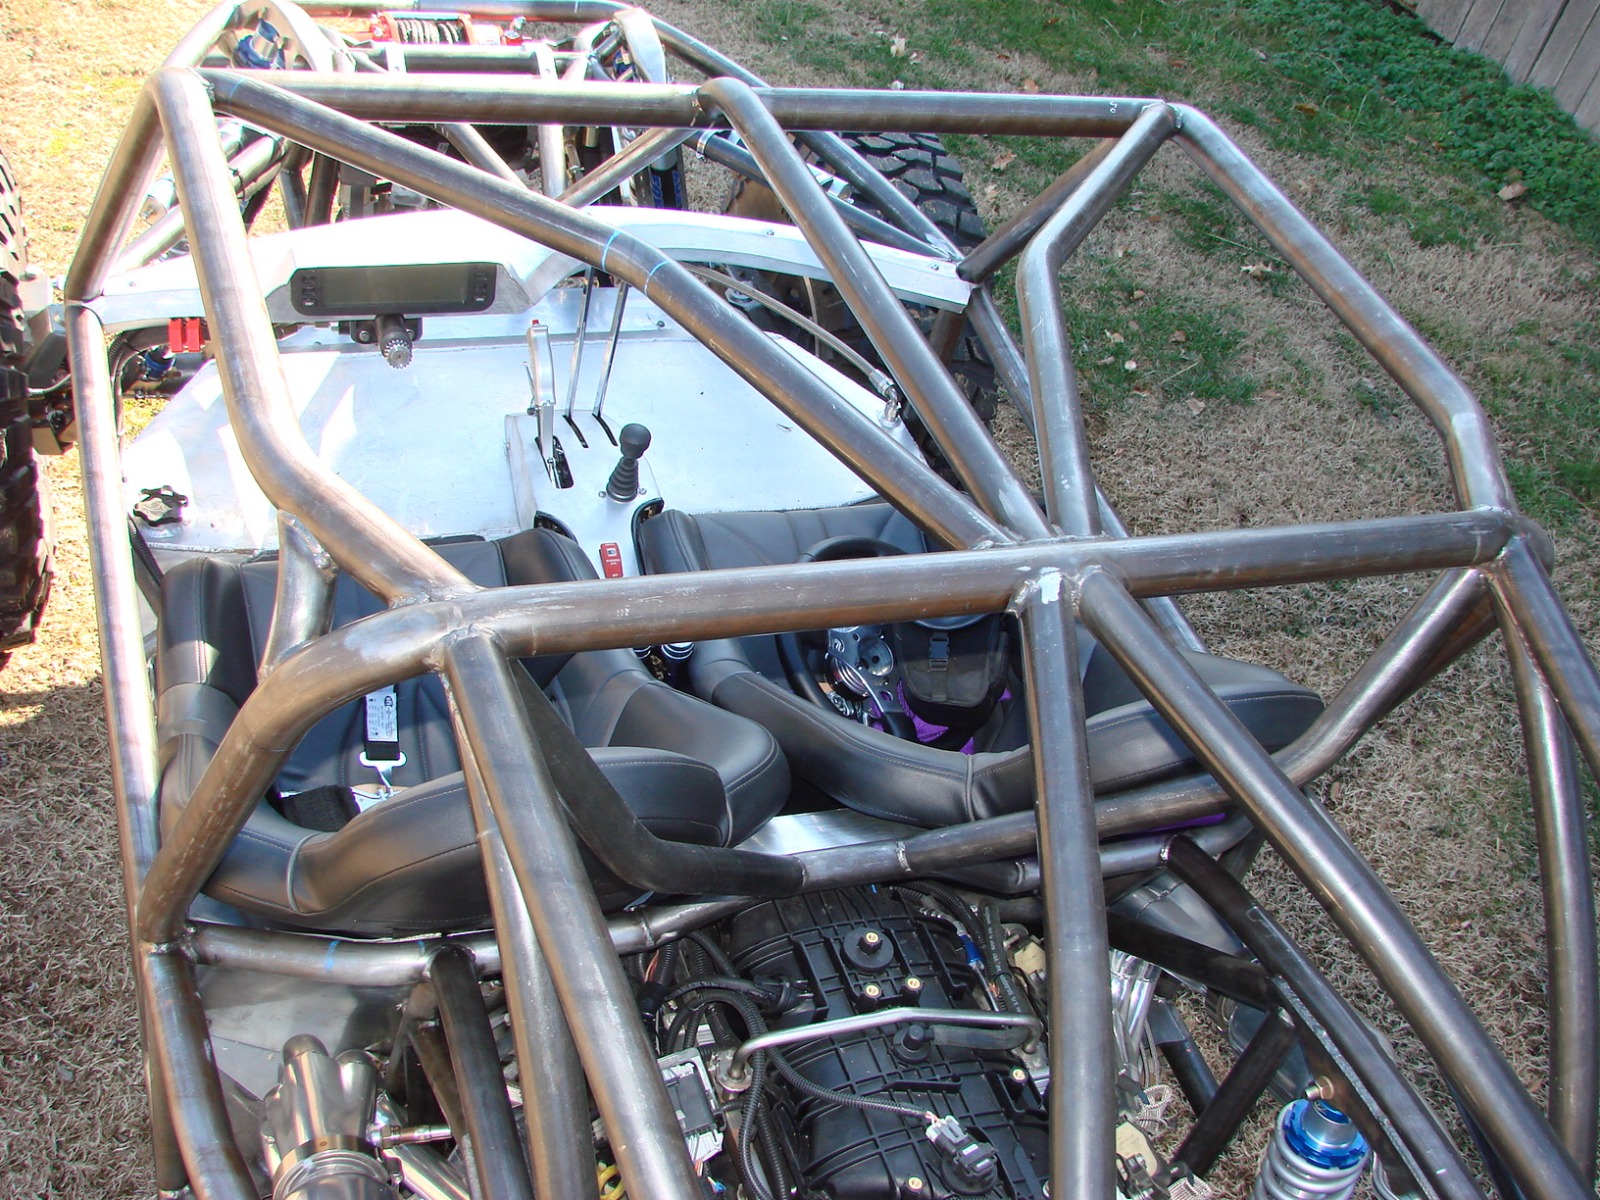
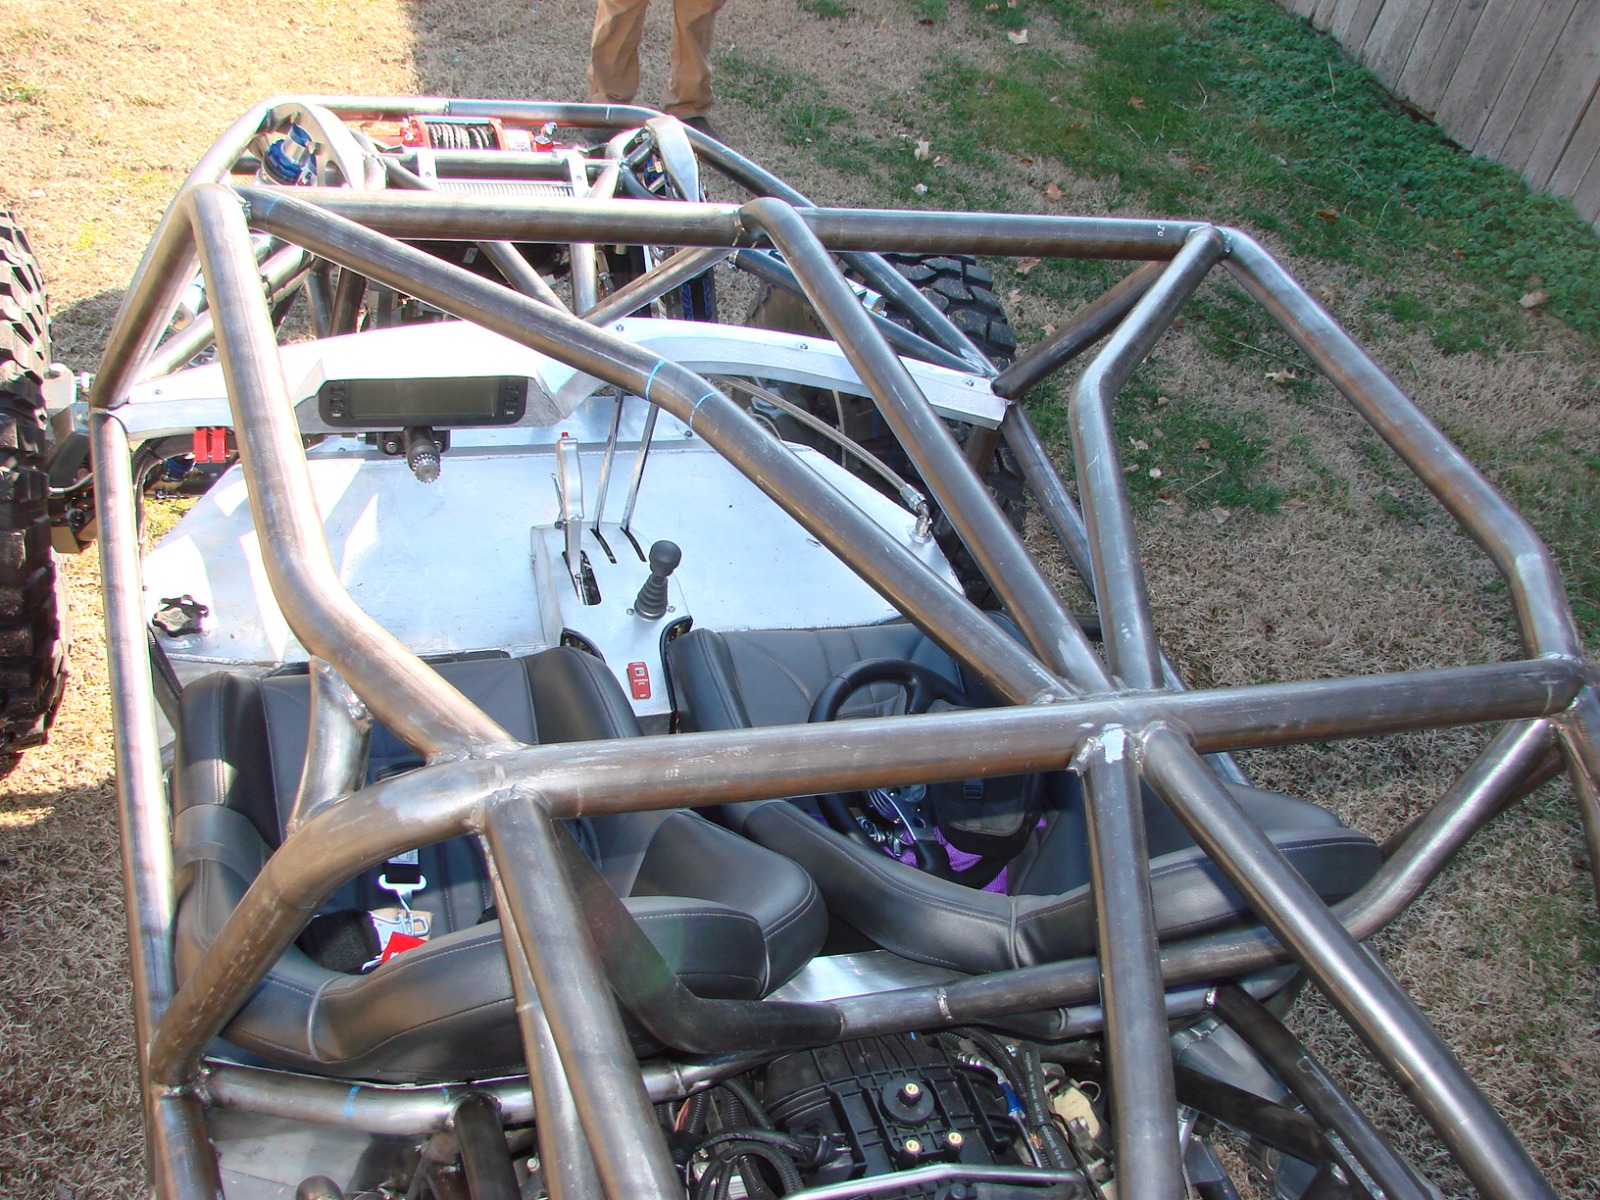
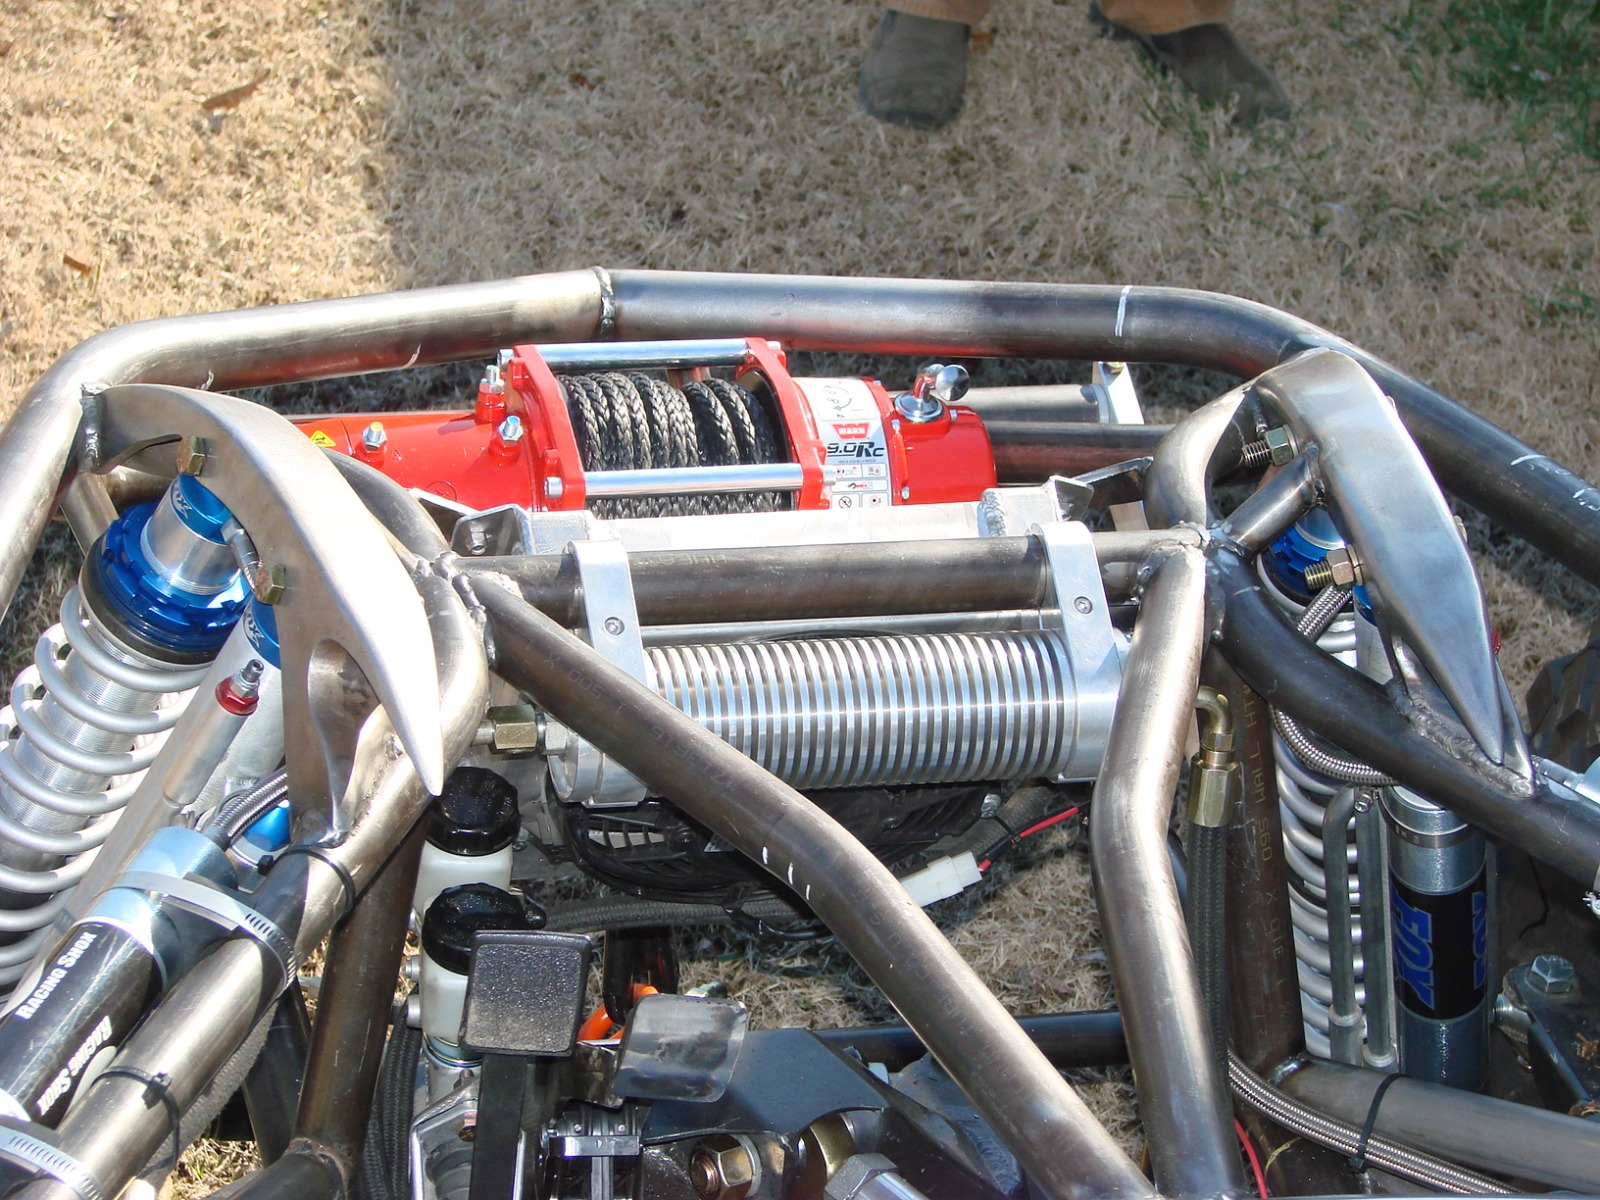
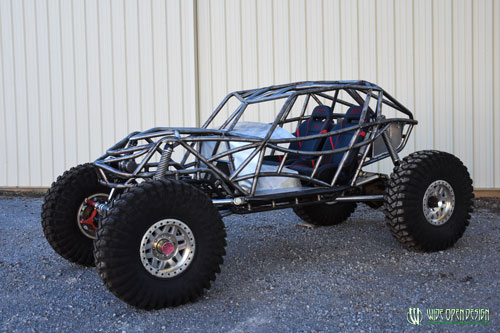
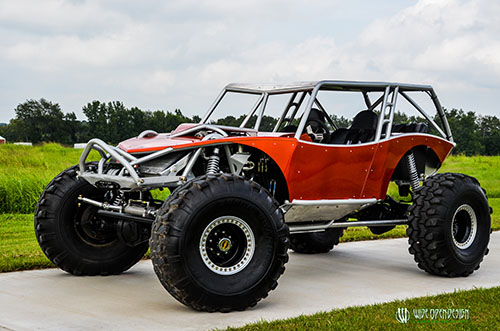
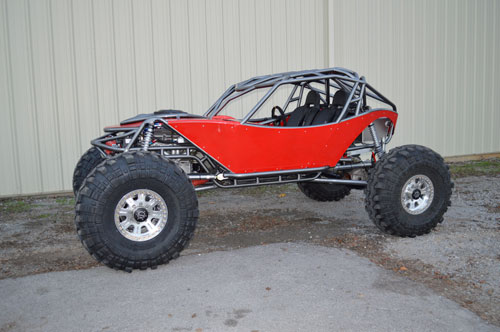
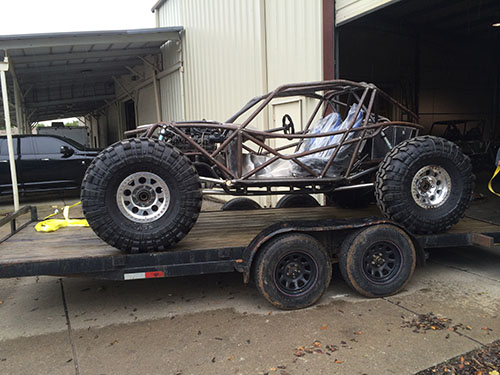
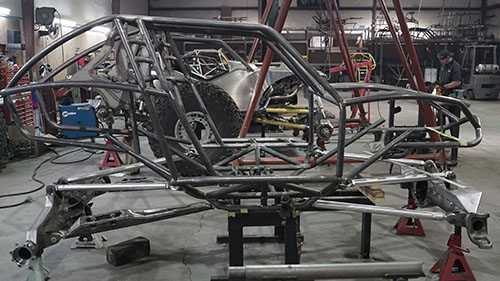
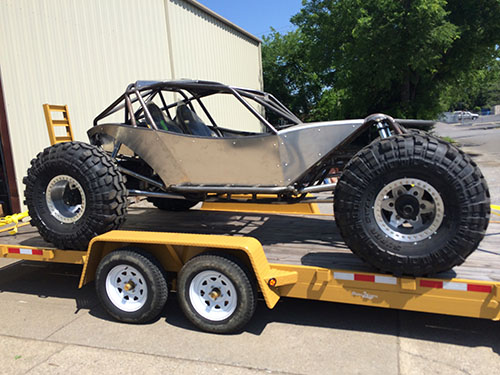
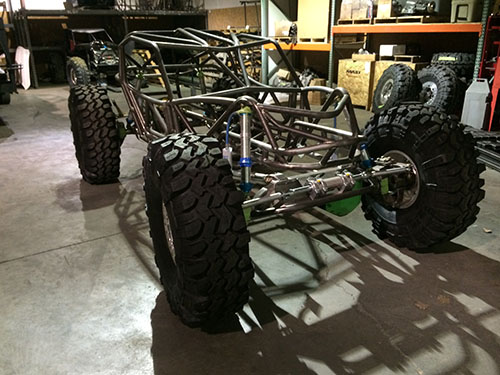
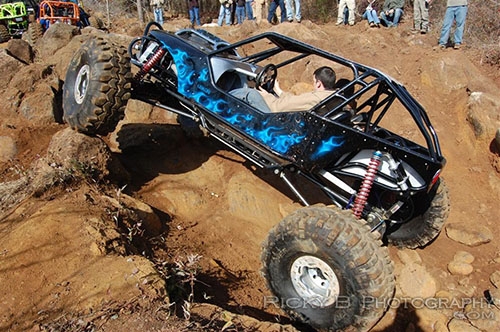
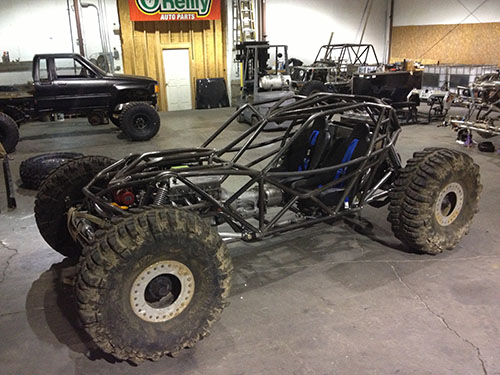
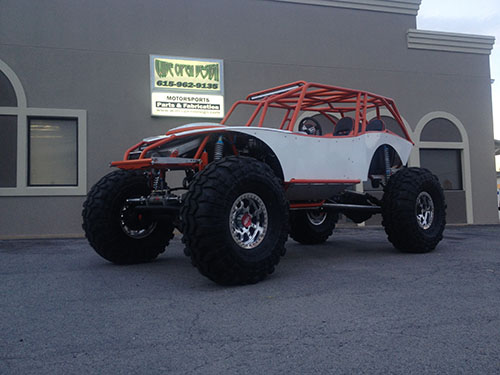
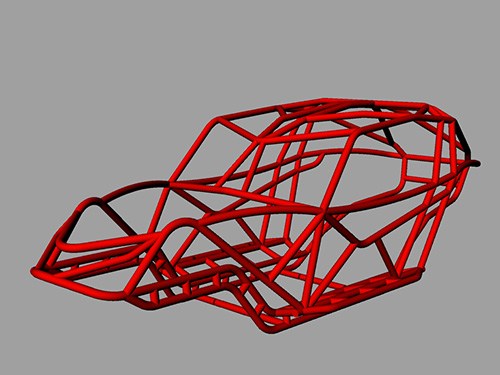
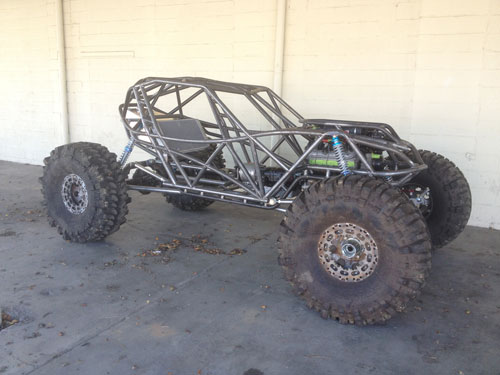
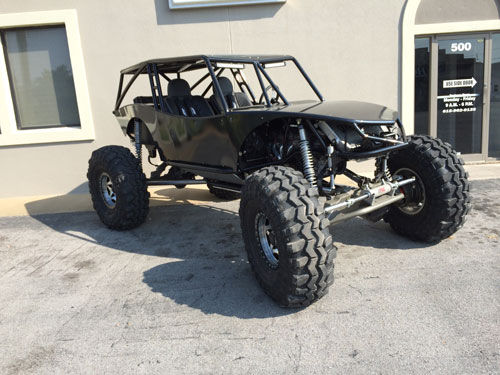
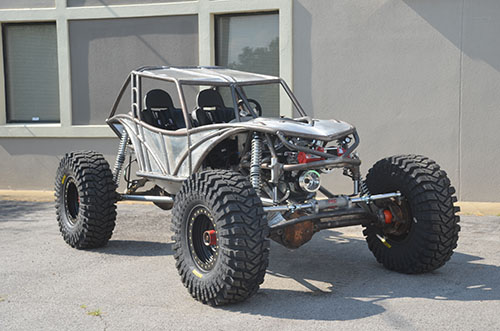
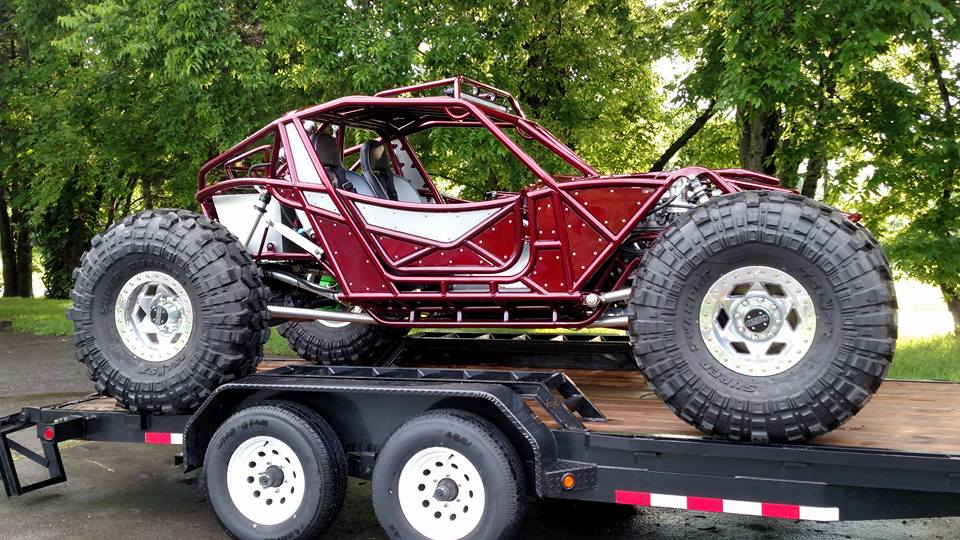
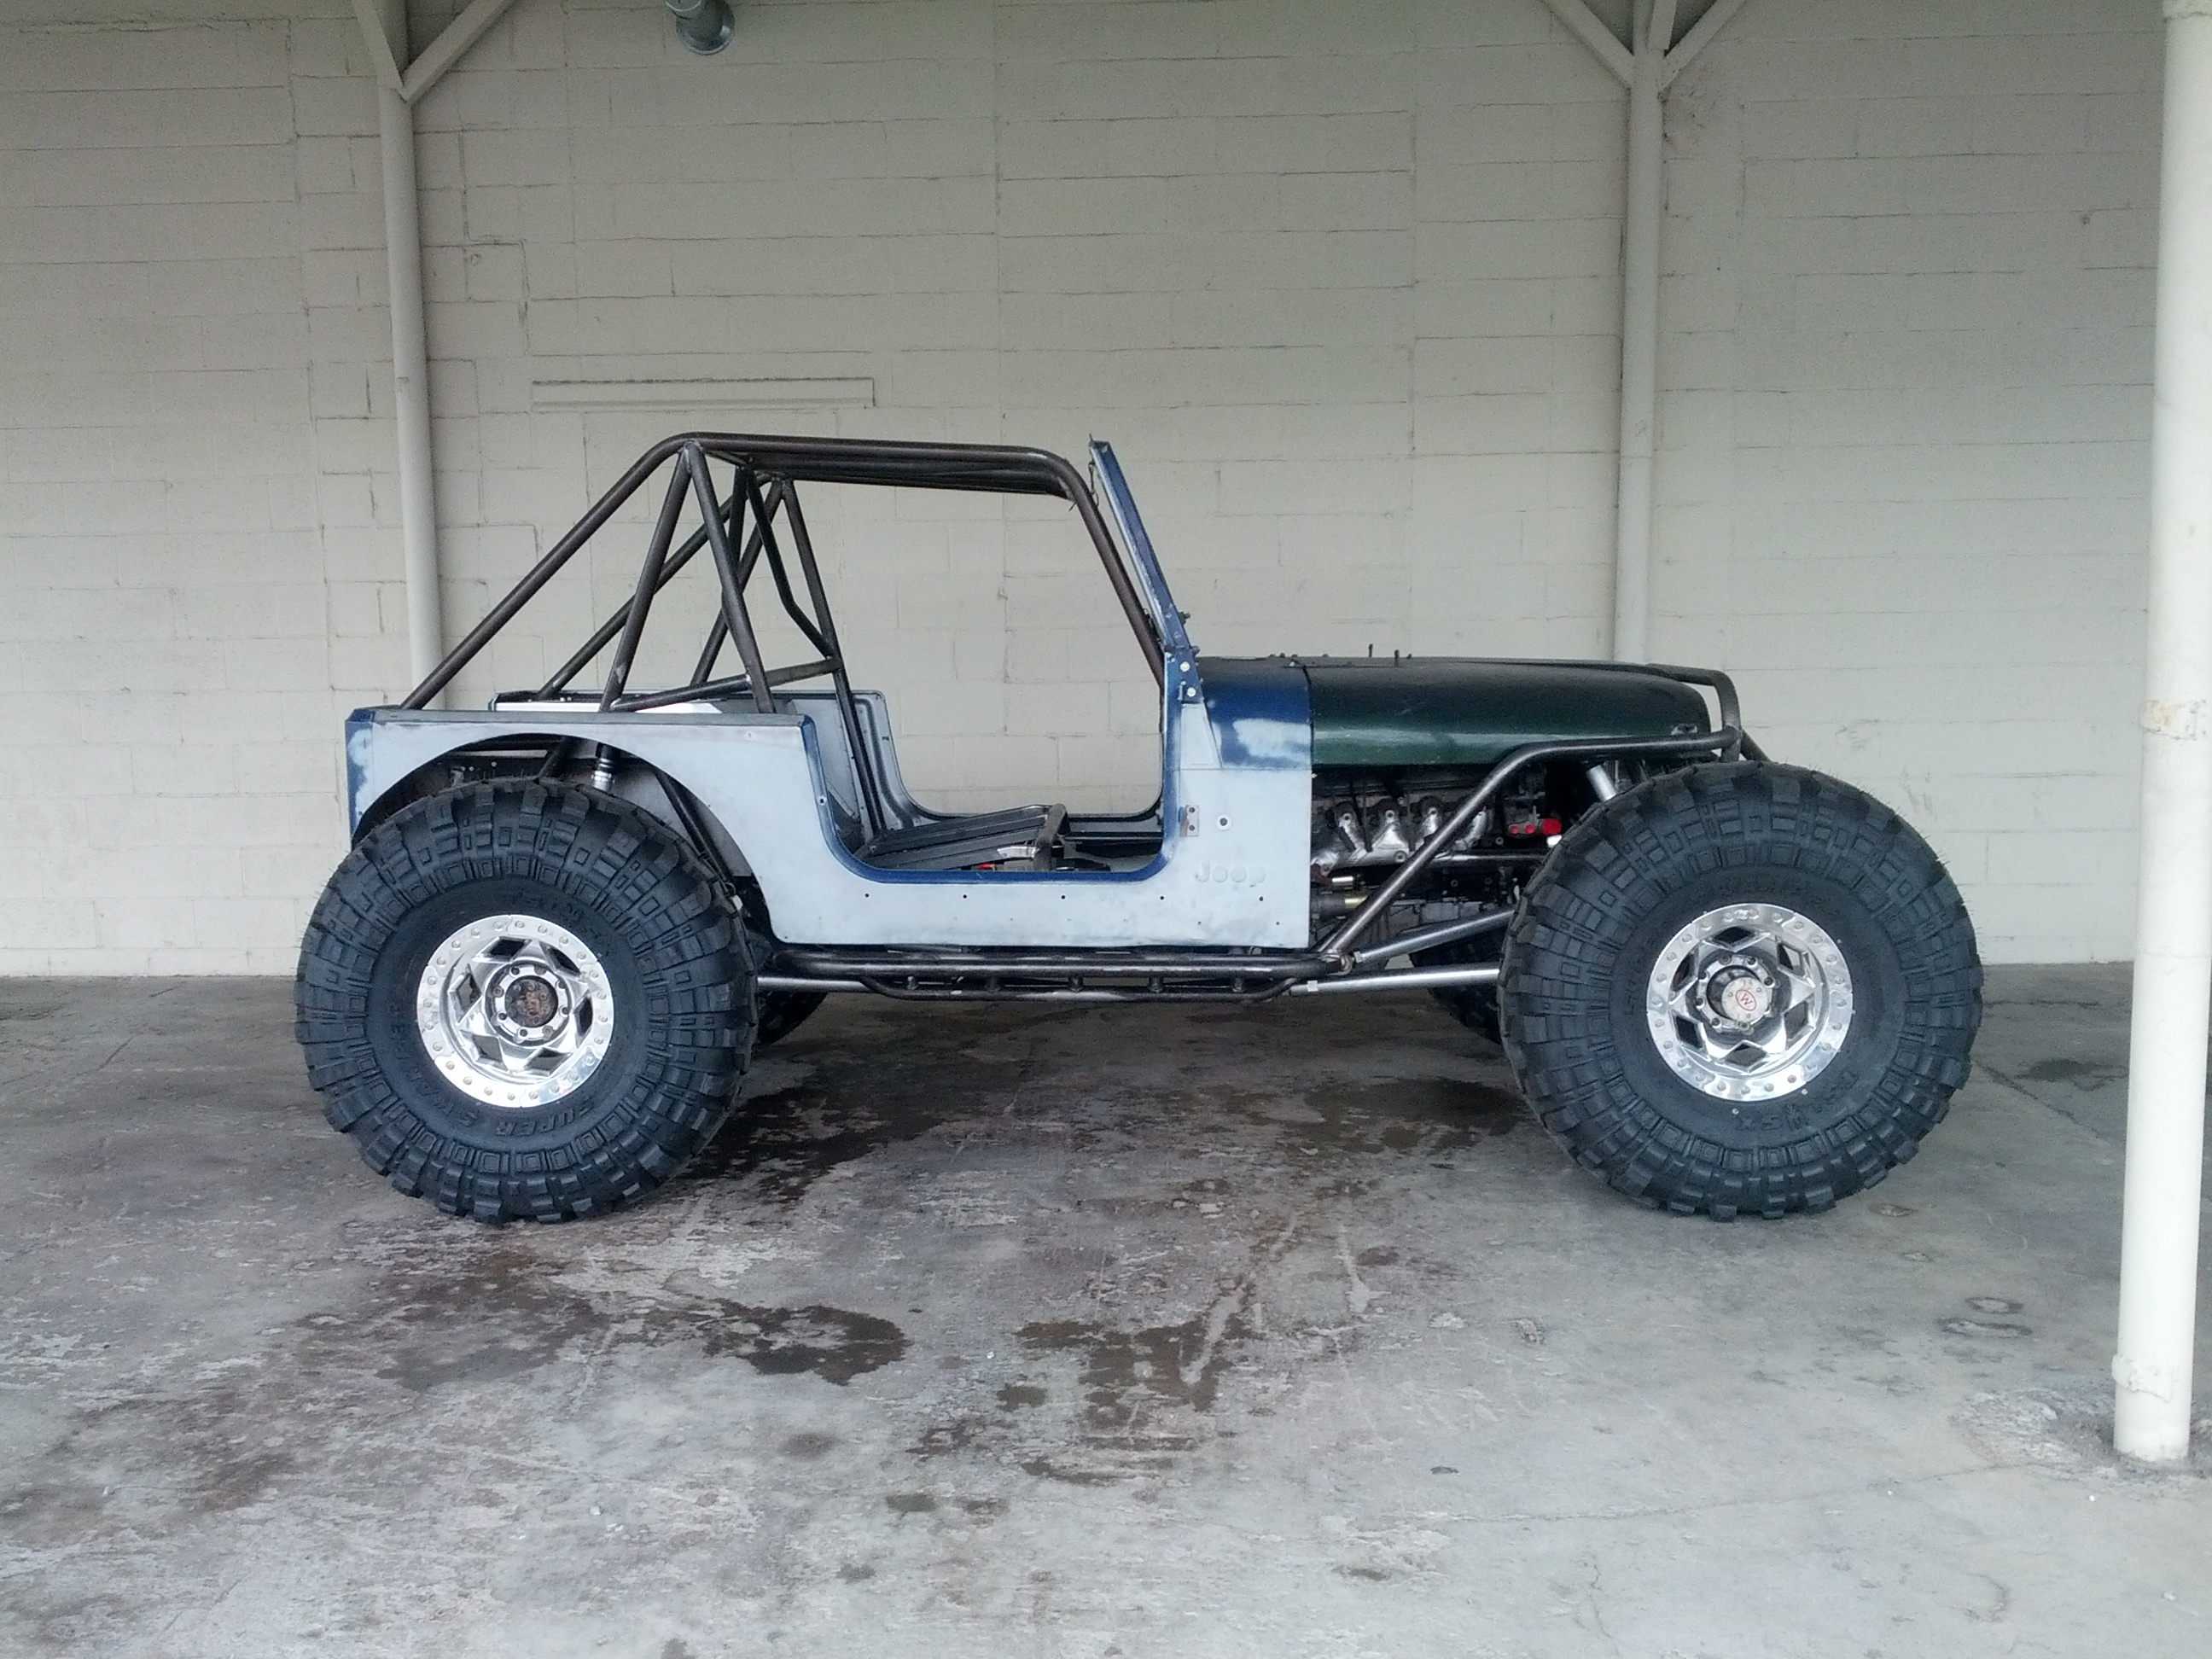
Hustler Buggy Gallery


Recent Posts
-
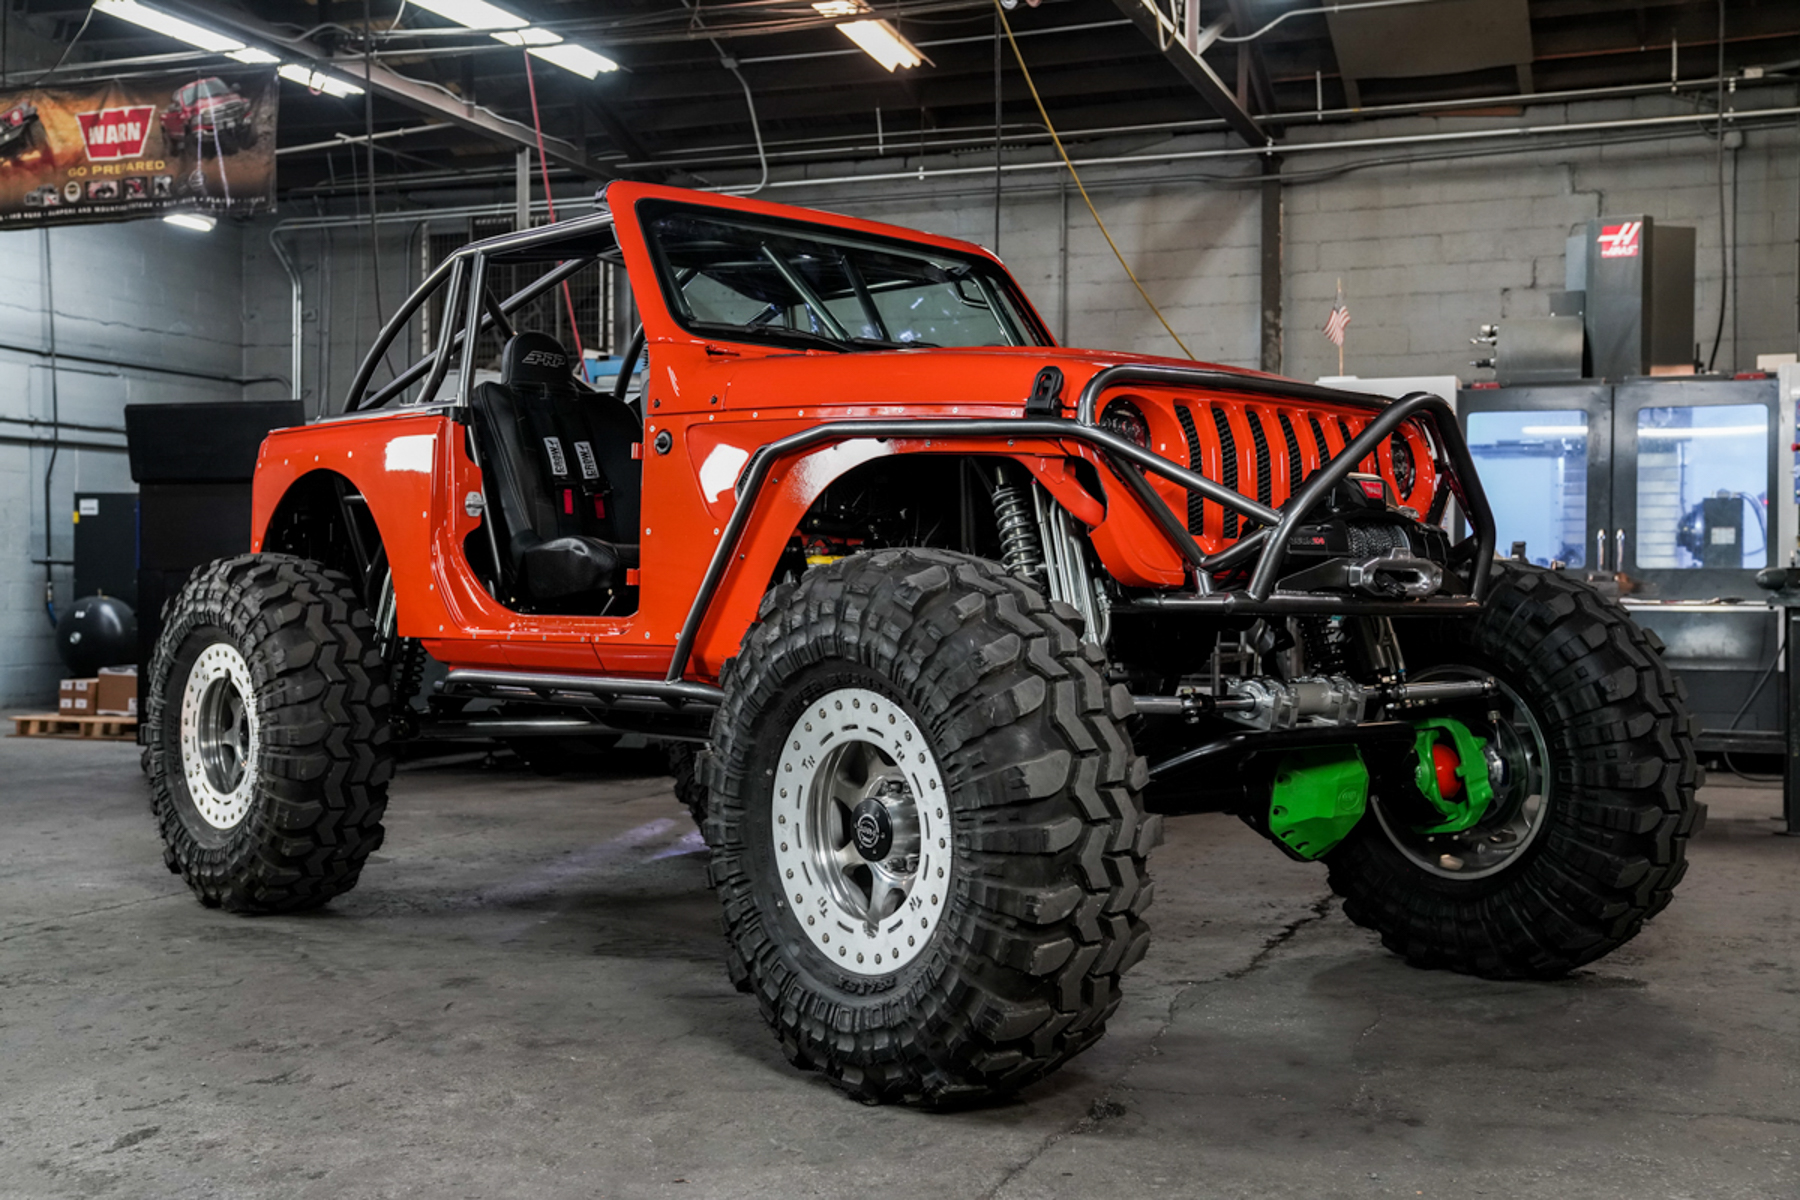
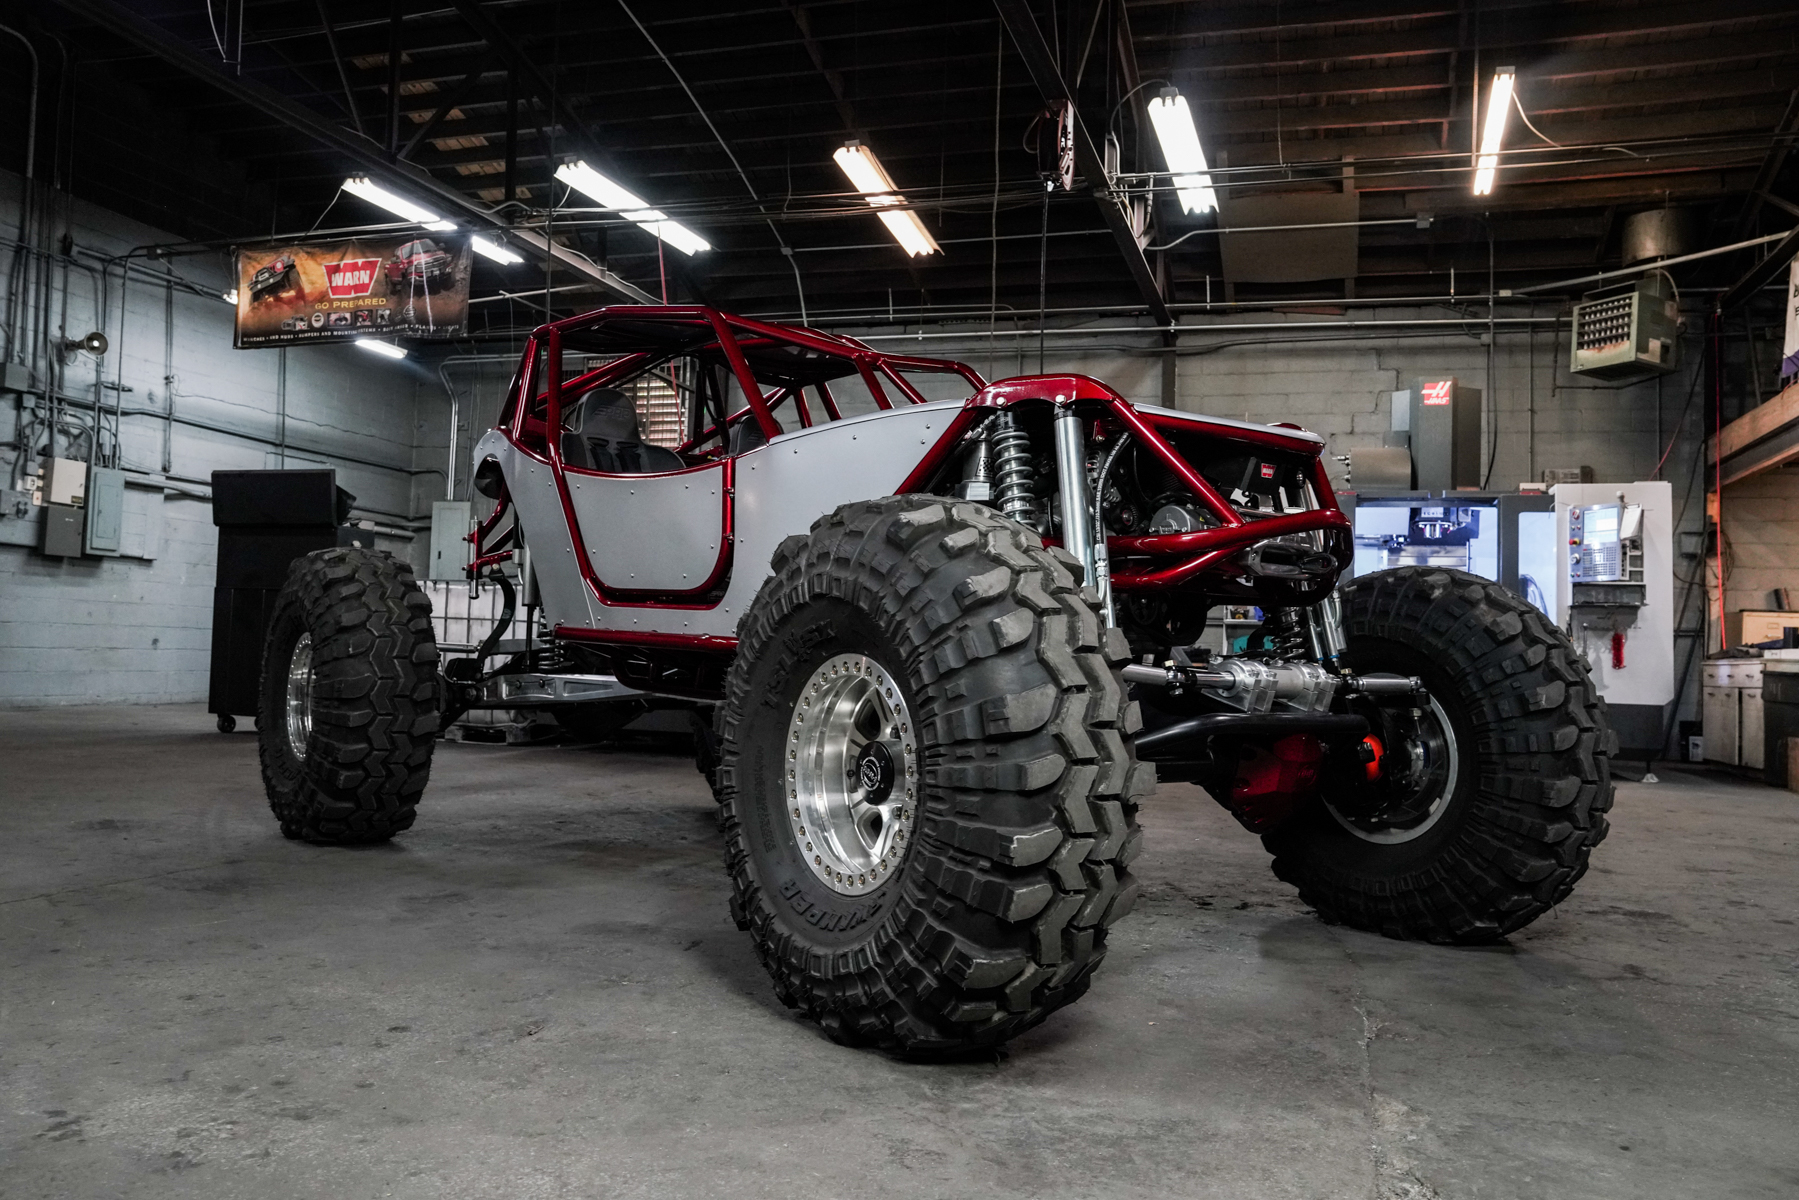
Zack Roy's "Dr. Dirt" - Fj Inspired Rev 2.0 4 Seater
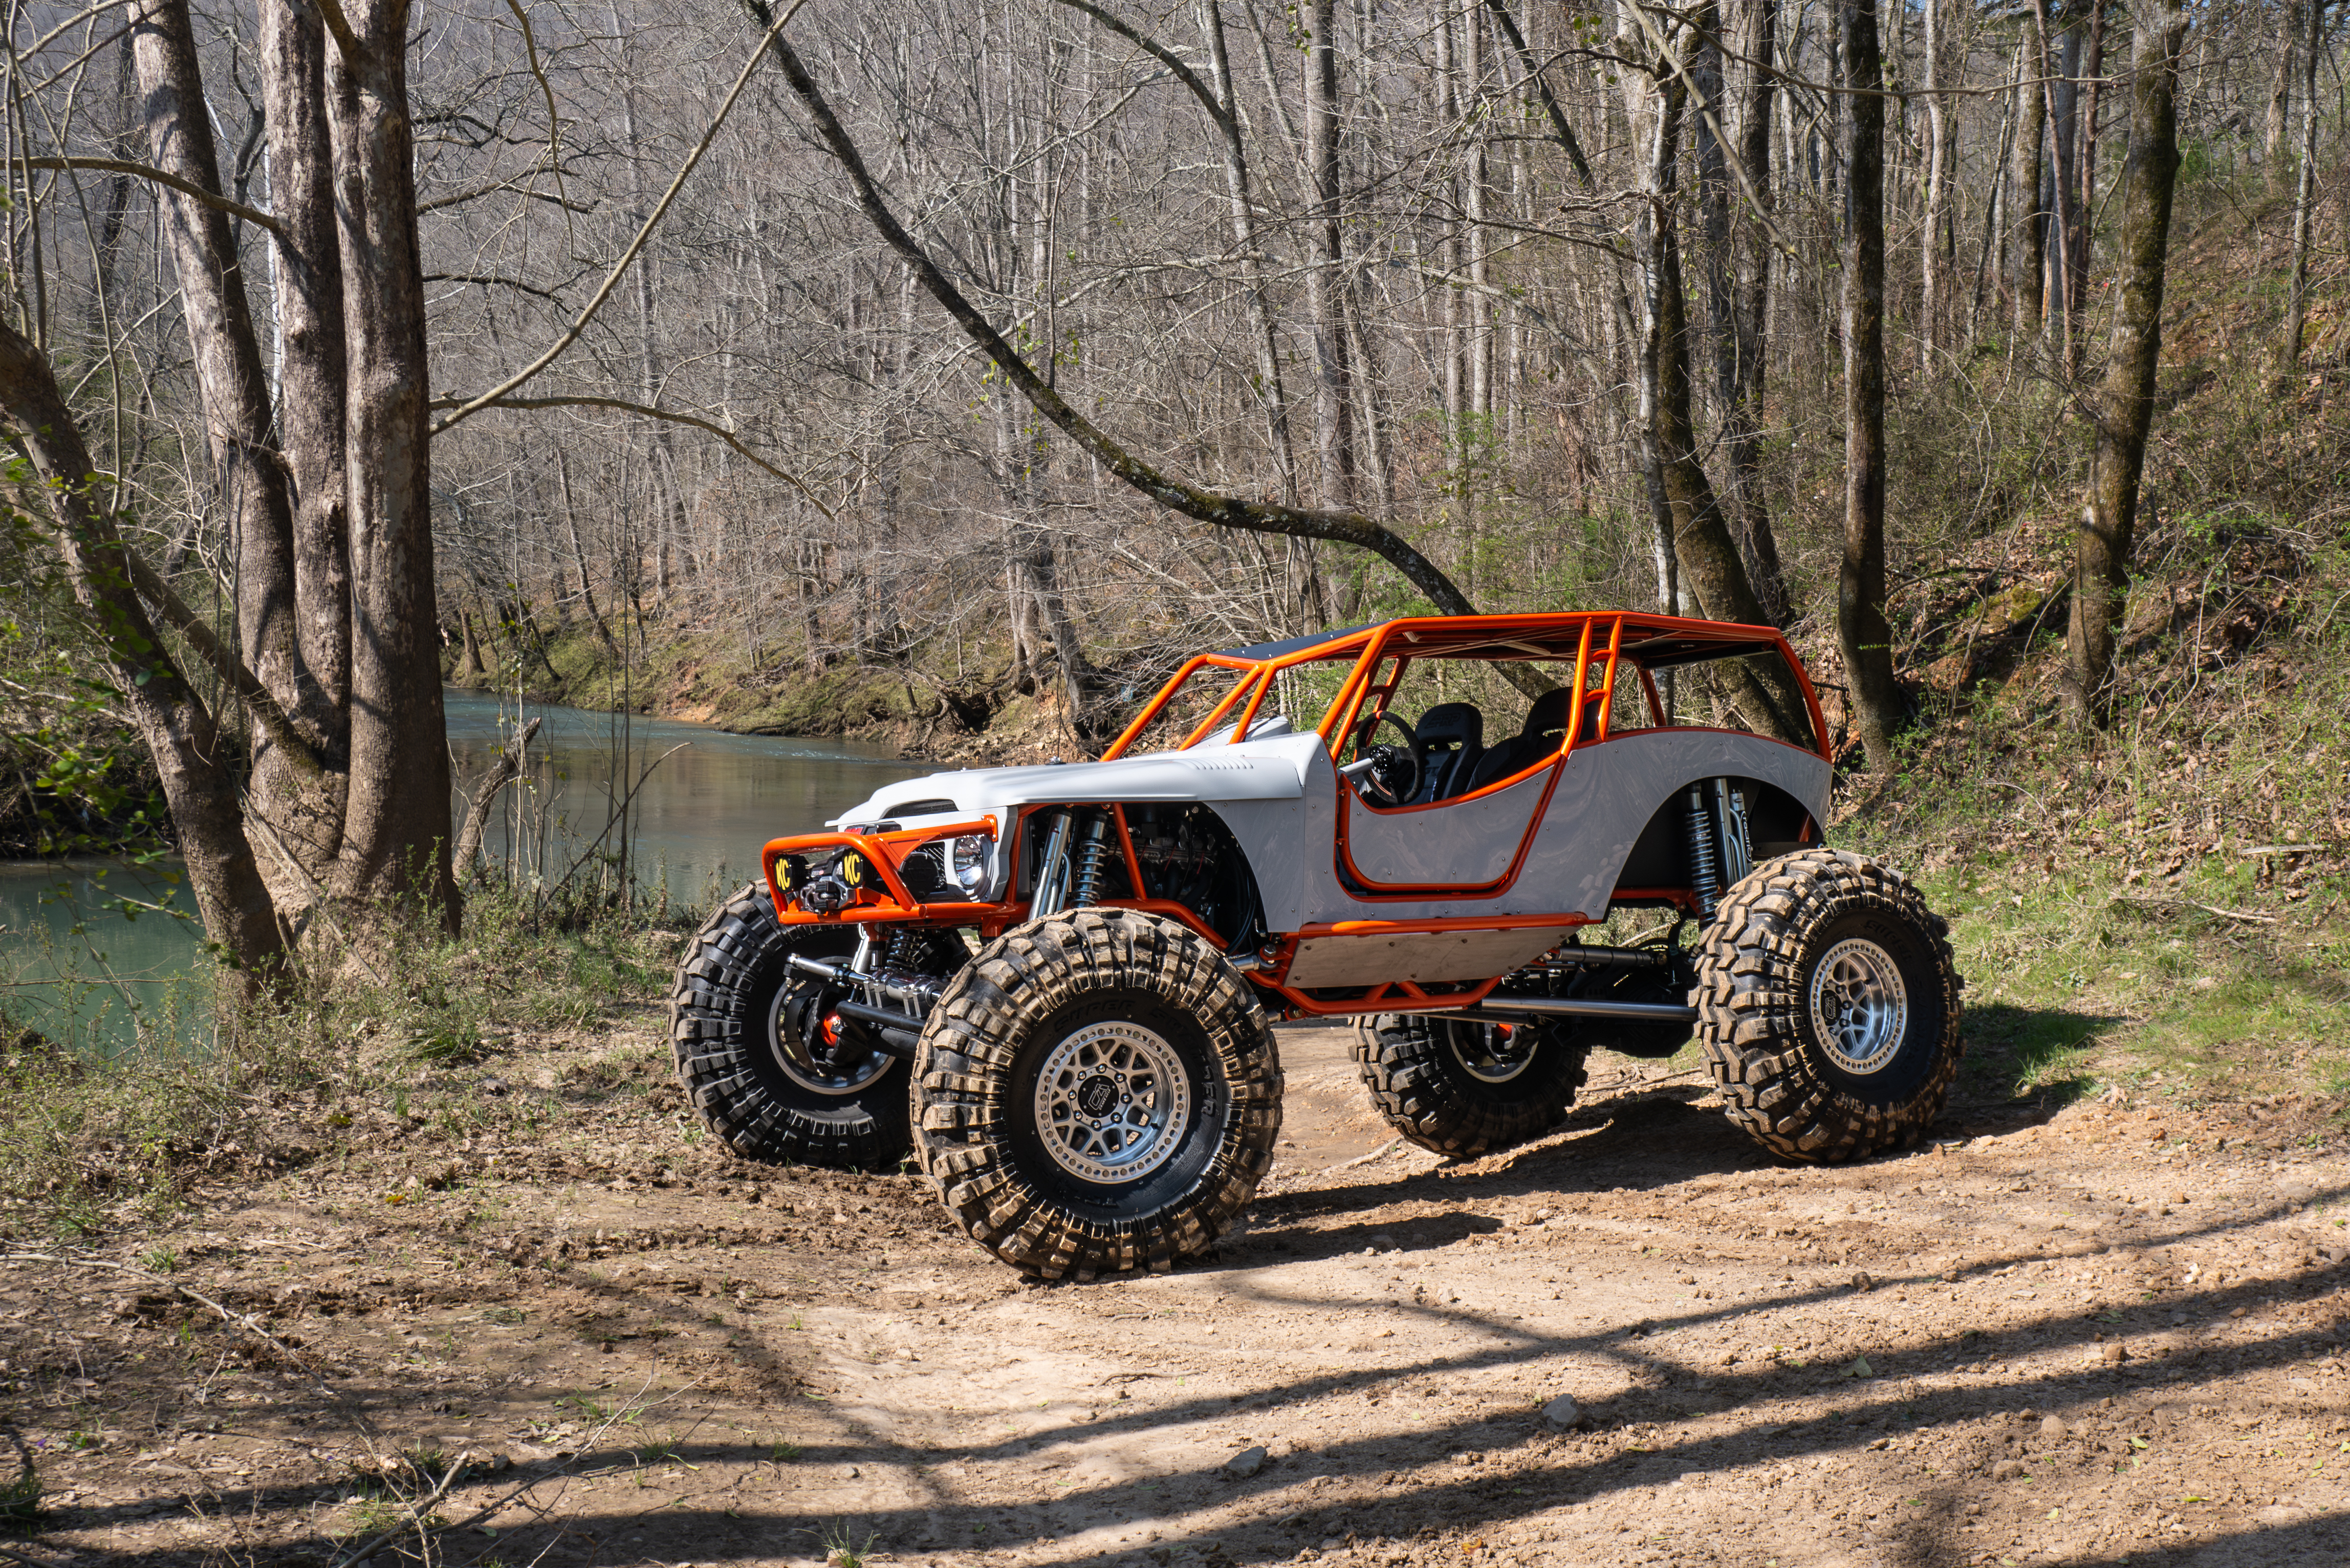 April 12, 2024
 -
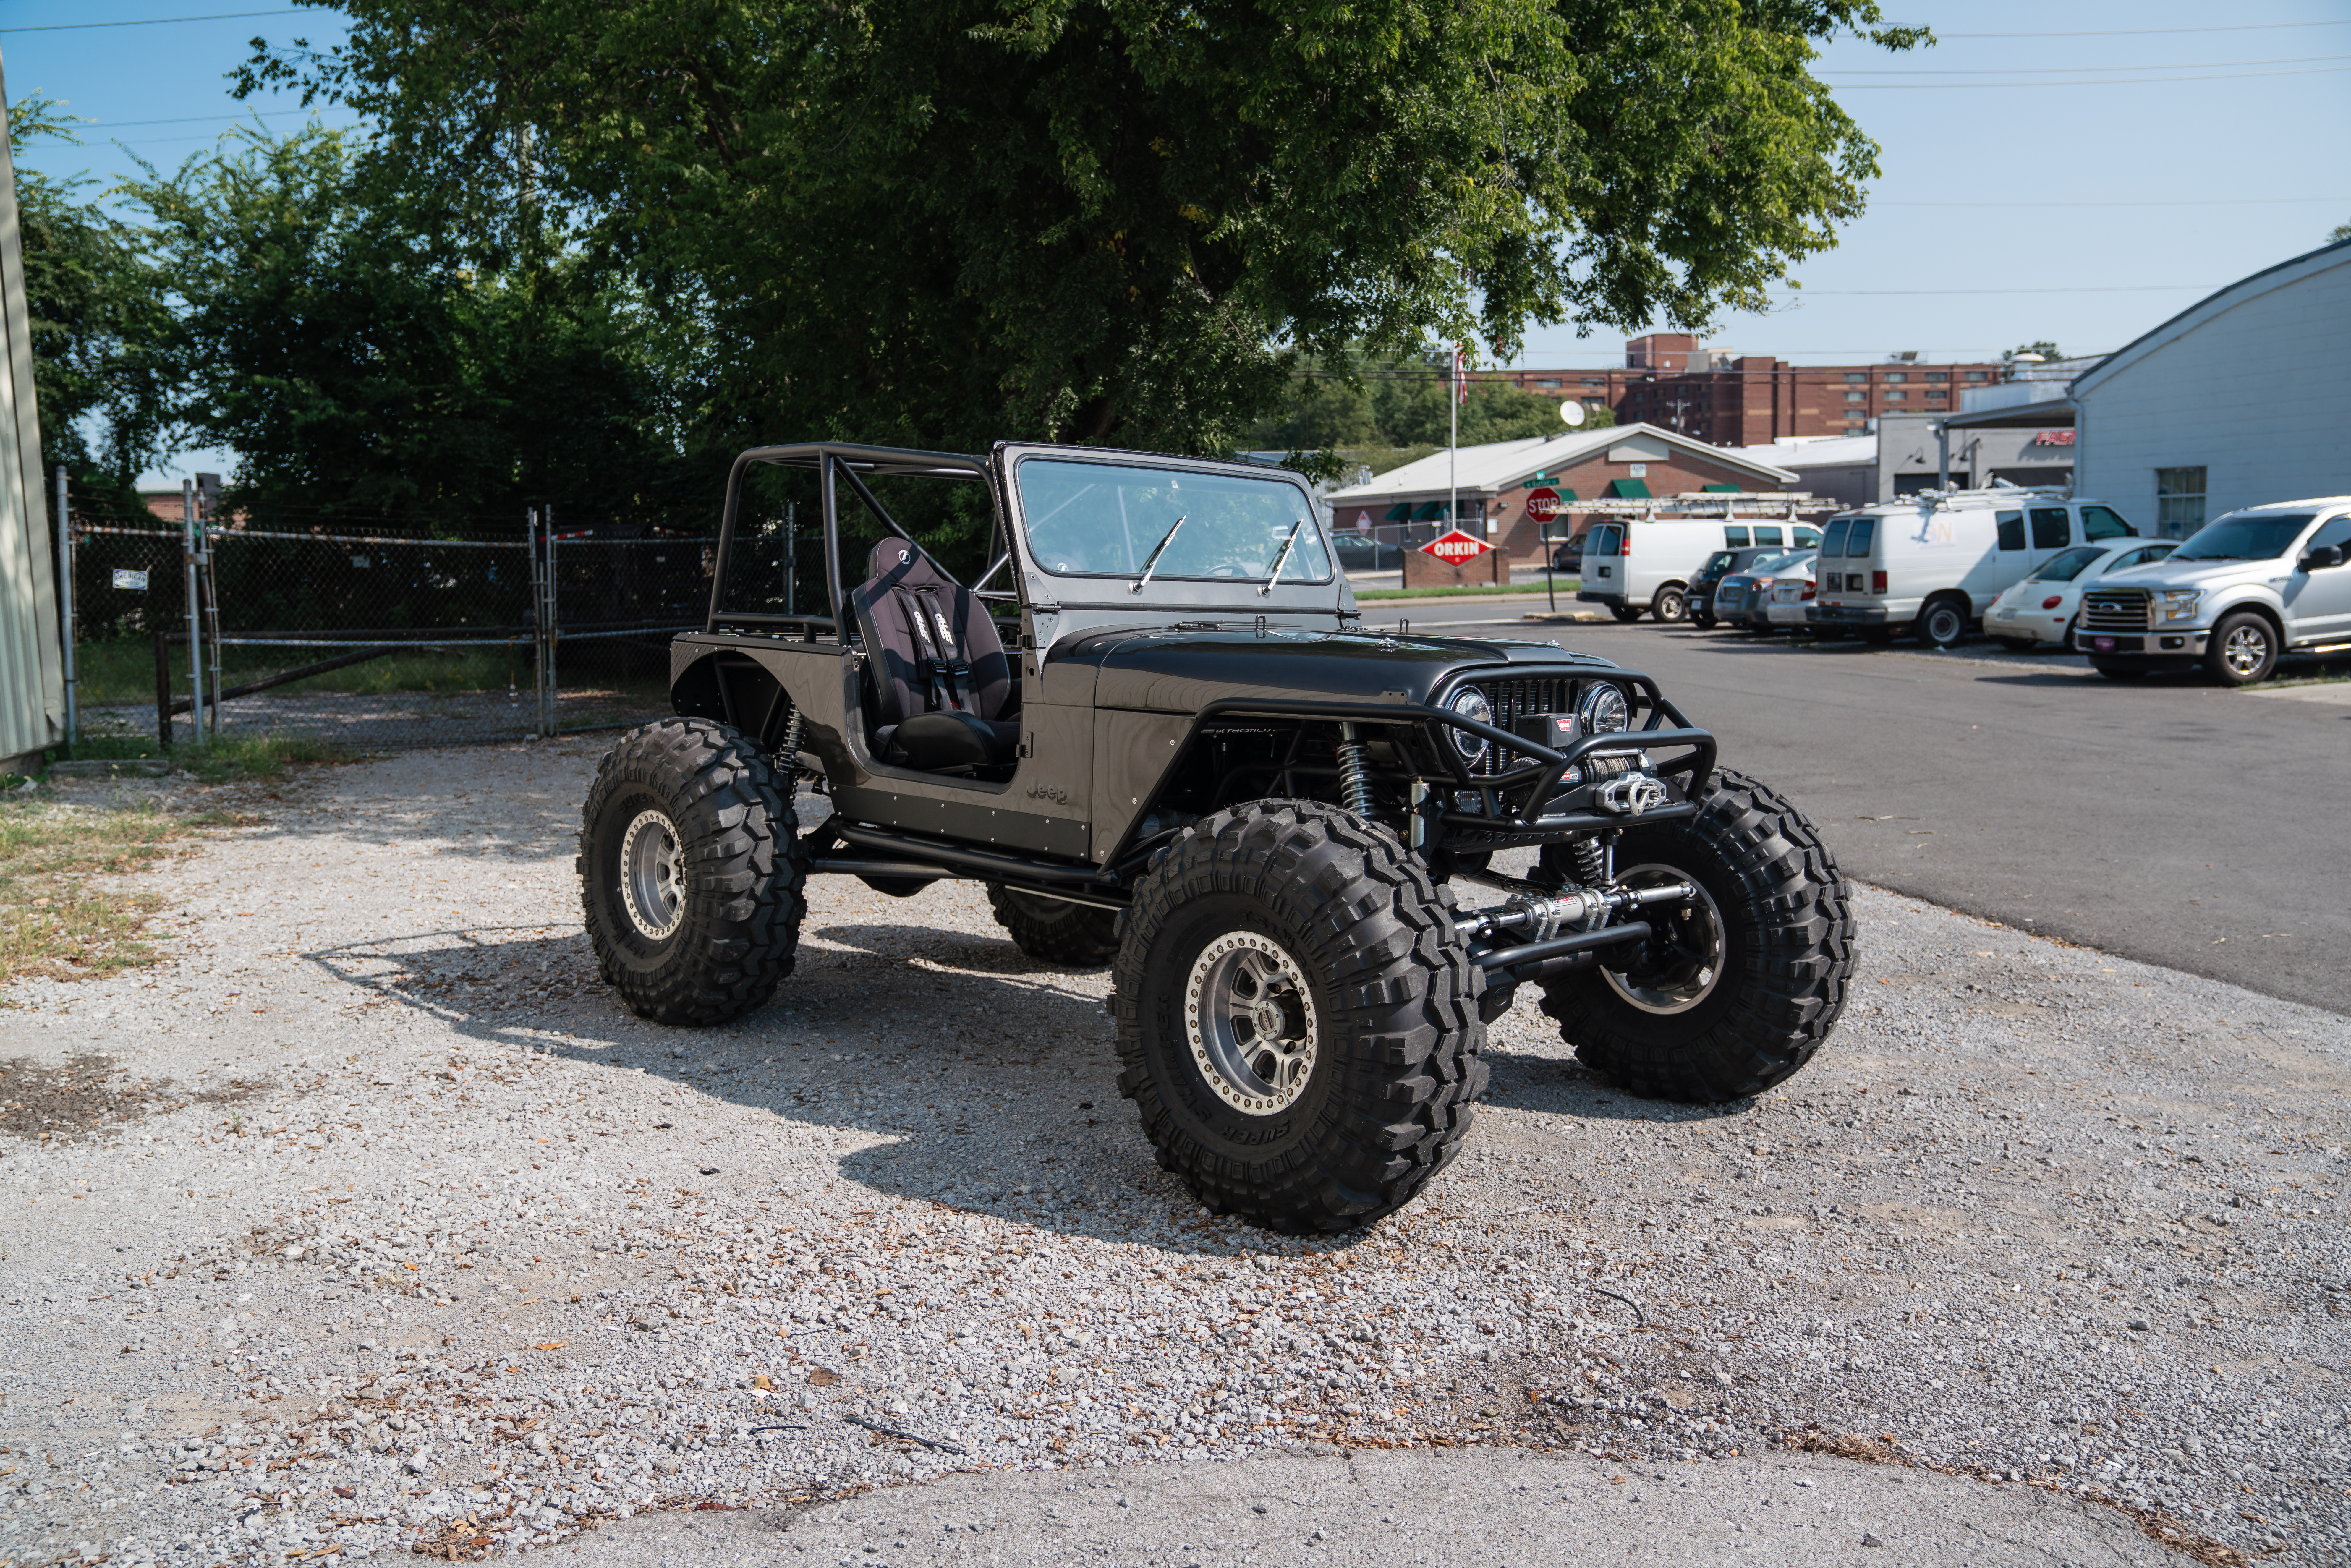
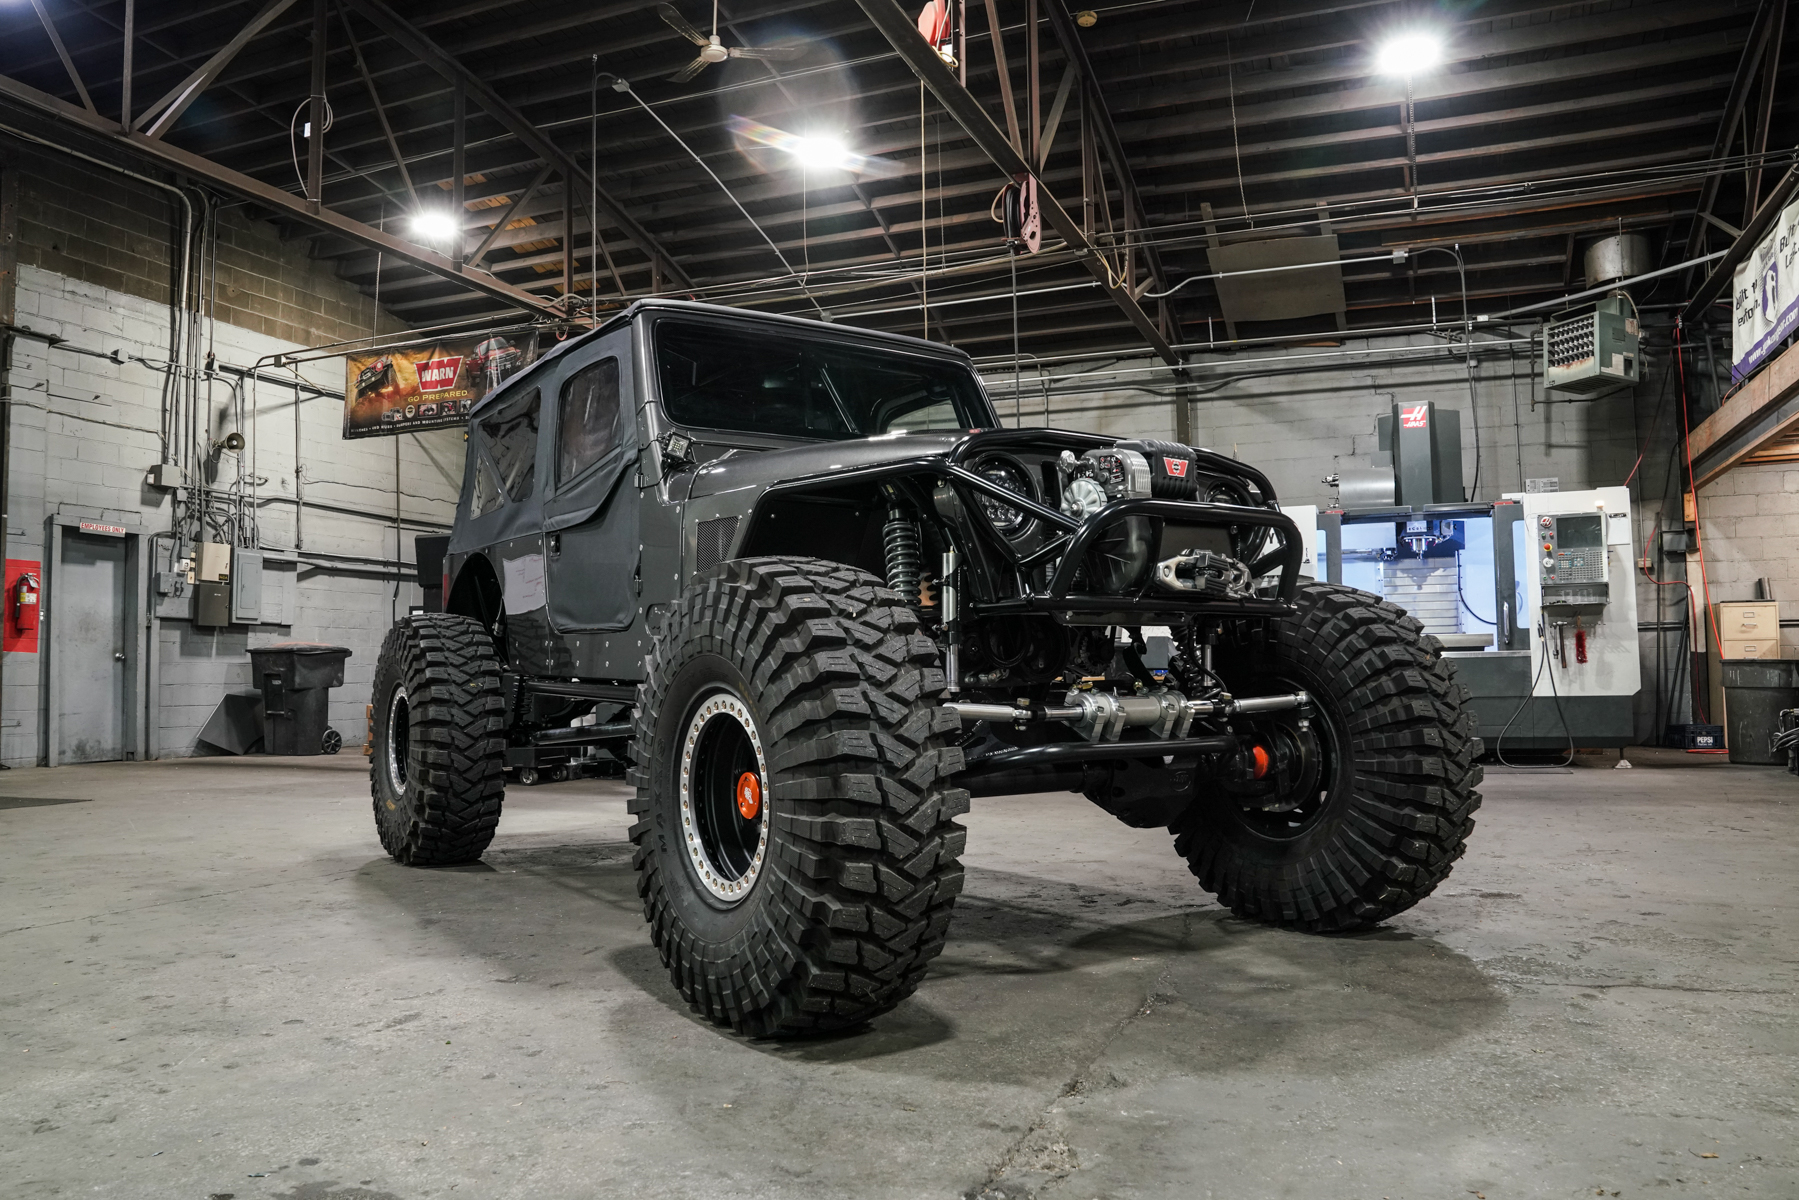
Tom Joseph's Ready to Ride 4 Door JK
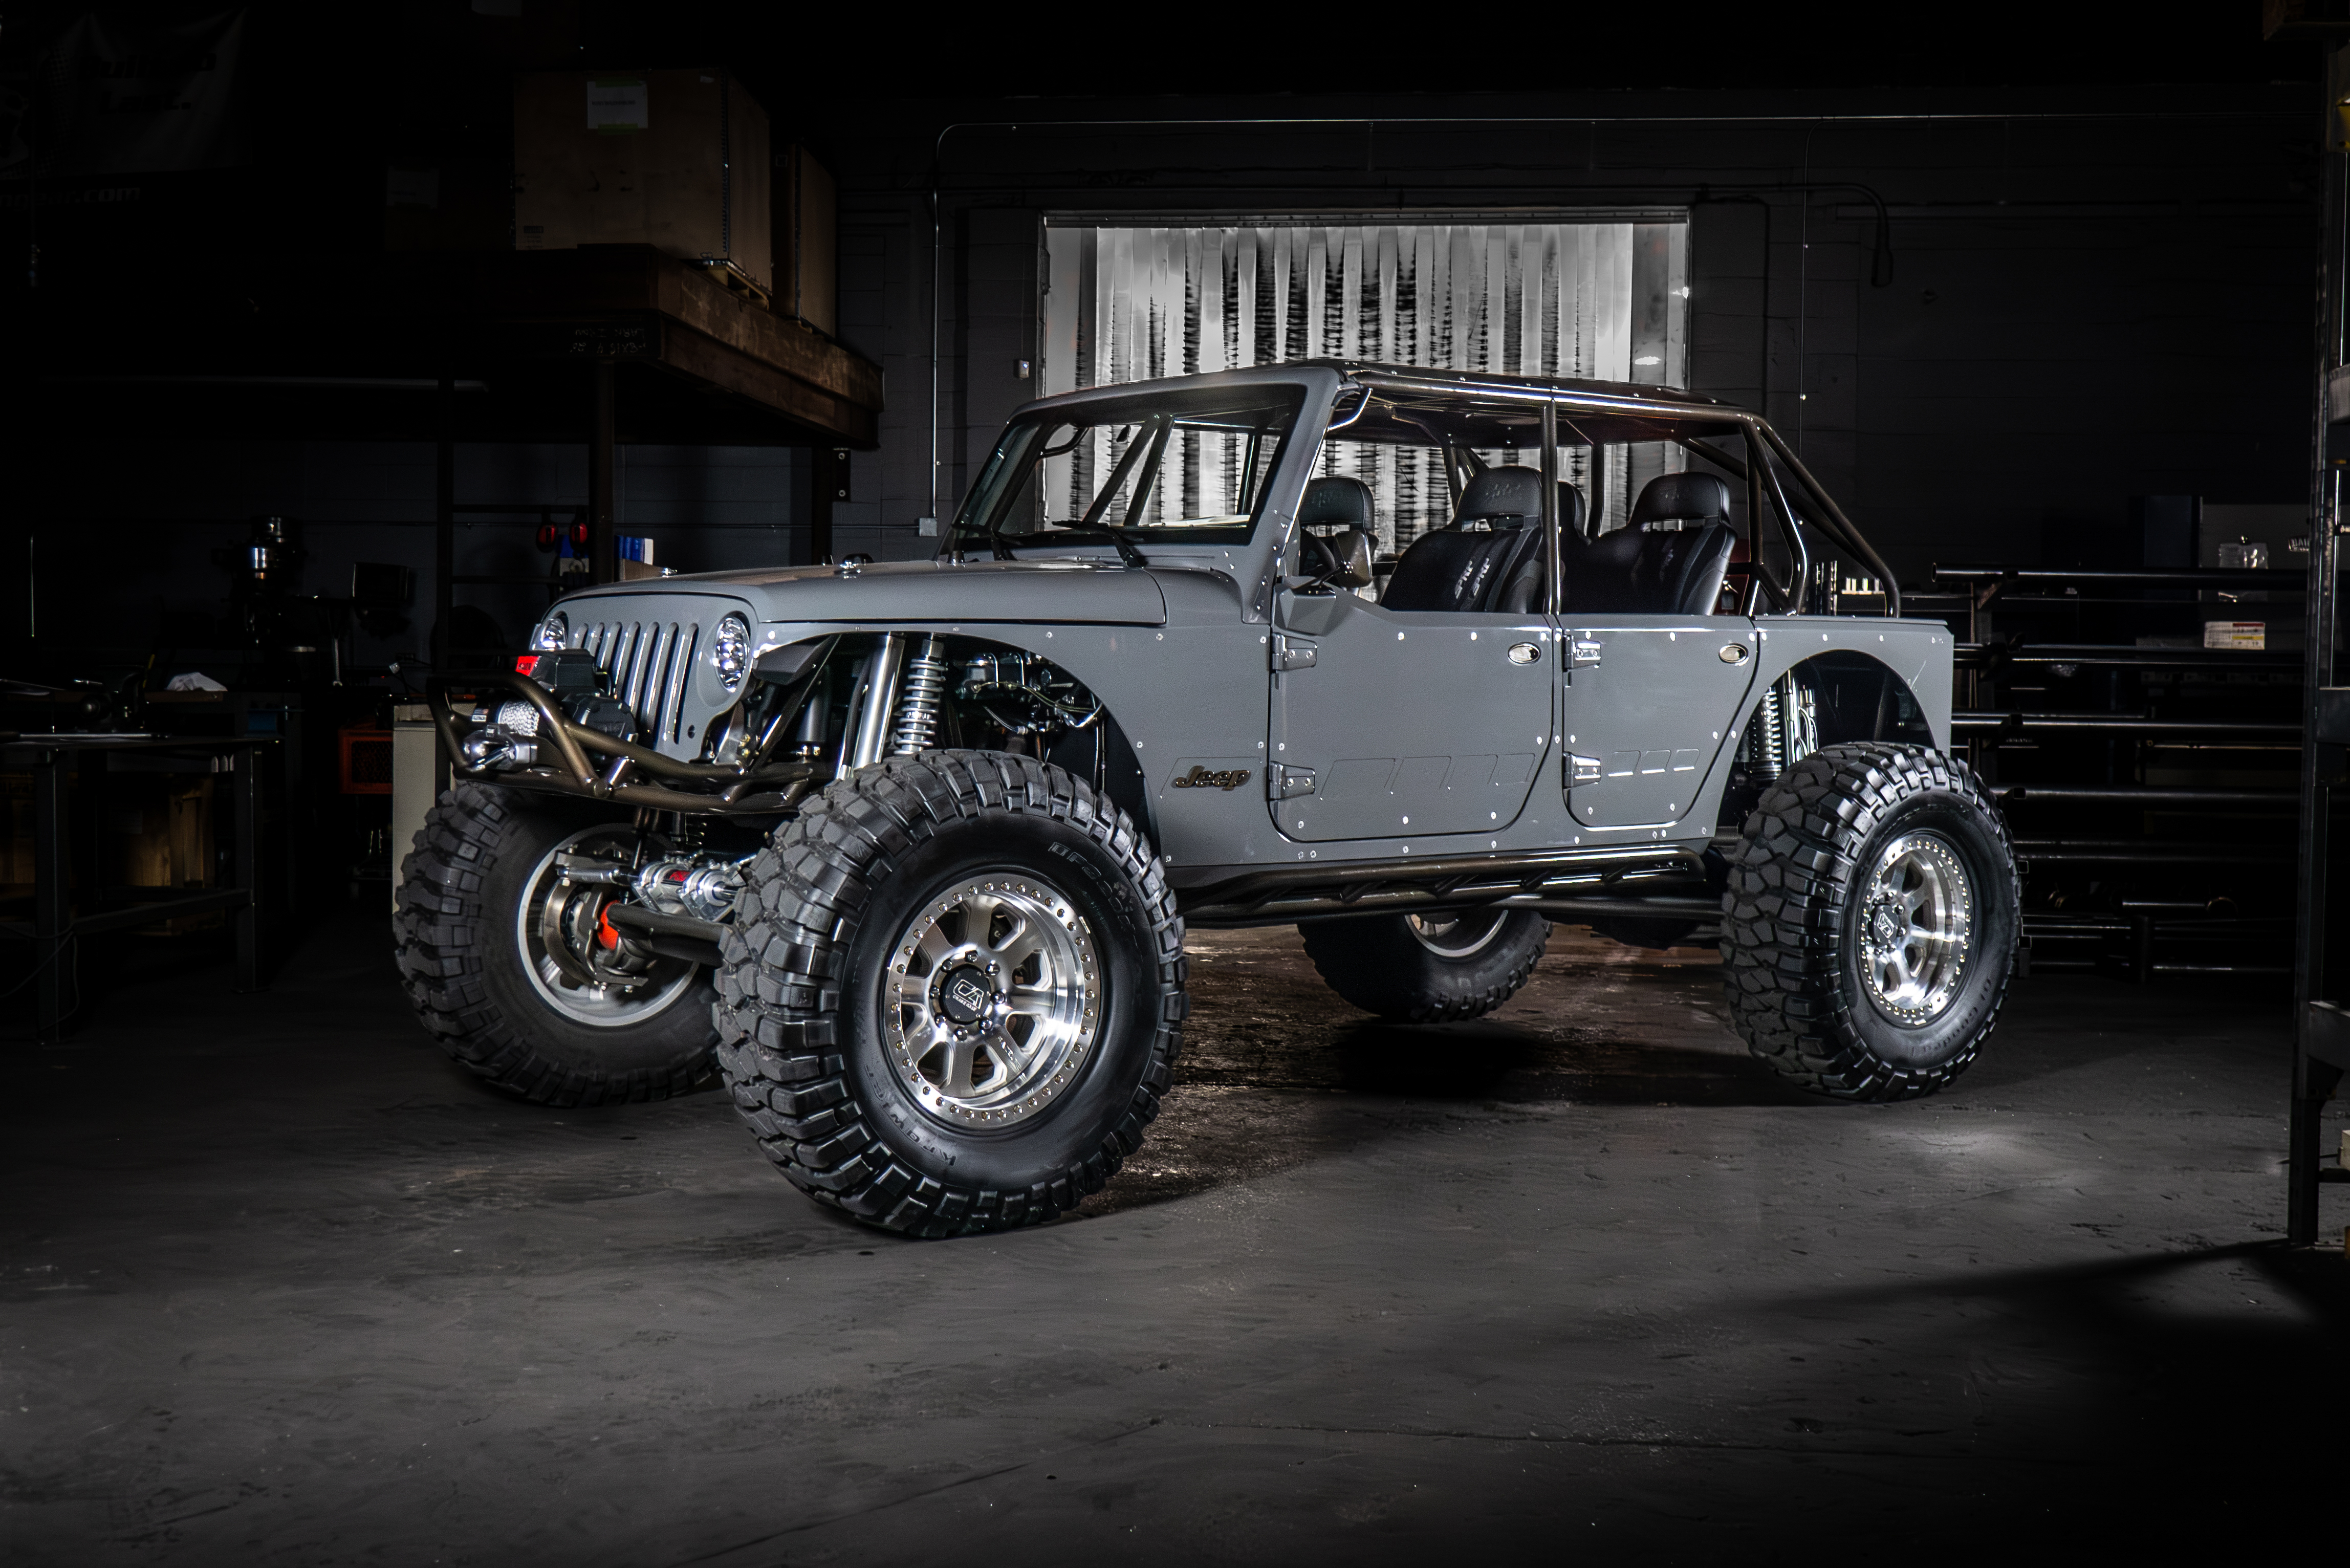 January 26, 2024
 -
Zach Roy's FJ Inspired Revolution 2.0 Turnkey Build Preview
September 22, 2023
-
Jeremy Knight's Jeep LJ
October 31, 2022
-
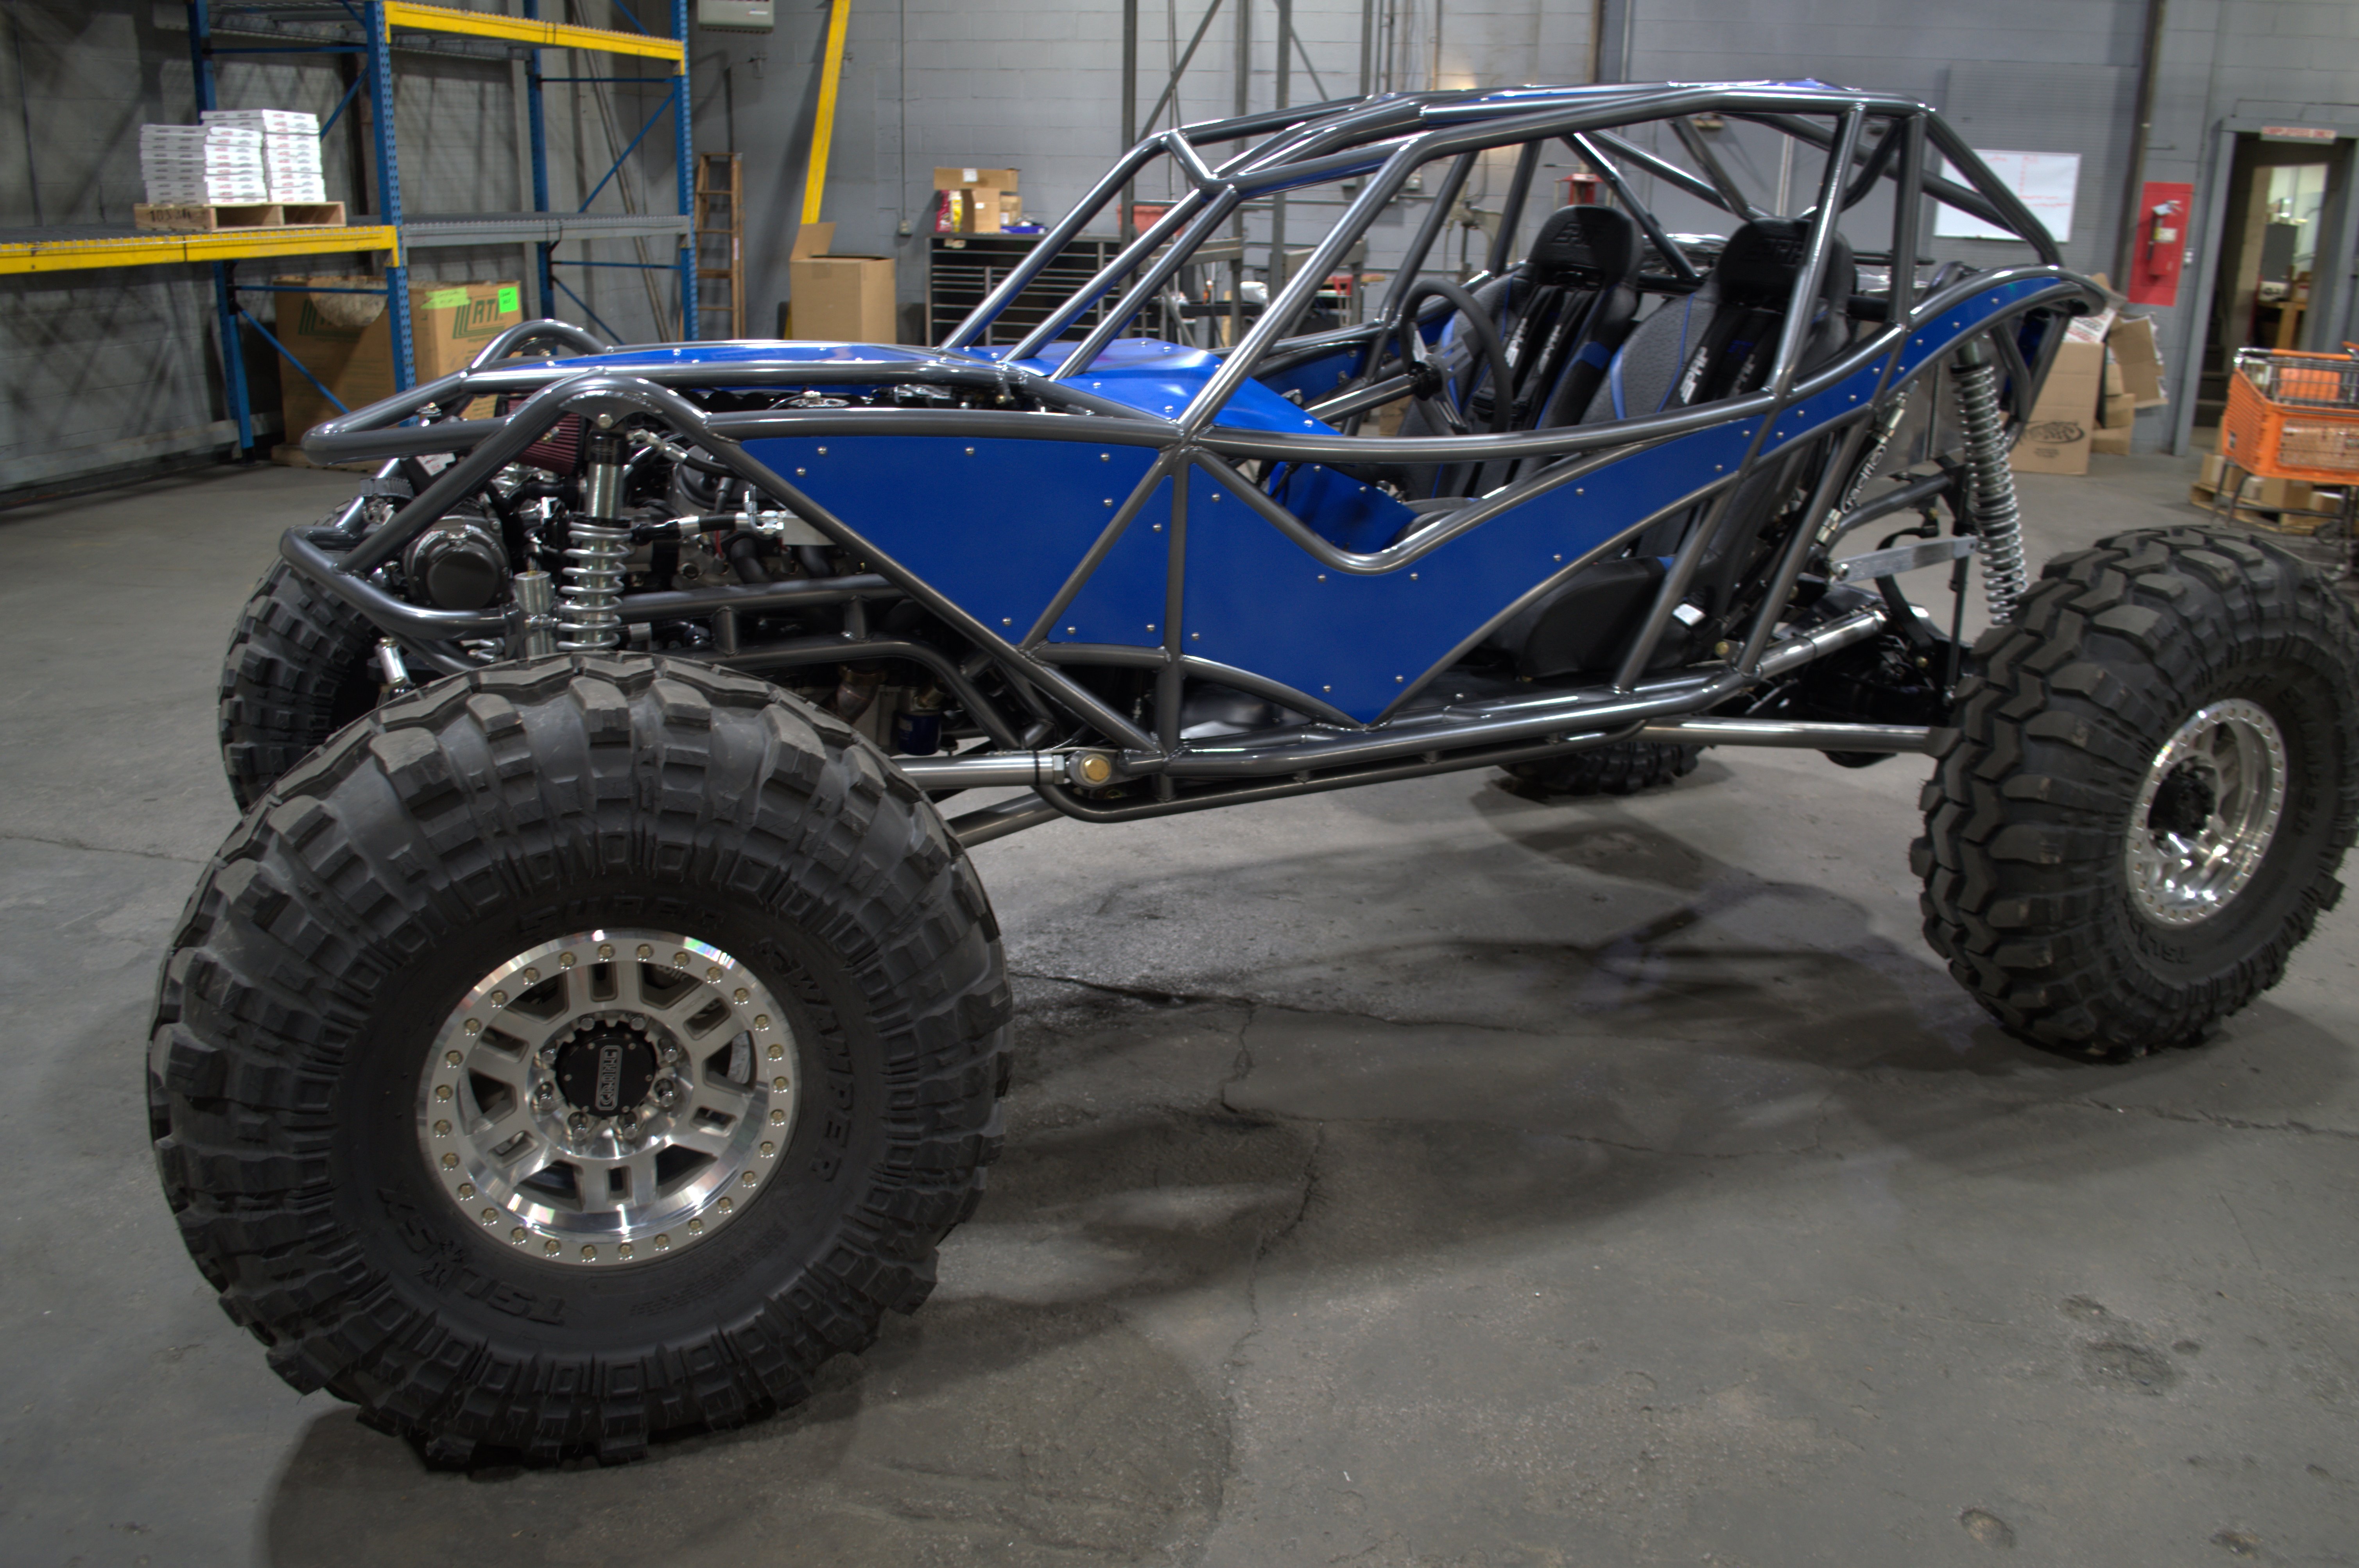
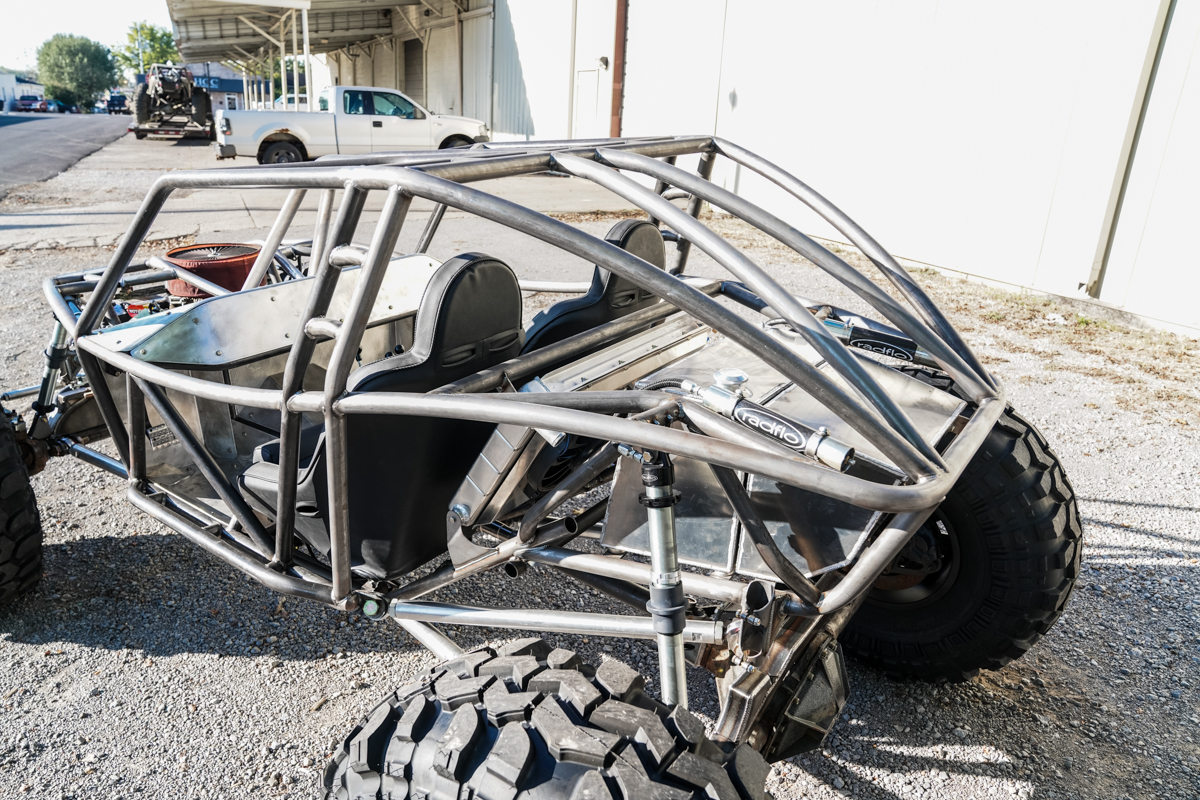
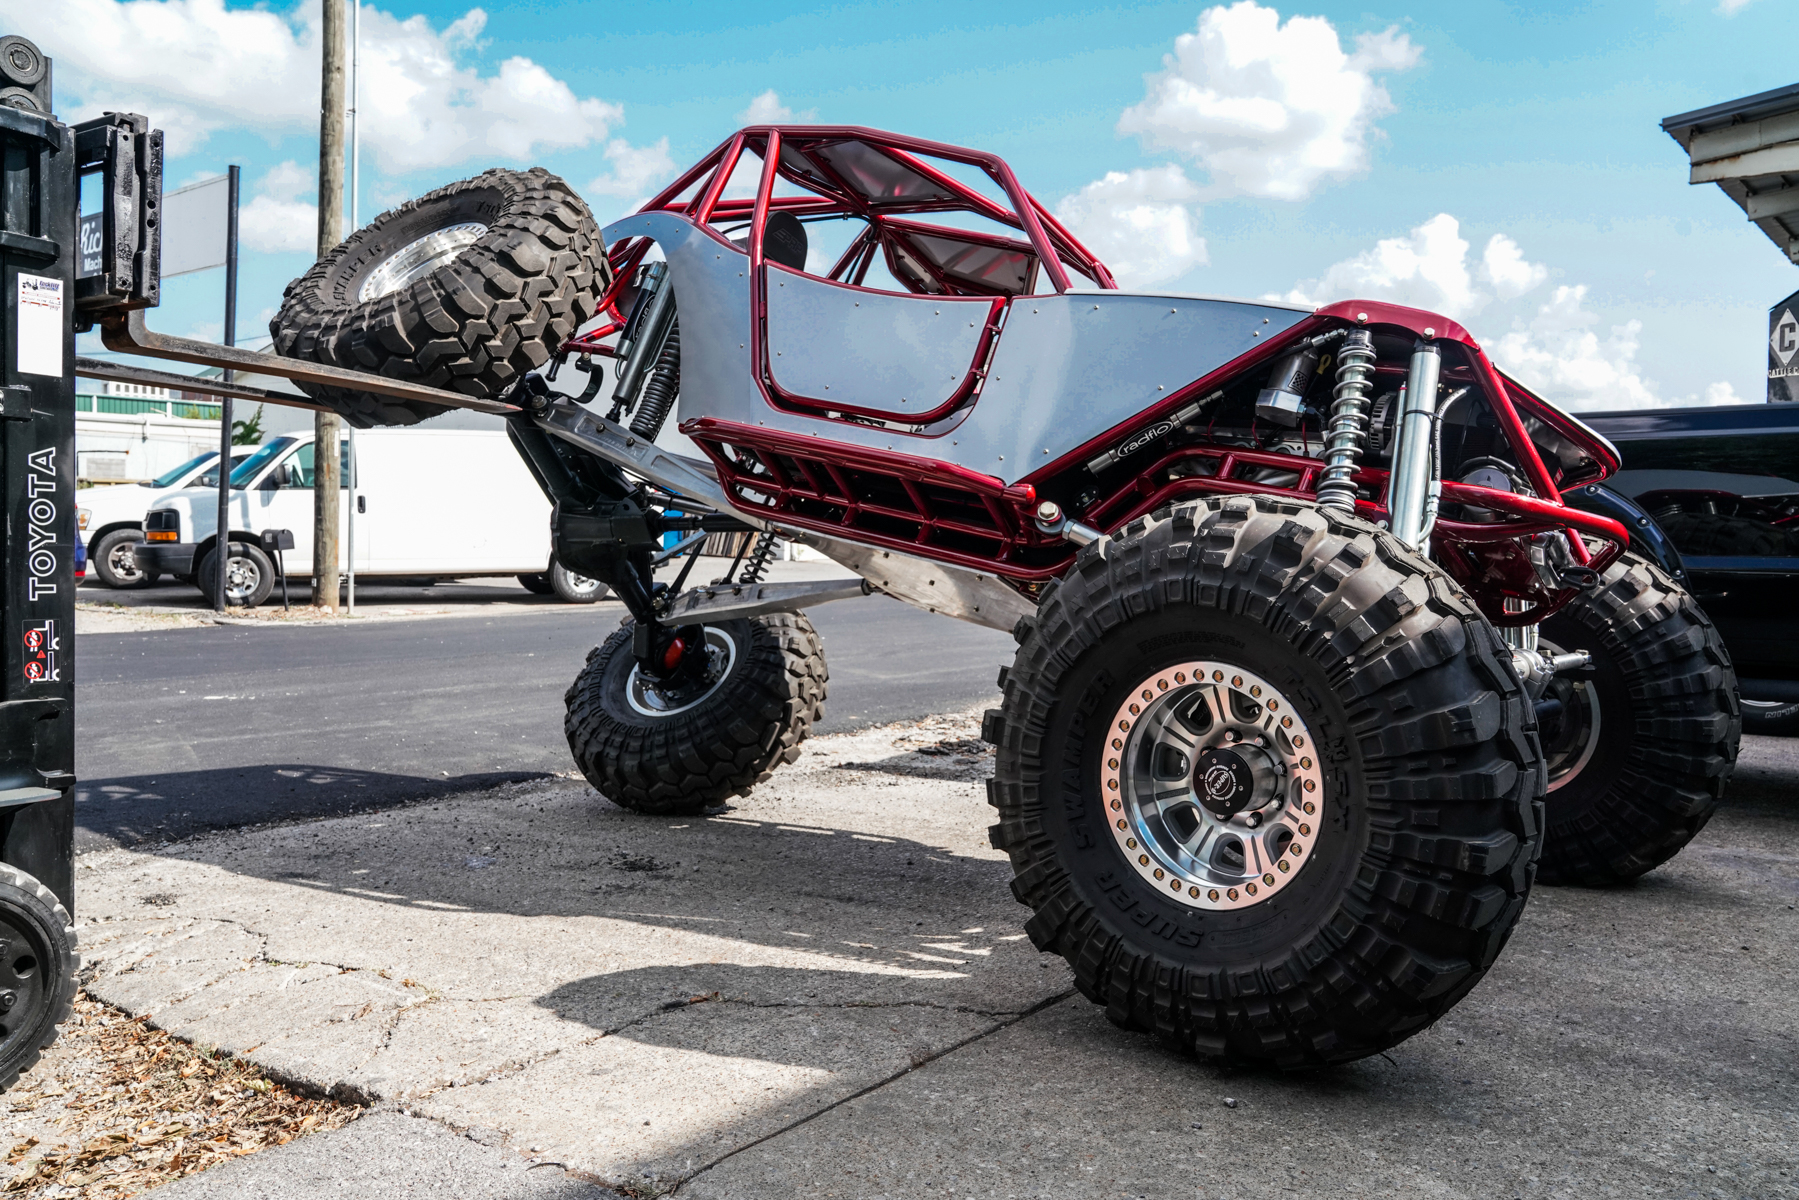
Matt Ryan's Revolution 2.0 Buggy
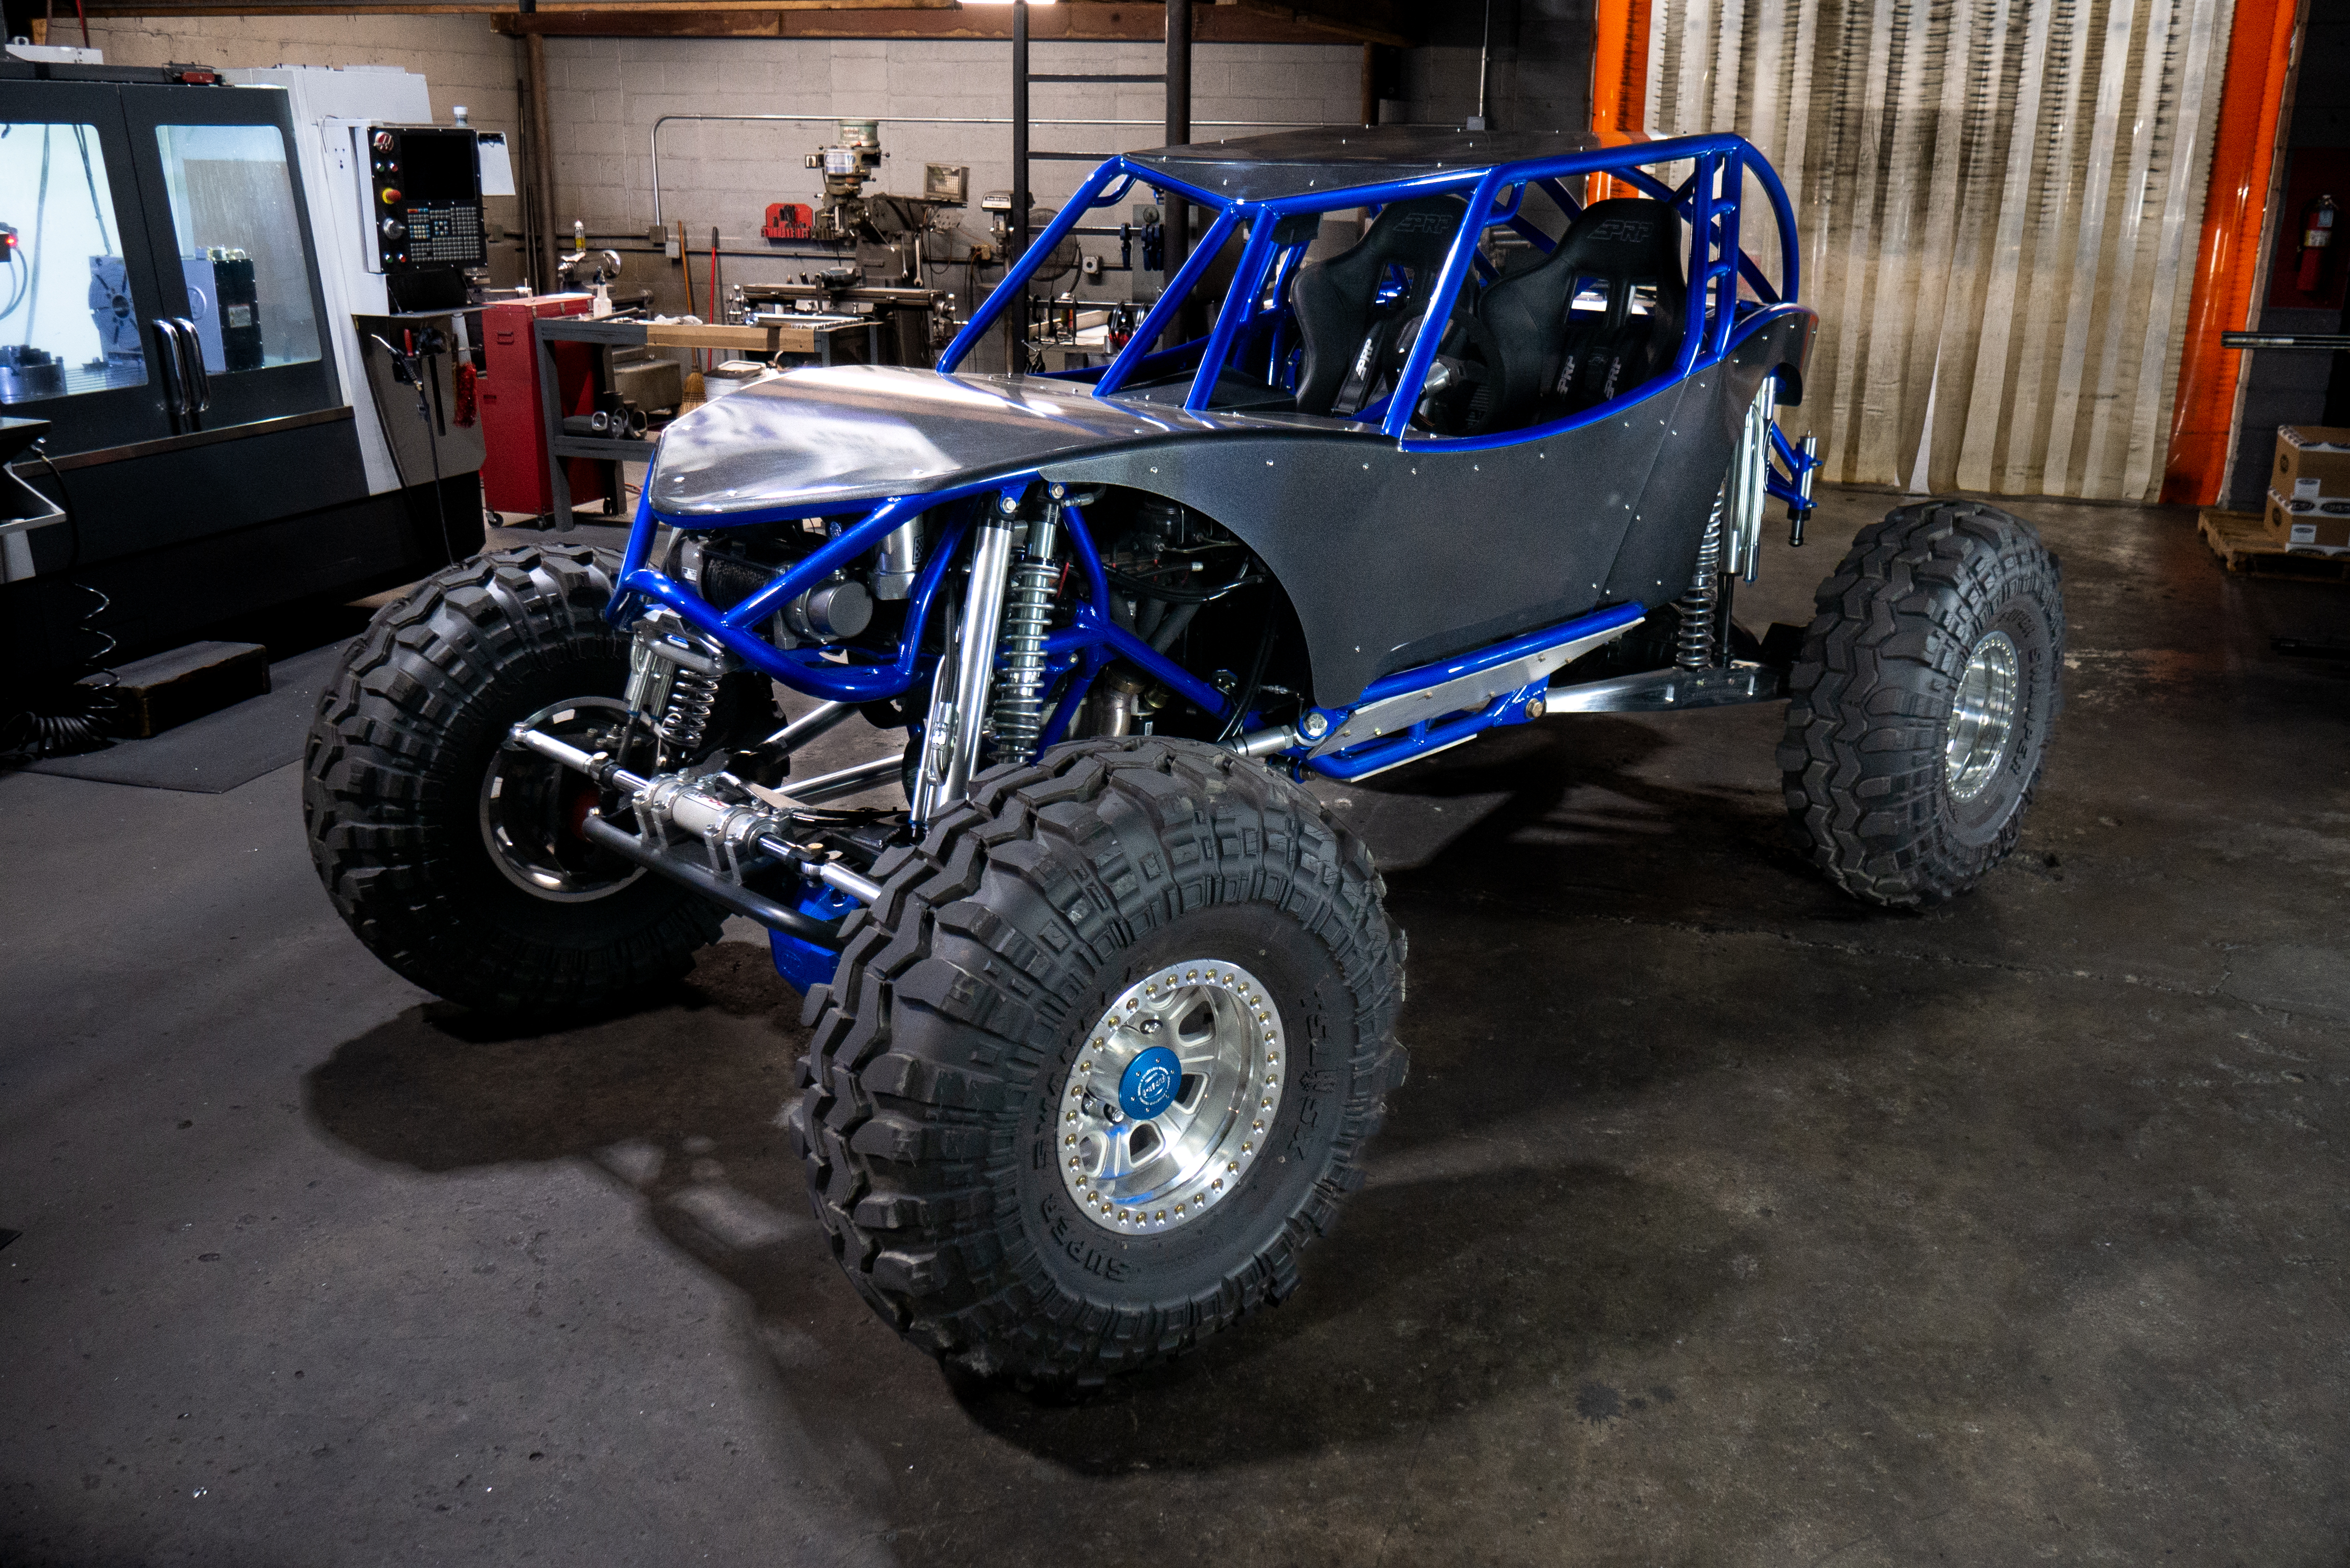 October 31, 2022
 -
Amanda Helton Rev 2.0
 December 20, 2021
 -
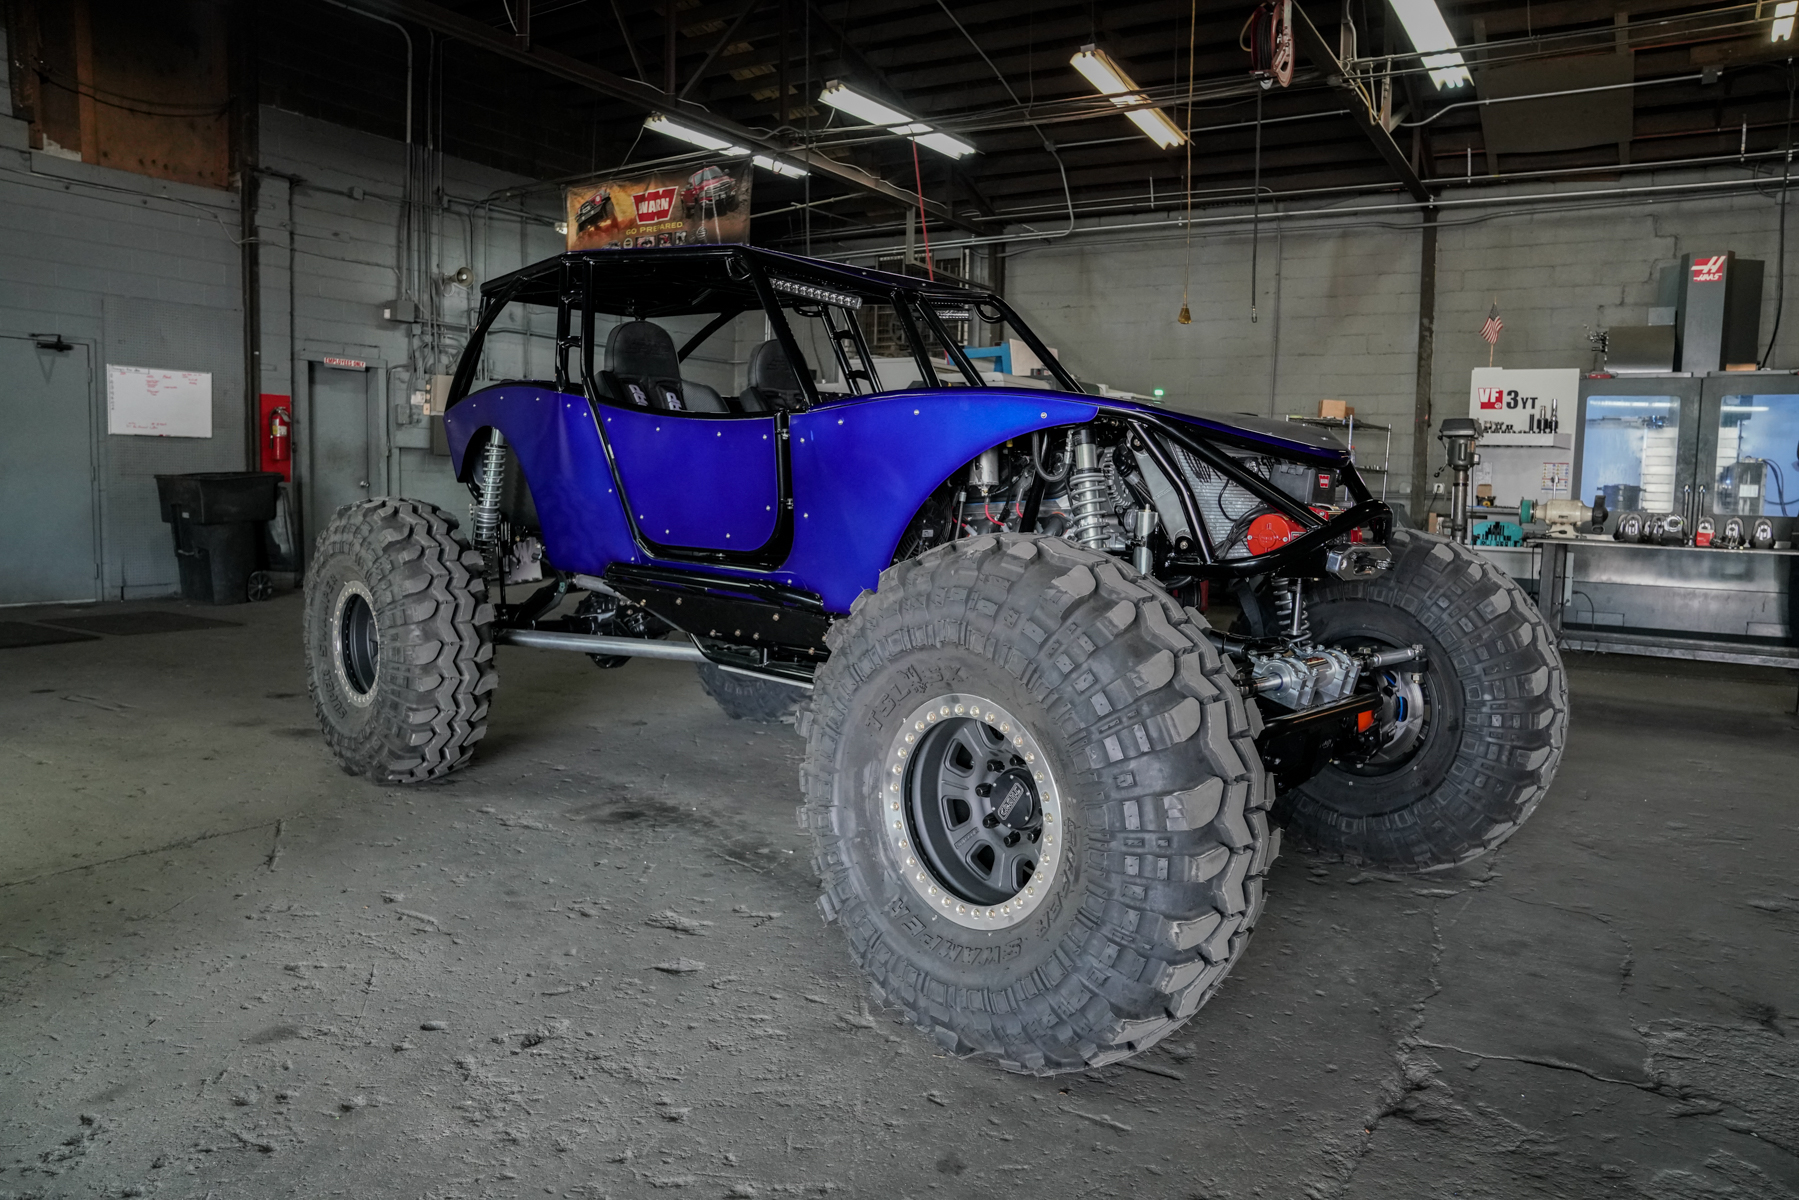
Brad Ferrell's Rock Bouncer X
December 16, 2021
-
Nakoa Rockbouncer X Buggy
 December 16, 2021
 -
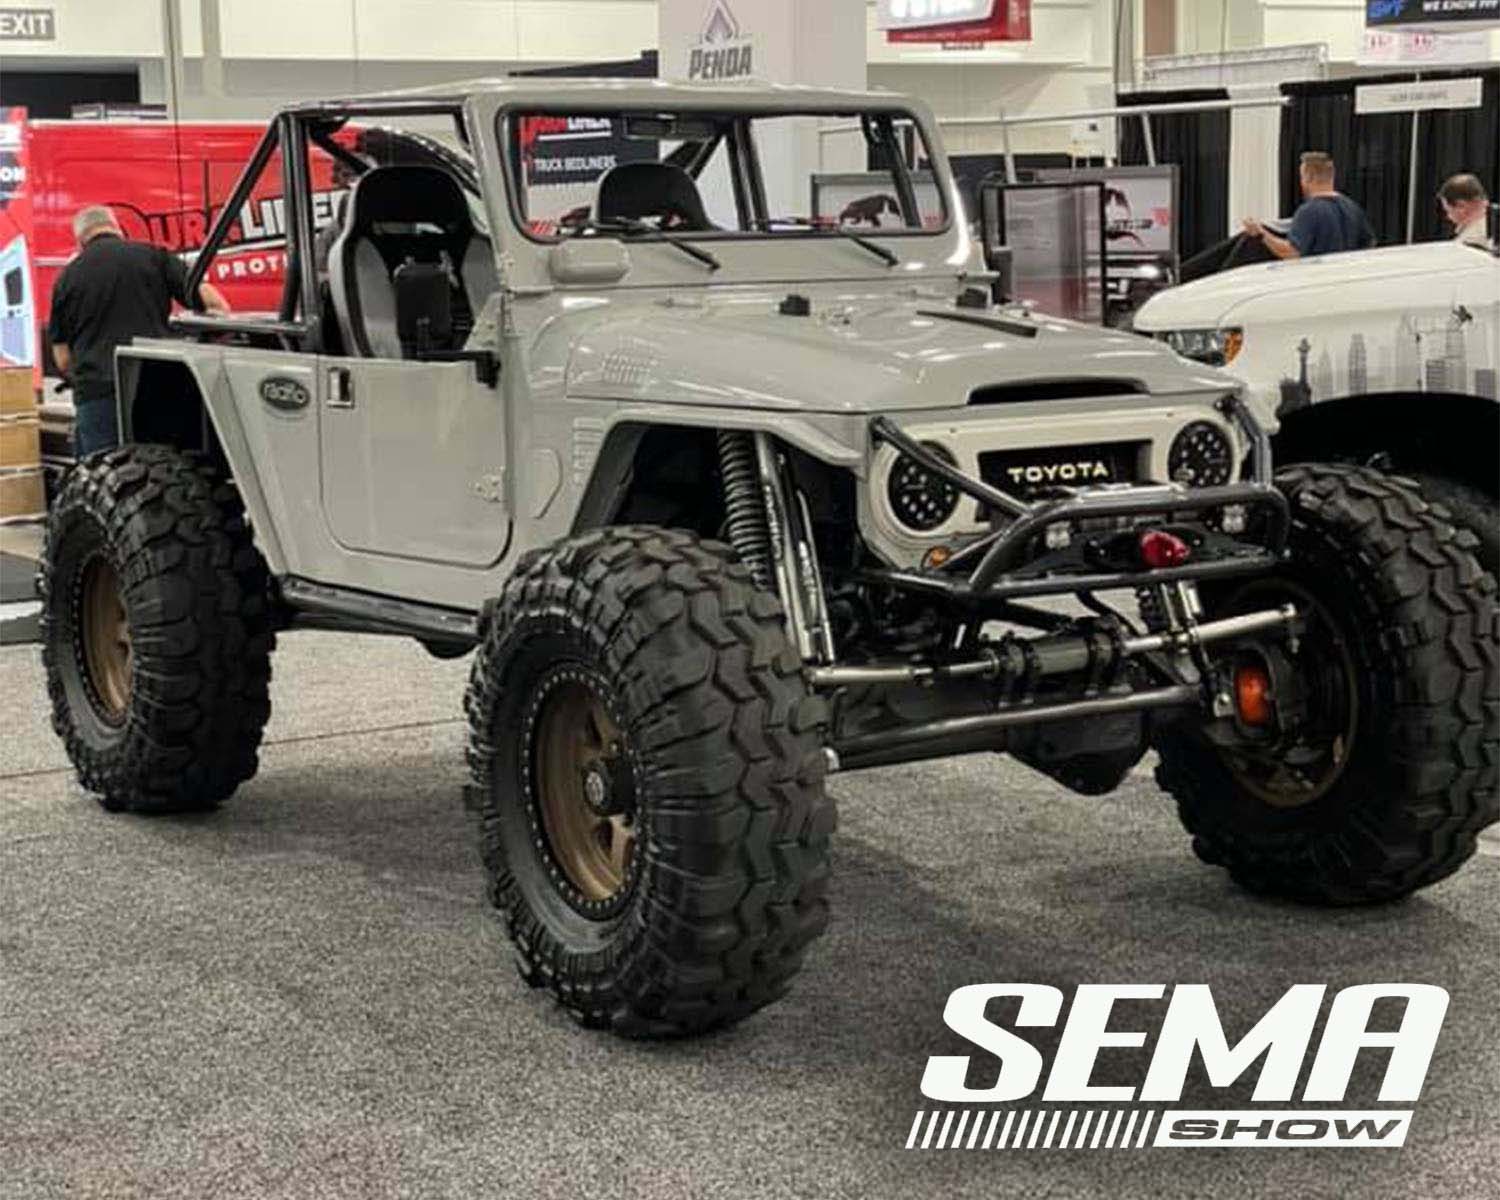
Richard McIntosh's FJ-40
 December 13, 2021
 -
Weathersbee Jeep LJ Turn Key Chassis Build
 December 14, 2020
 -
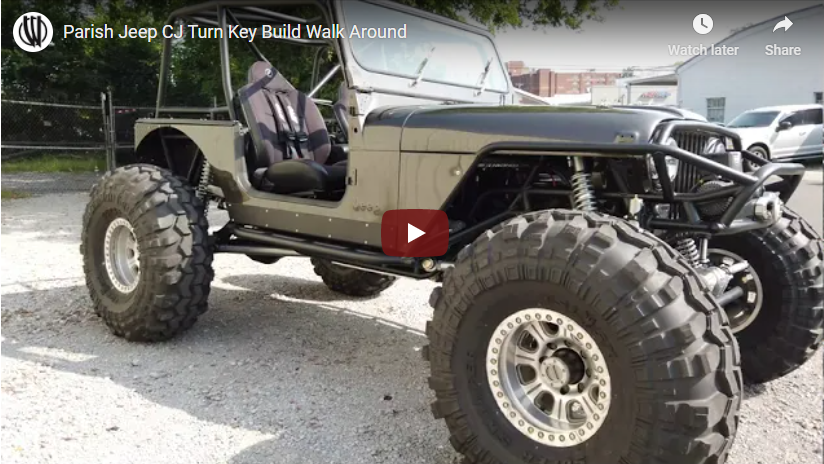
Parish Jeep CJ Turn Key Build Walk Around
 October 14, 2020
 -
Using a Baileigh R-M55 Roll Bender for a Rock Bouncer
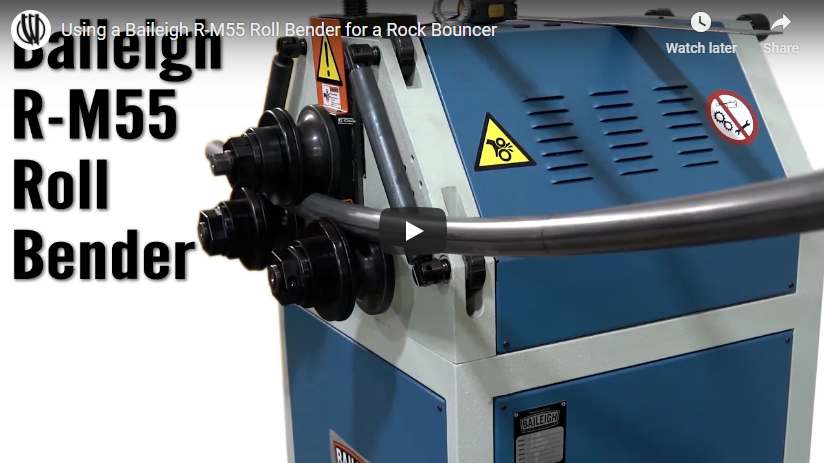 October 13, 2020
 -
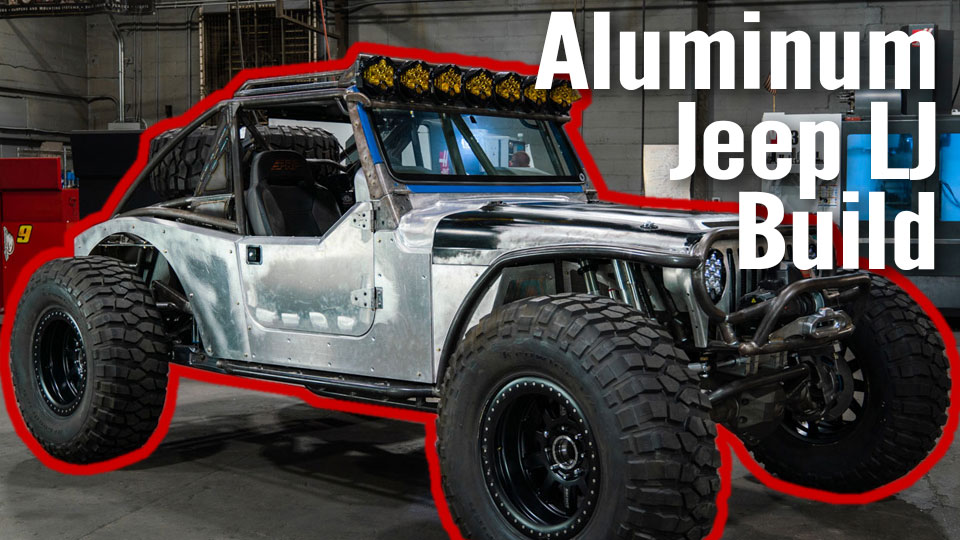
Aluminum Jeep LJ Build in Detail
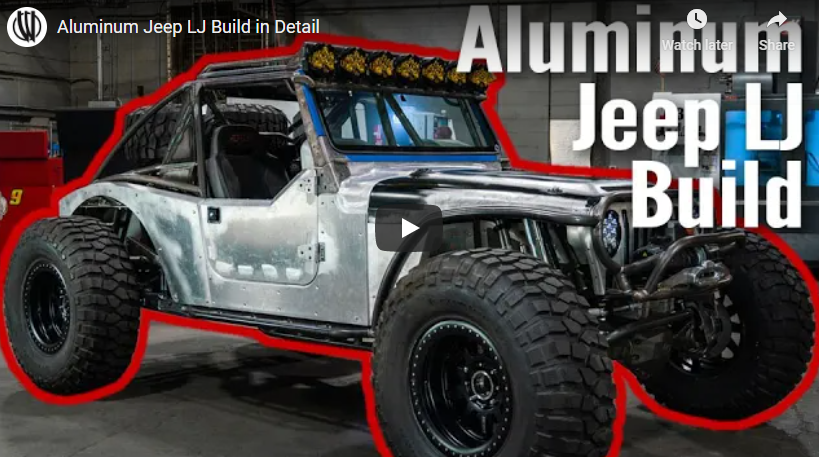 October 9, 2020
 -
Using the Baileigh BP-3305 CNC Press Brake to make a Trough
 October 8, 2020
 -
Emulsion vs Remote Reservoir Coilover Shocks - The Differences Between the Two & When to Use Each
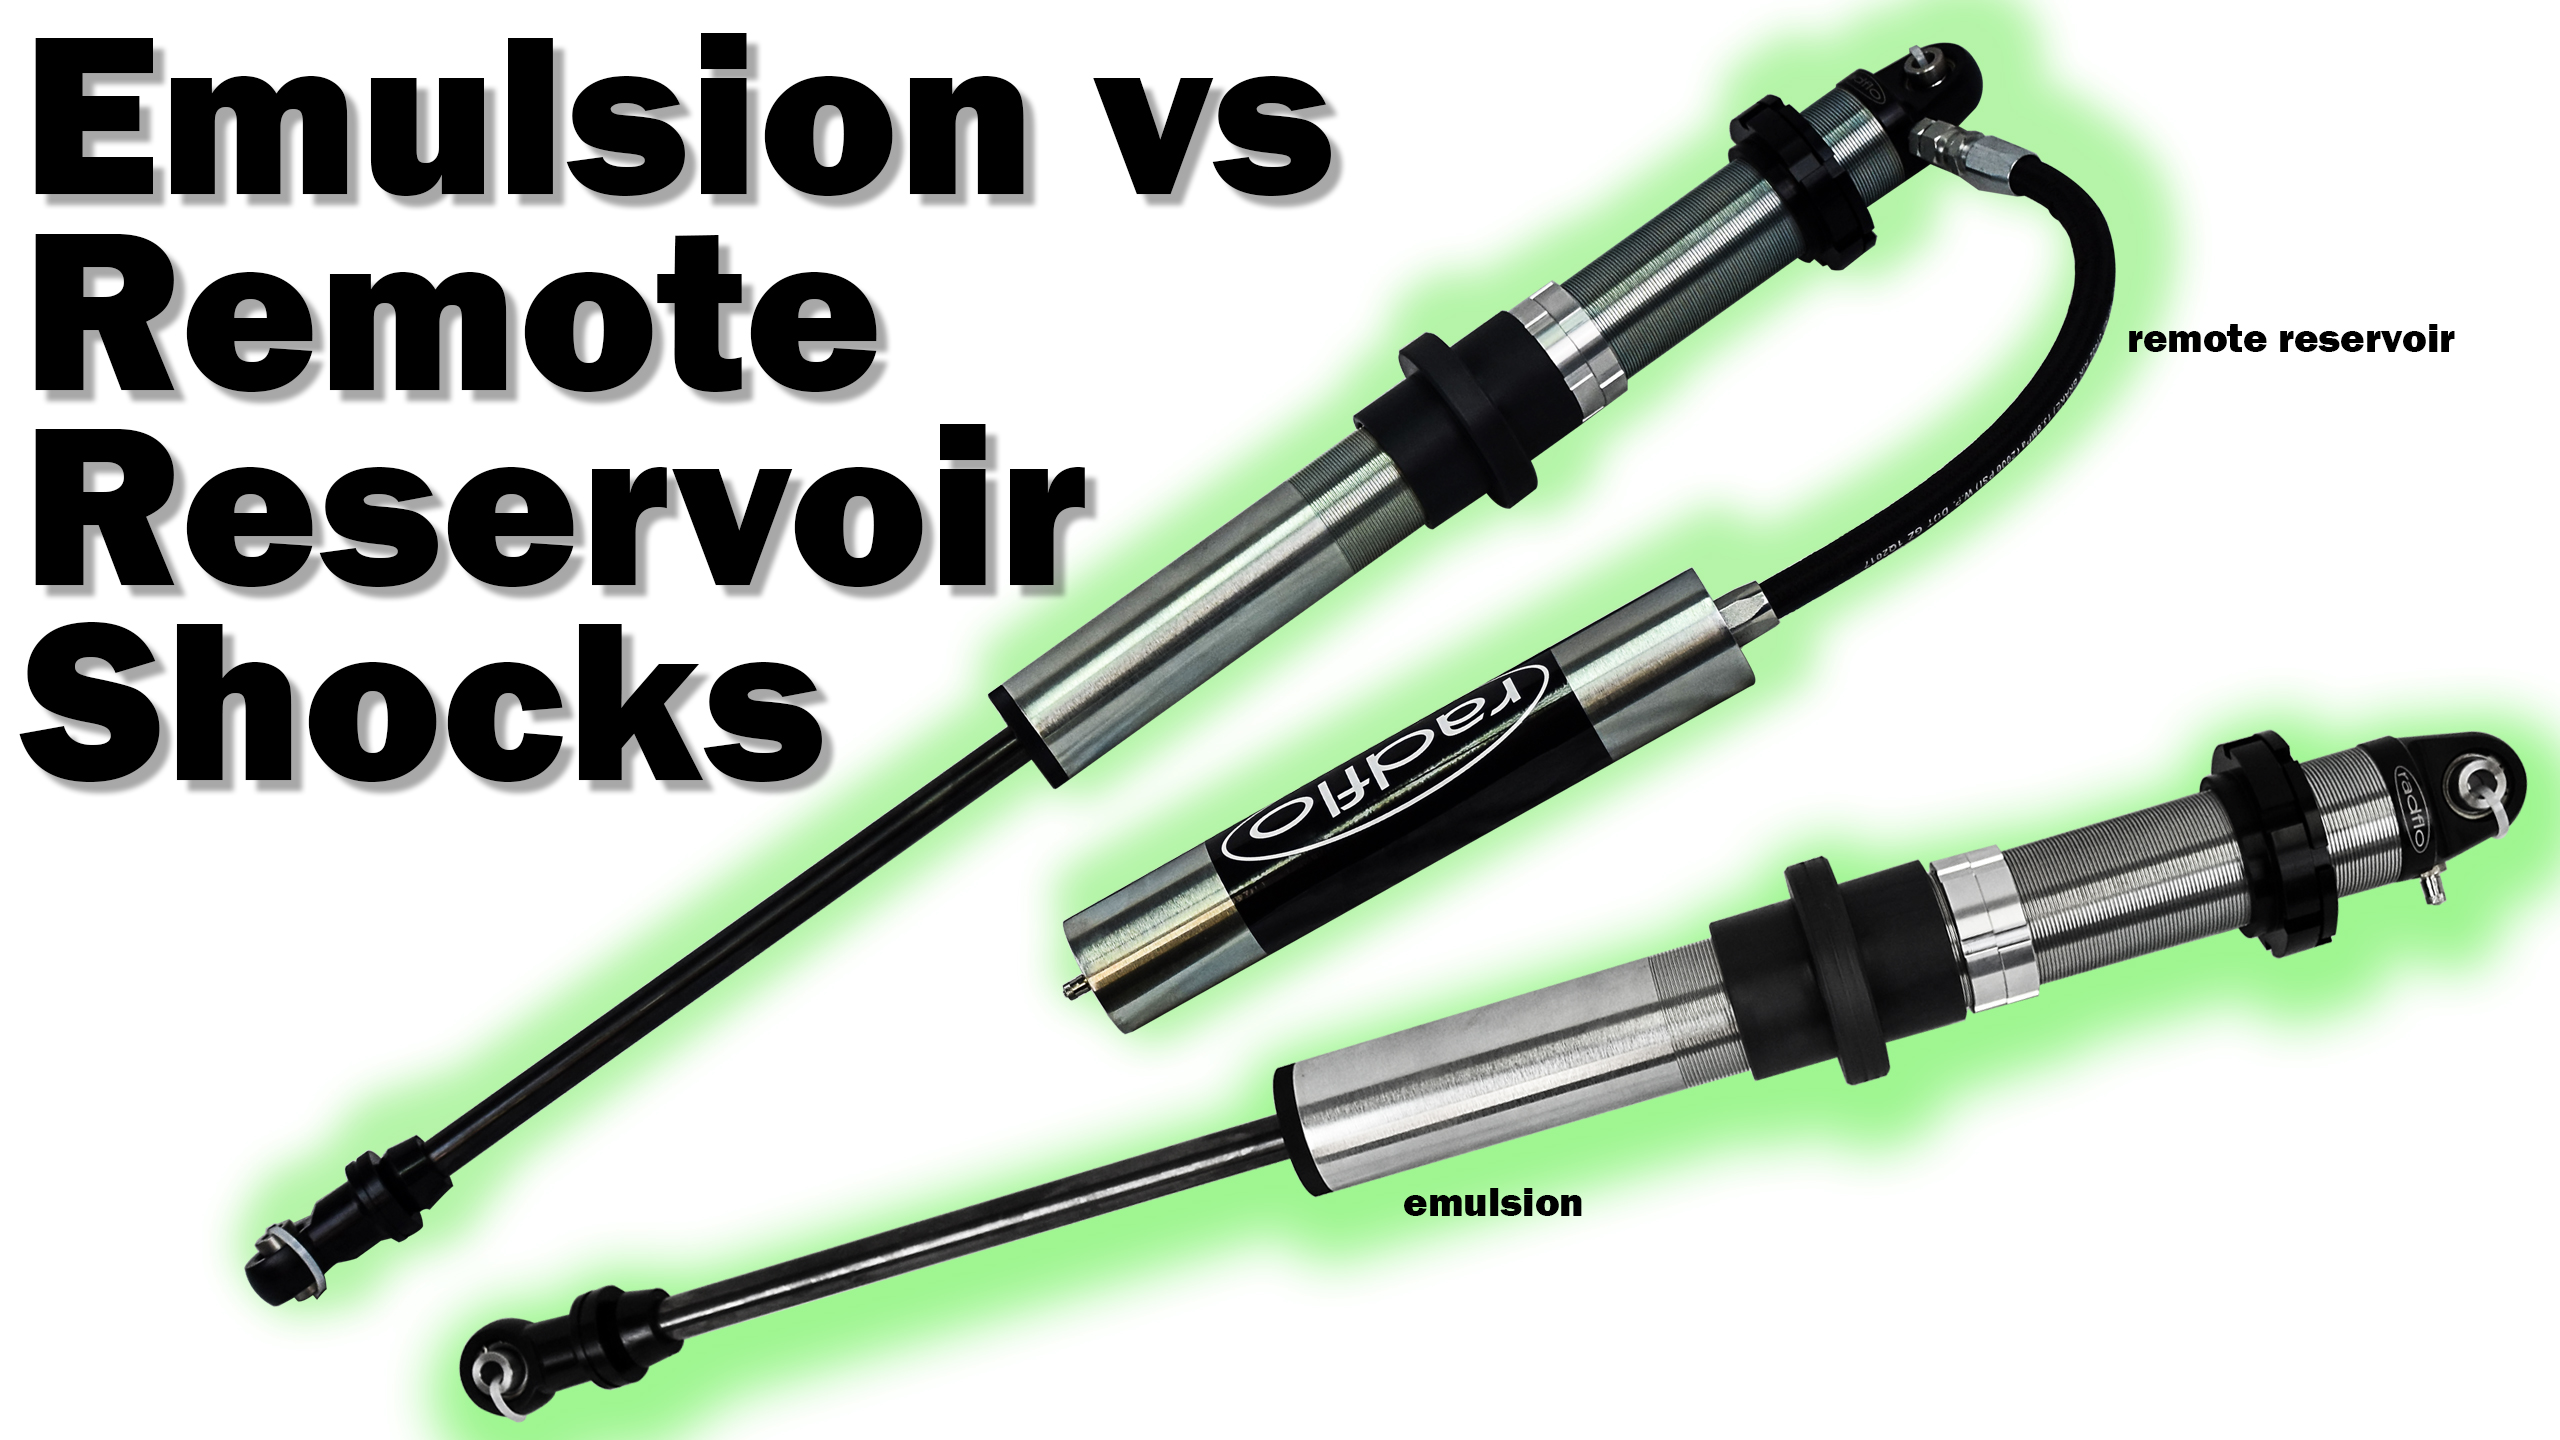 October 7, 2020
 -
Kirschner's Aluminum LJ Raw
 September 2, 2020
 -
Robert Parish Jeep CJ
 August 5, 2020
 -
Rock Bouncer X on 50 Inch Tires
 April 10, 2020
 -
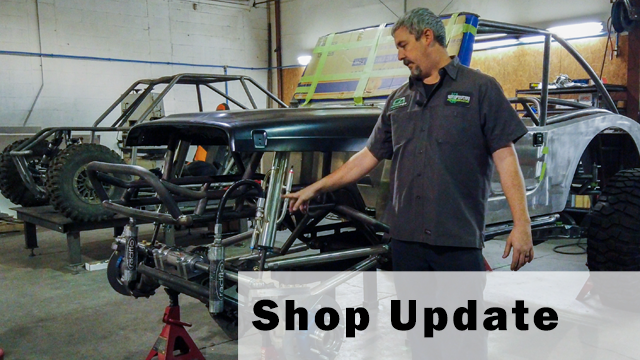
Projects in the Shop Update
 April 2, 2020
 -
Pirate 4x4 Guzman Build Gallery
 February 28, 2020
 -
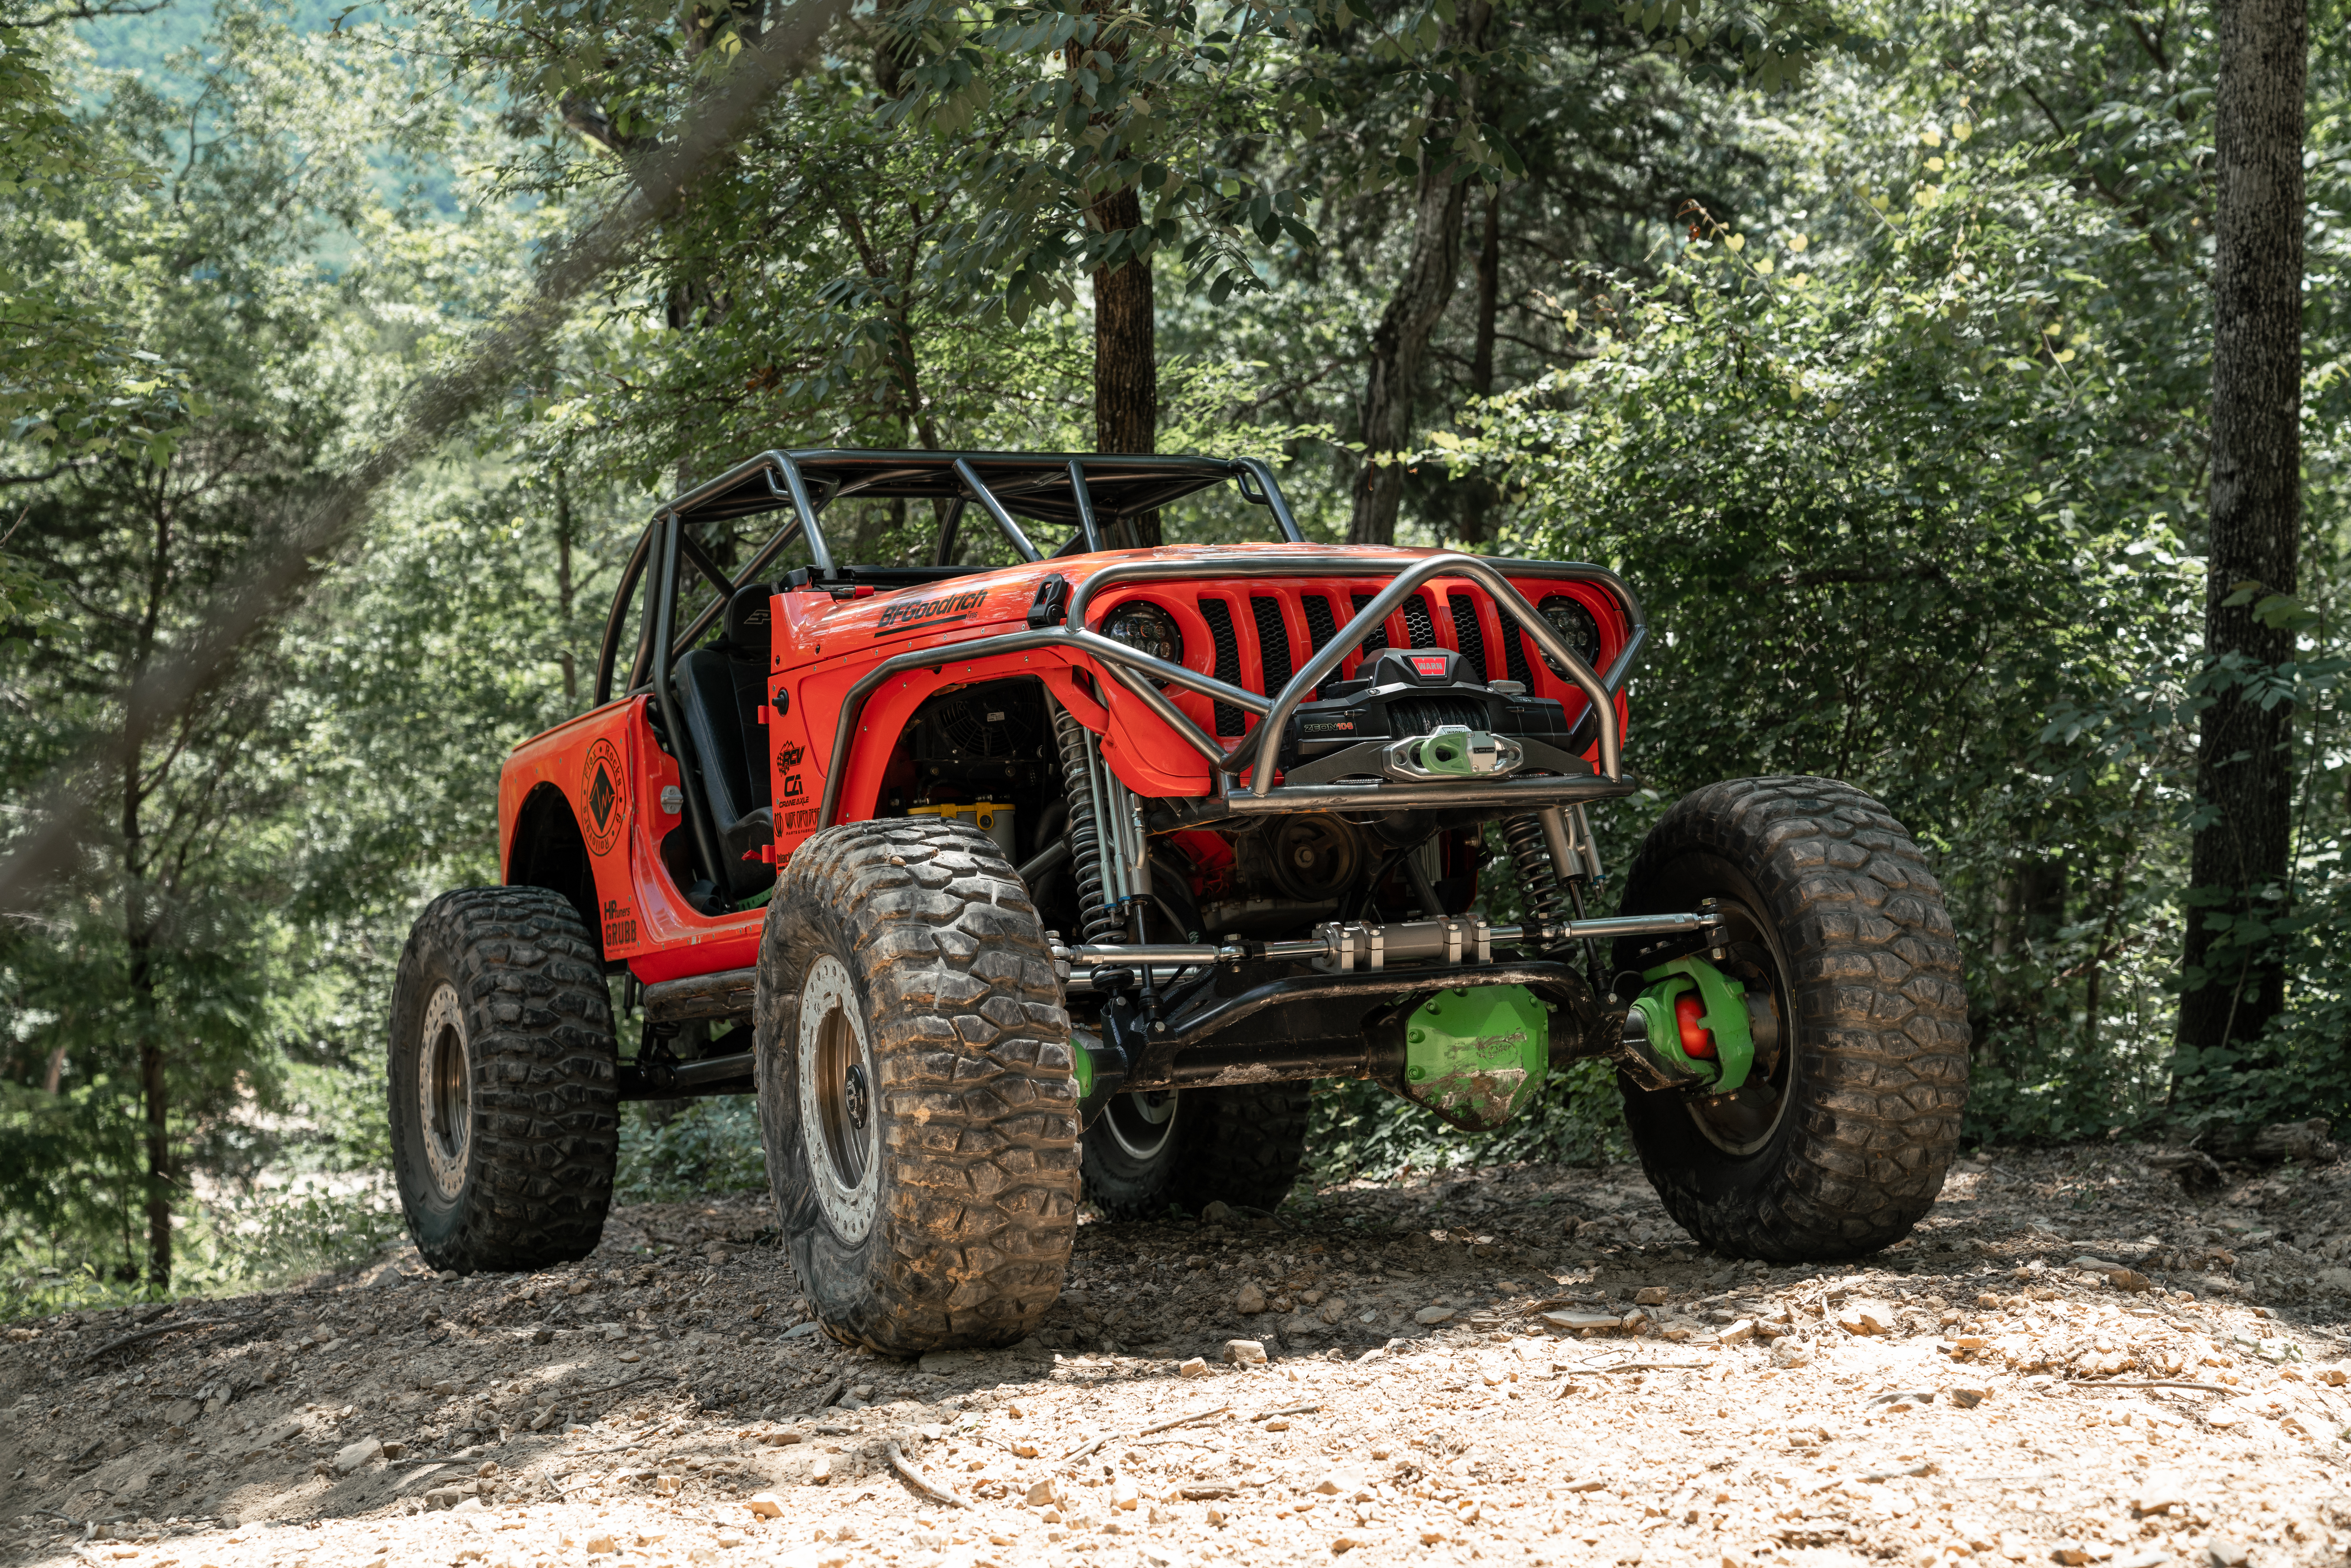
Scott Grubb Jeep JL Trail Riding Compilation
 December 4, 2019
 -
Scott Grubb's Jeep JL
 November 20, 2019
 -
The Redneck Rocket Ship
November 6, 2019
-
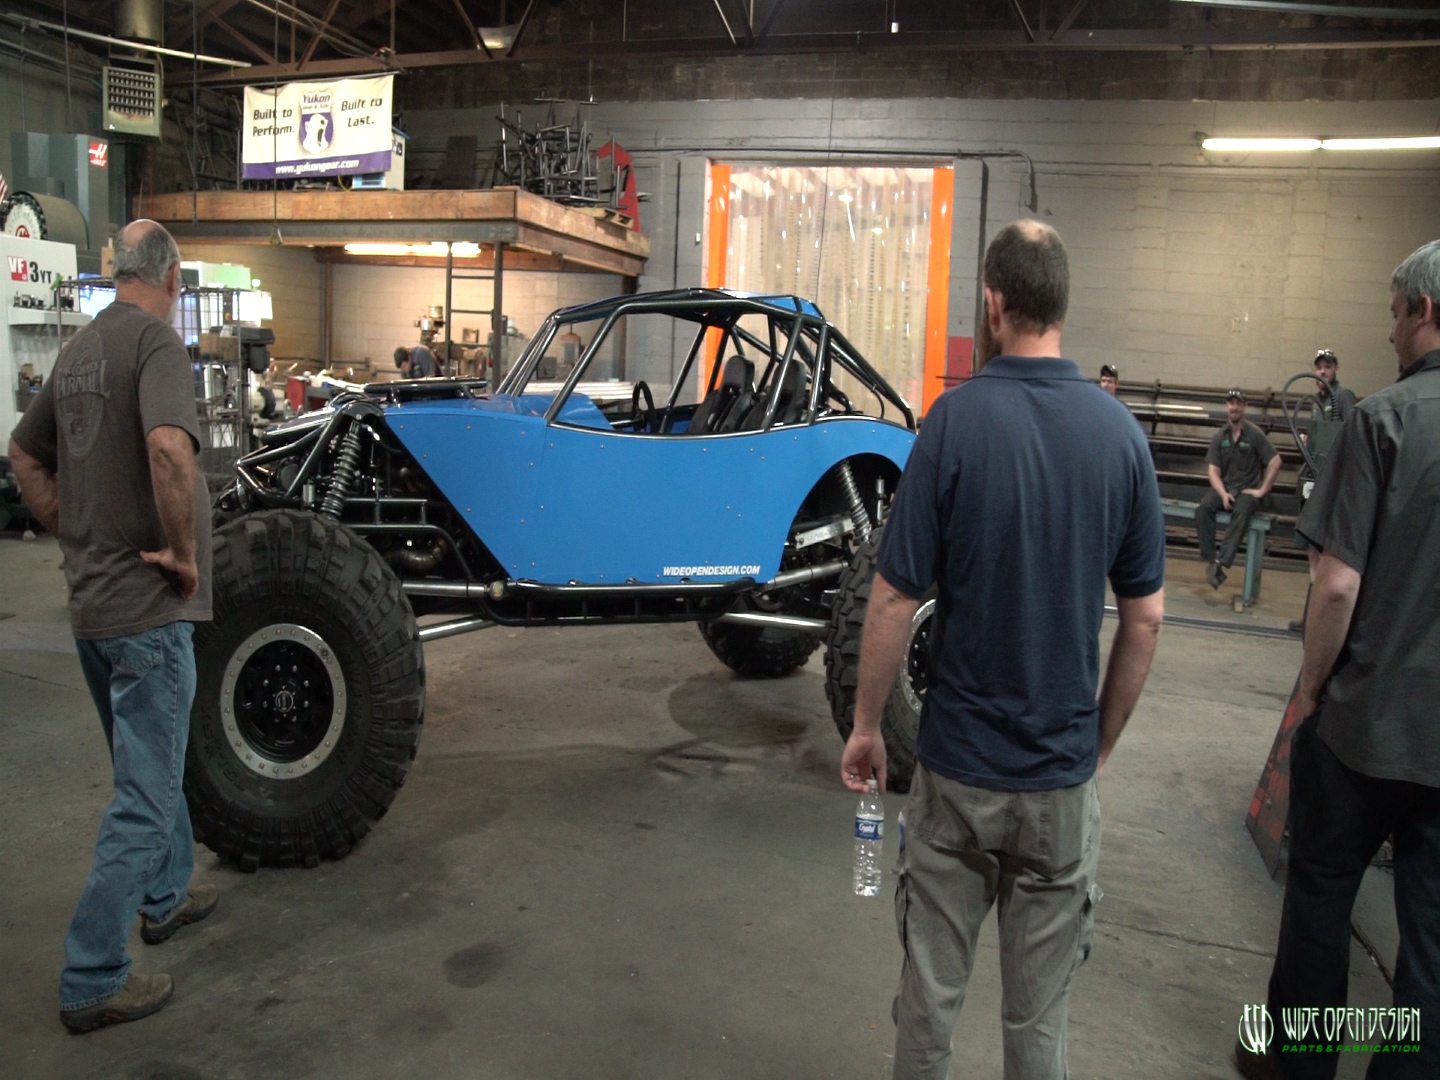
Revolution 2.0 Rock Crawler Rolling Chassis
 October 22, 2019
 -
Oct 9th 2019 Shop Update
 October 9, 2019
 -
Shop Update - April 11th, 2019
 October 9, 2019
 -
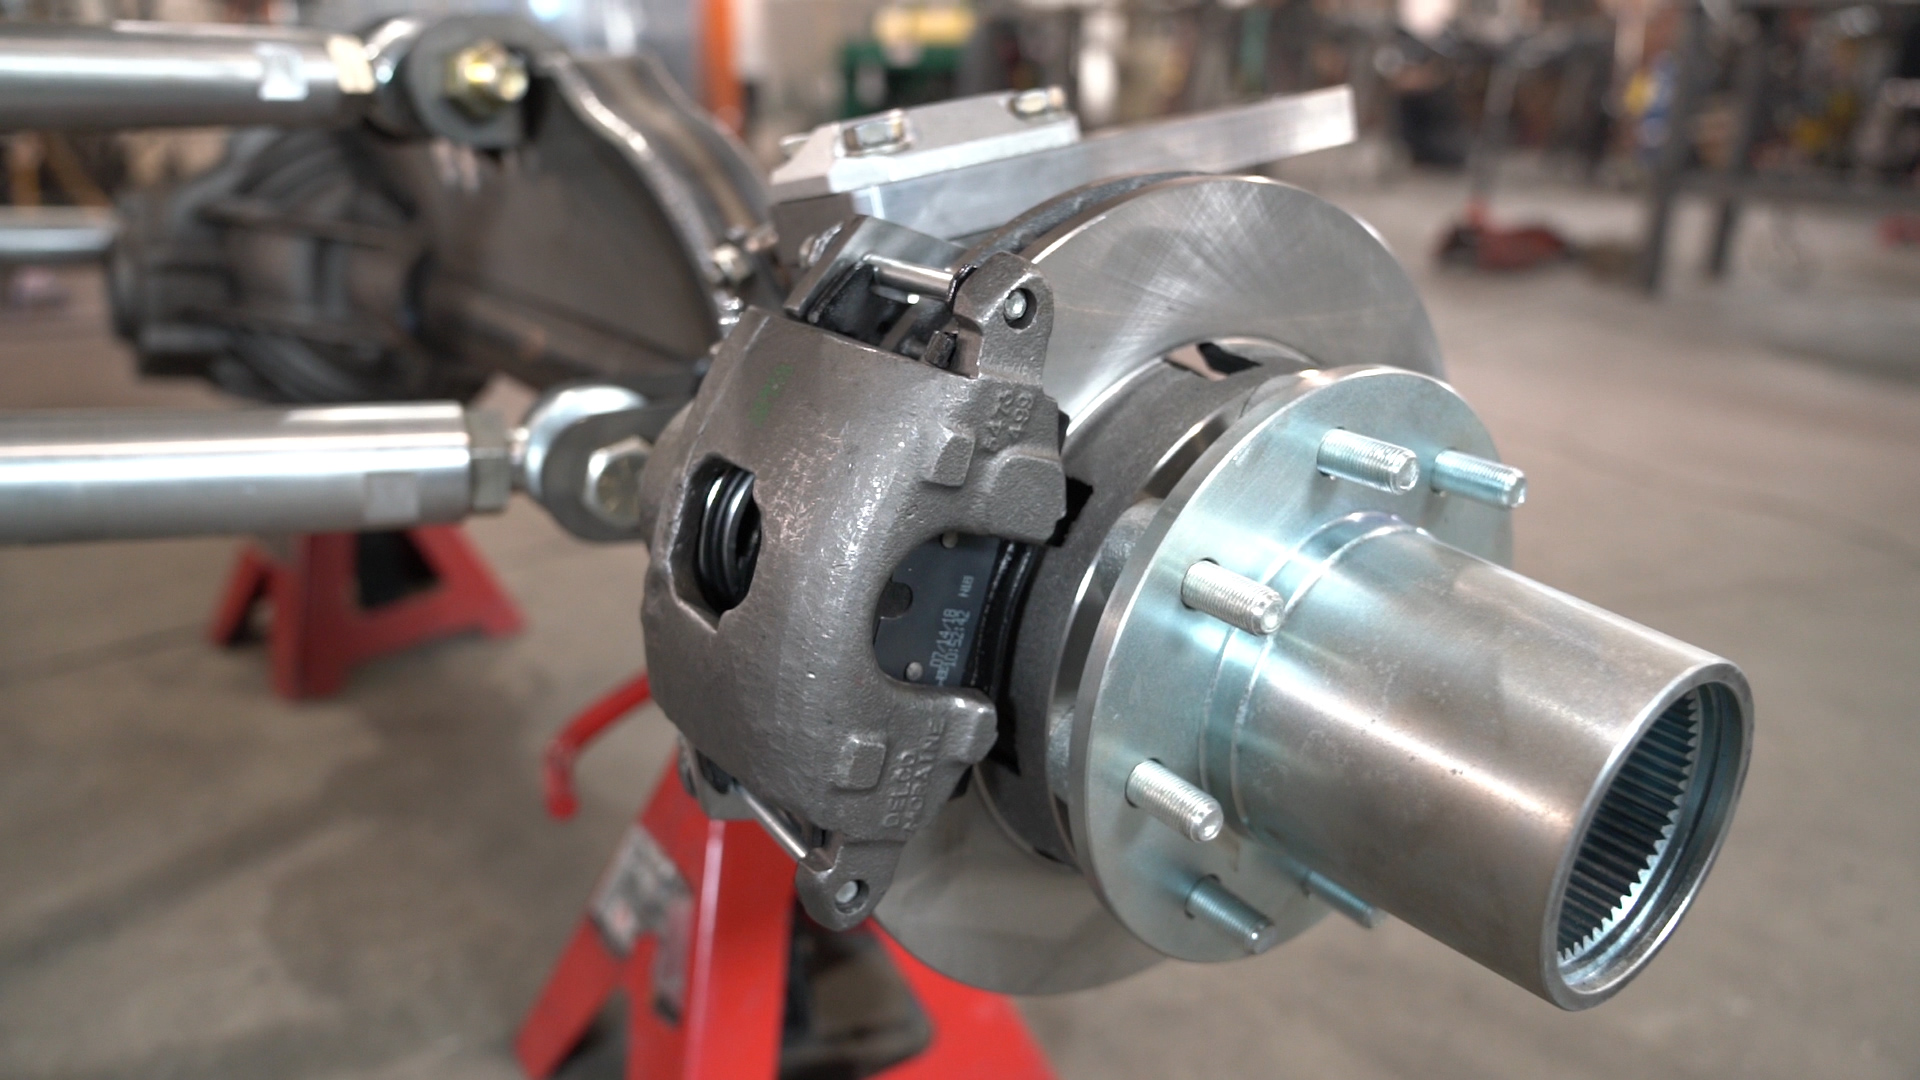
Brake Kits
October 9, 2019
-
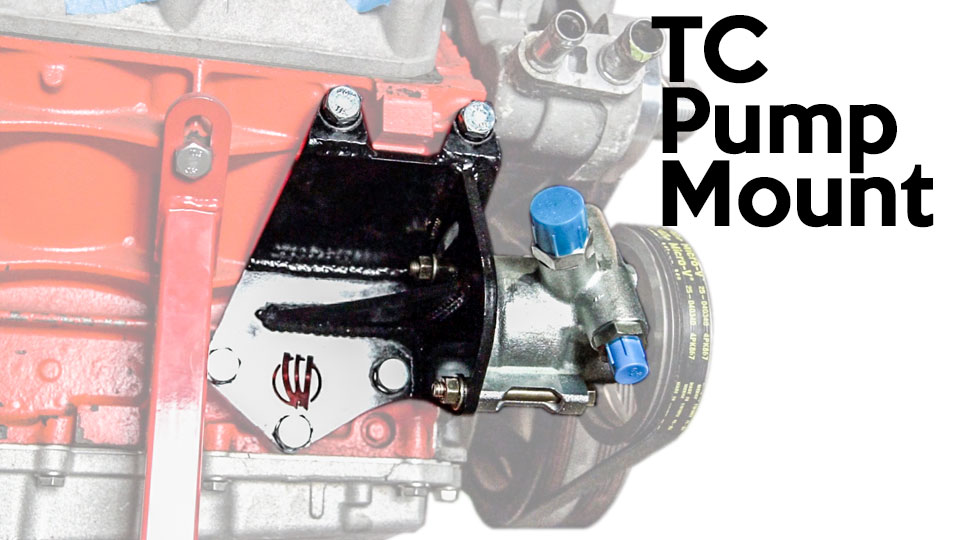
GM LS Engine TC Pump Mount
 September 25, 2019
 -
Don Ryan's Rock Bouncer X Buggy Release & Walk Around
 August 28, 2019
 -
Don Ryan's Rock Bouncer X
 August 28, 2019
 -
Current Projects Around the Shop - July 17th
July 17, 2019
-
Troy's Jeep LJ
 July 4, 2019
 -
7075 Aluminum Links: Choosing Diameter & Thread Size
 June 19, 2019
 -
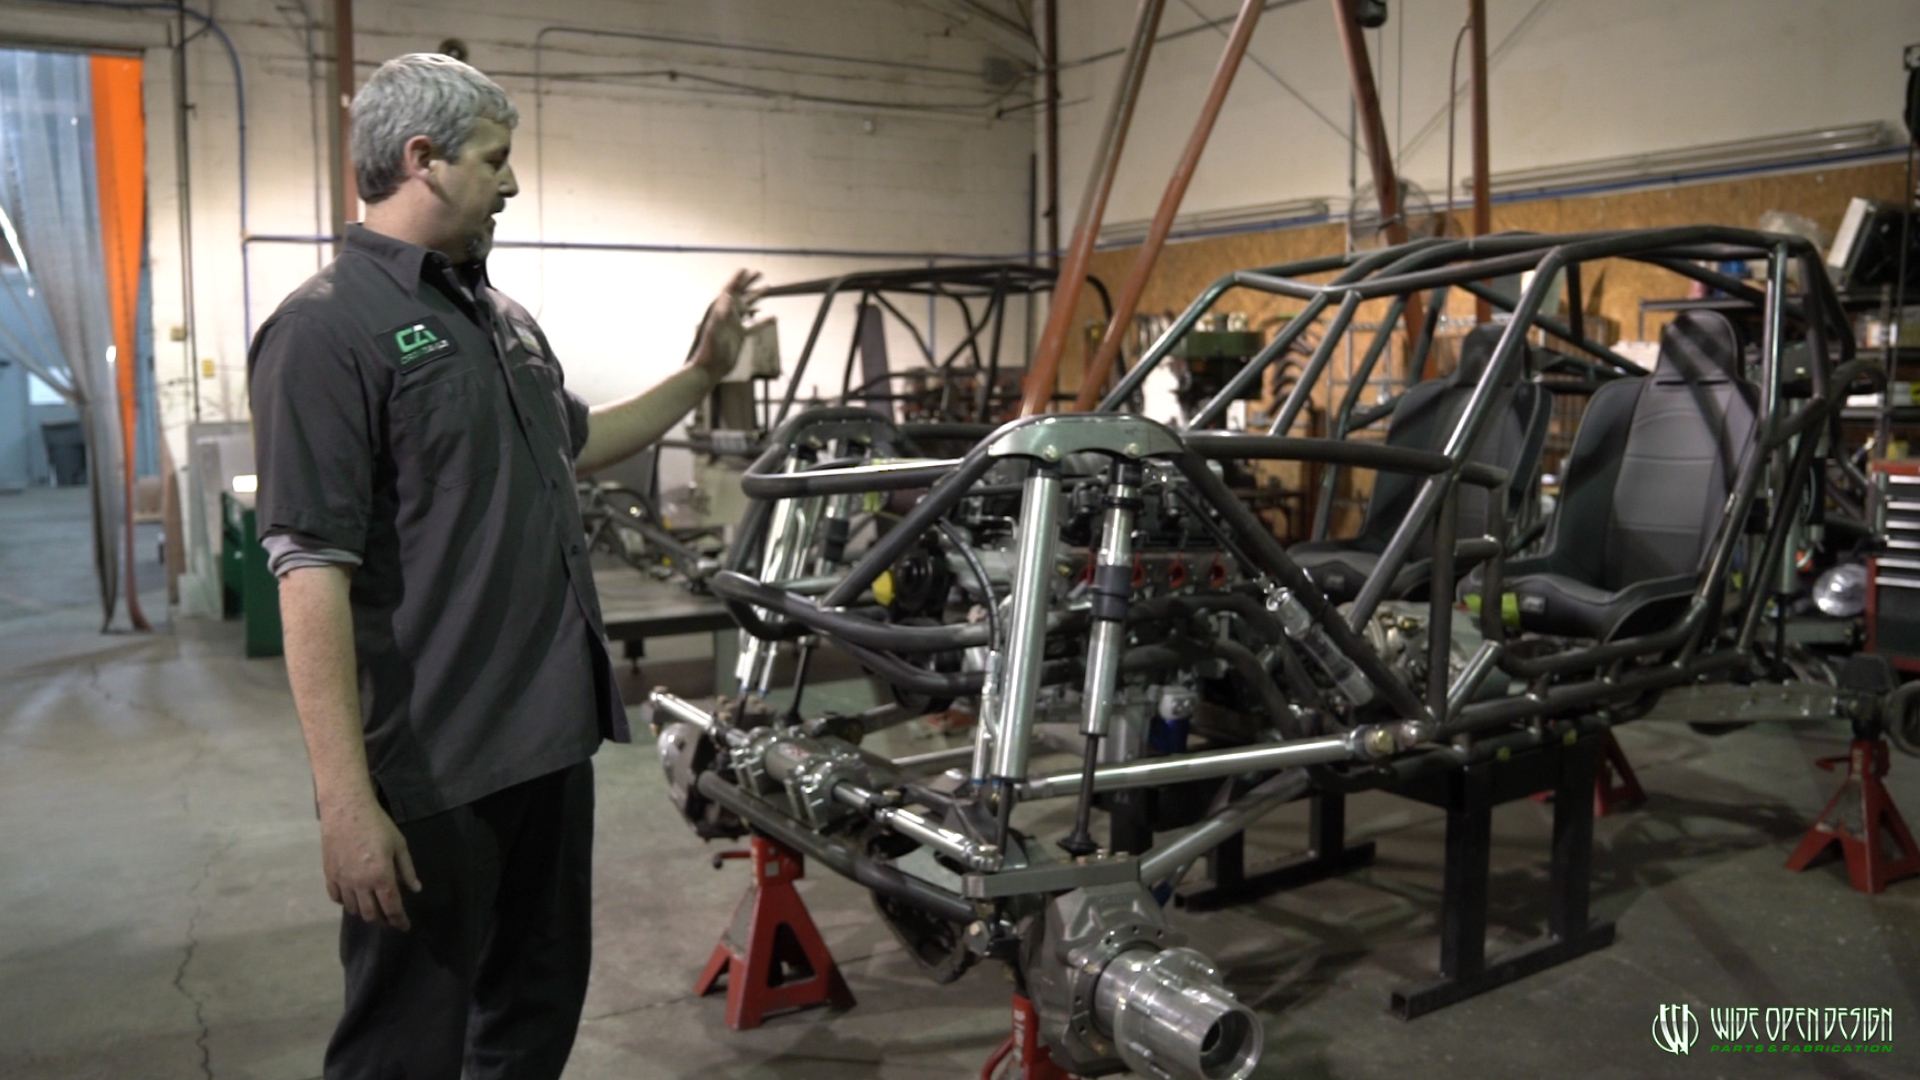
Rock Bouncer X Chassis Overview
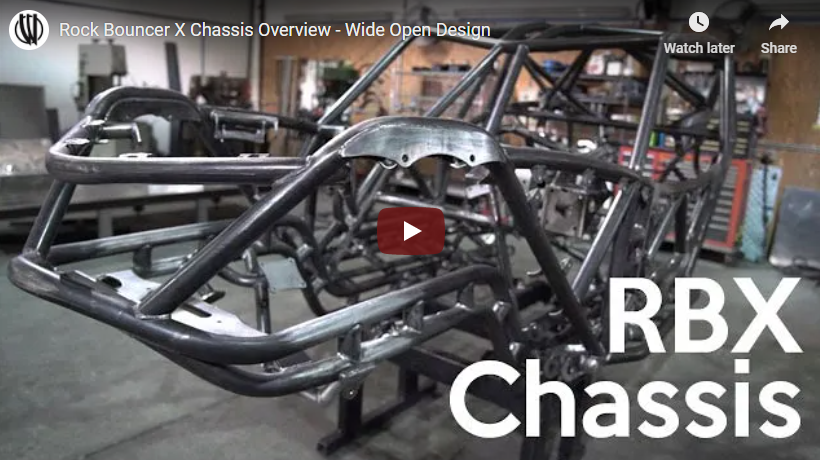 June 6, 2019
 -
Guzman Revolution 4 Seat Rock Crawler Walk Around
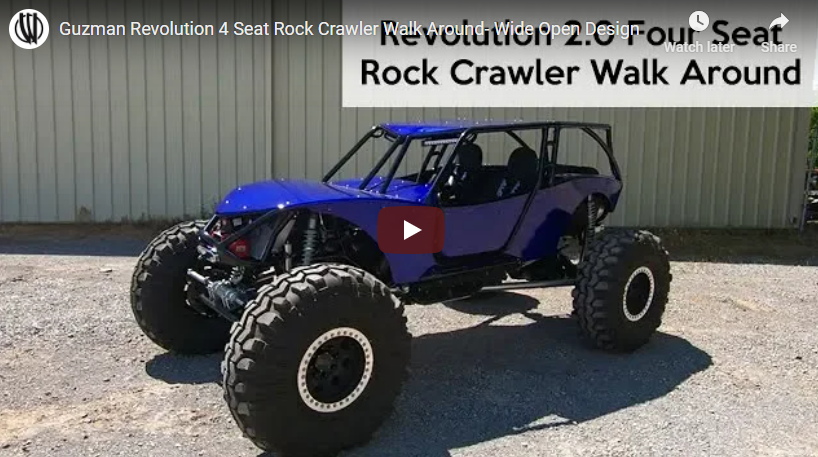 May 22, 2019
 -
Joe Guzman's Rev 2.0 4 Seater Rock Crawler
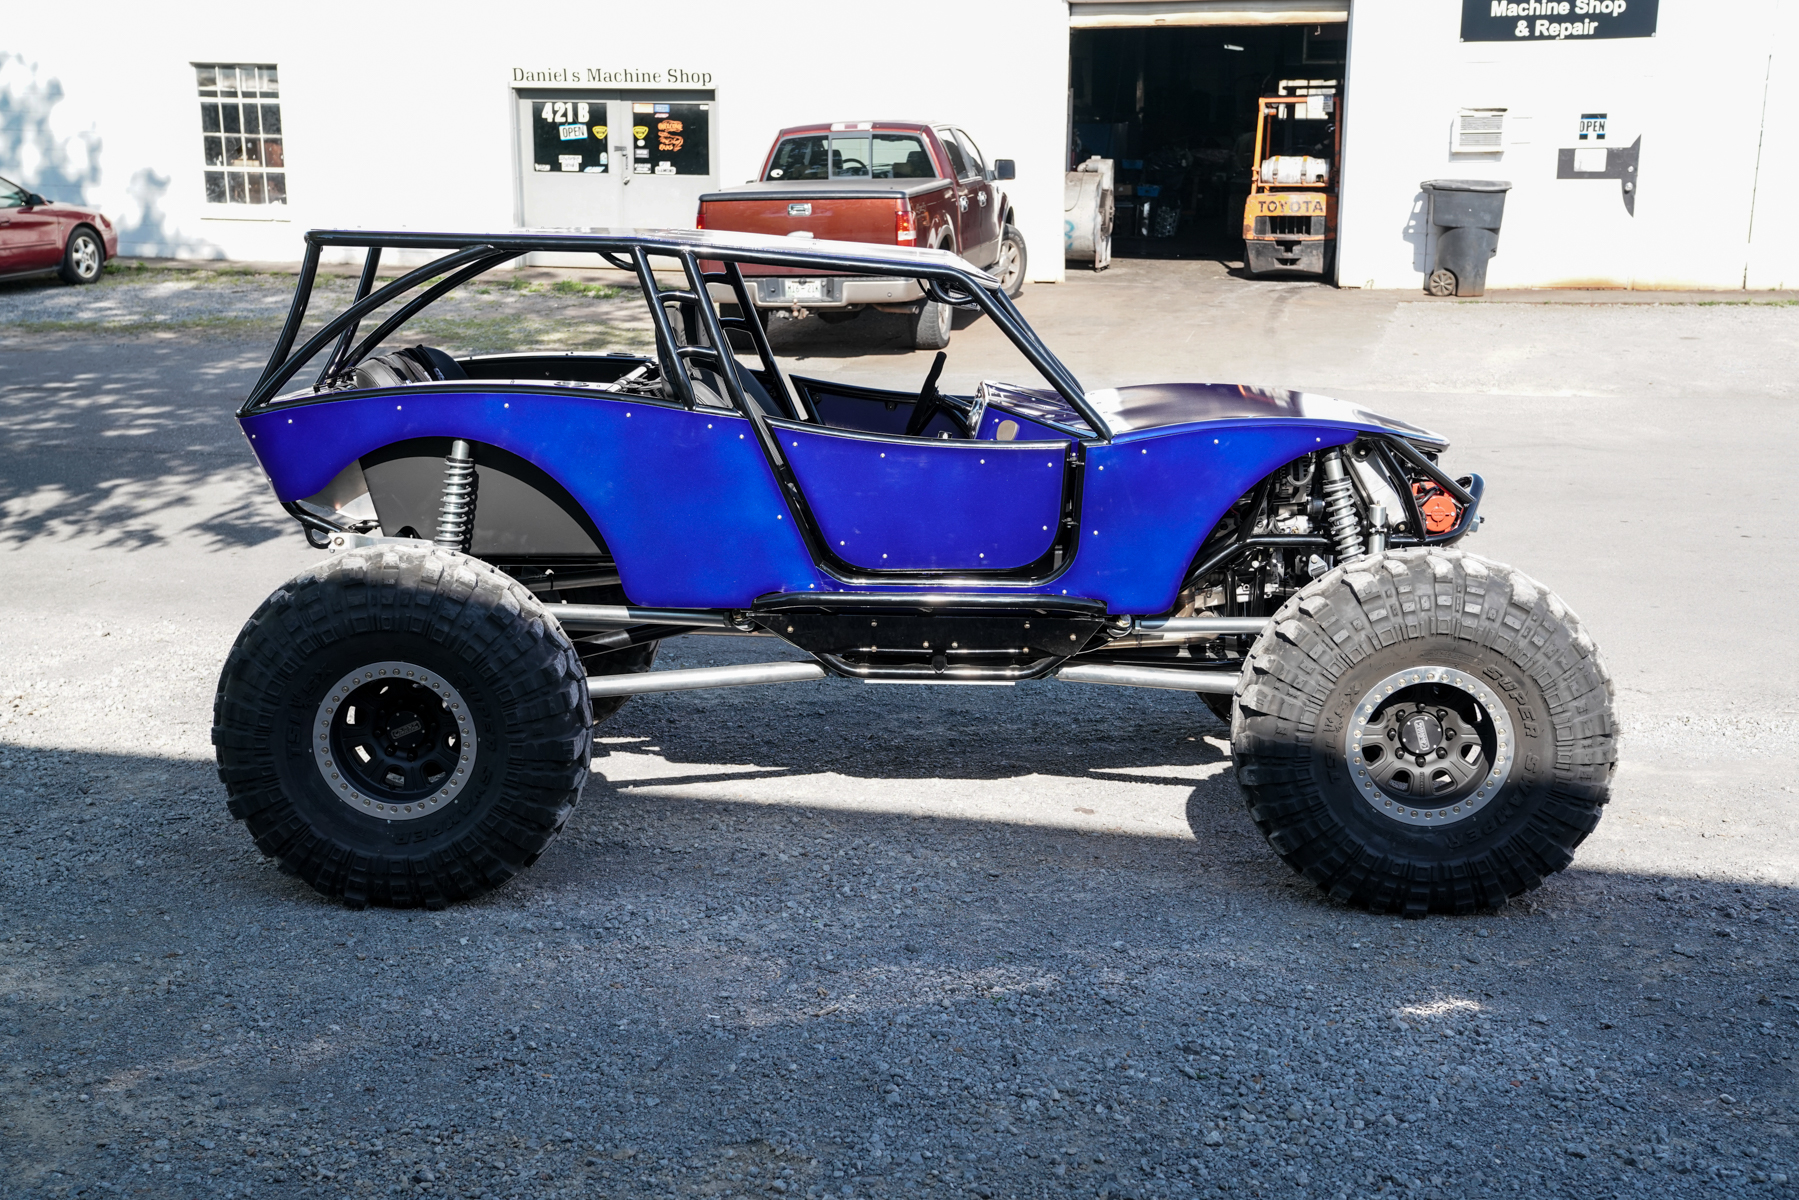 May 22, 2019
 -
Rock Bouncer Buggy Reveal & Walk Around
 April 24, 2019
 -
Mike Harper's Rock Bouncer
April 24, 2019
-
GM Dana 60 Front End Outer Kit
 January 30, 2019
 -
Crane Axle Magnum Knuckle Kit Overview Video
 January 17, 2019
 -
Jeep LJ Build Gallery
 January 15, 2019
 -
LS Thermostat Housing Video
 January 2, 2019
 -
Thanks for the Year!
 December 20, 2018
 -
Rev 2.0 with Jeep Hood and Grill Roller Gallery
 December 19, 2018
 -
Jeep Chassis for LJ Video
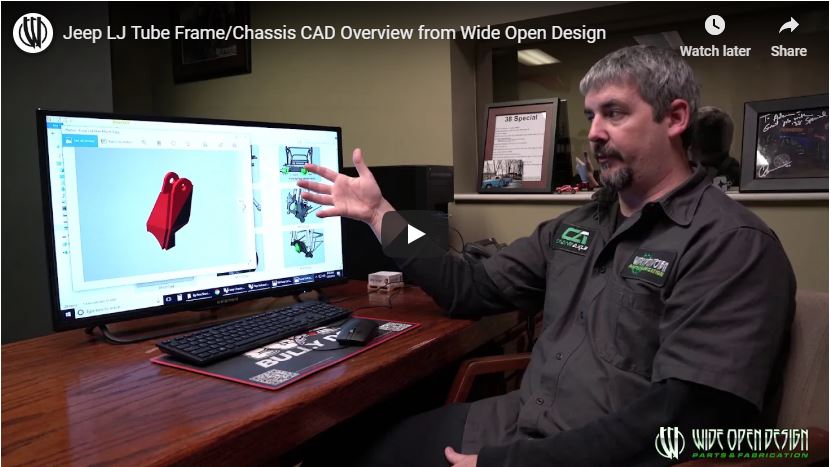 December 5, 2018
 -
Jeep LJ Build Gallery
 December 5, 2018
 -
Interview with Brad Scoggins (Owner of Whiskey Digger) Video
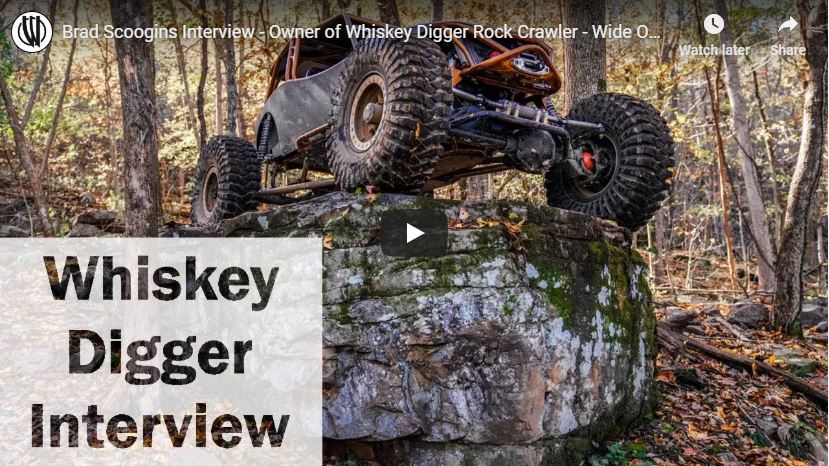 November 21, 2018
 -
Whiskey Digger Rock Crawler Gallery
 November 21, 2018
 -
Heavy Duty Drive Shaft Kits Video
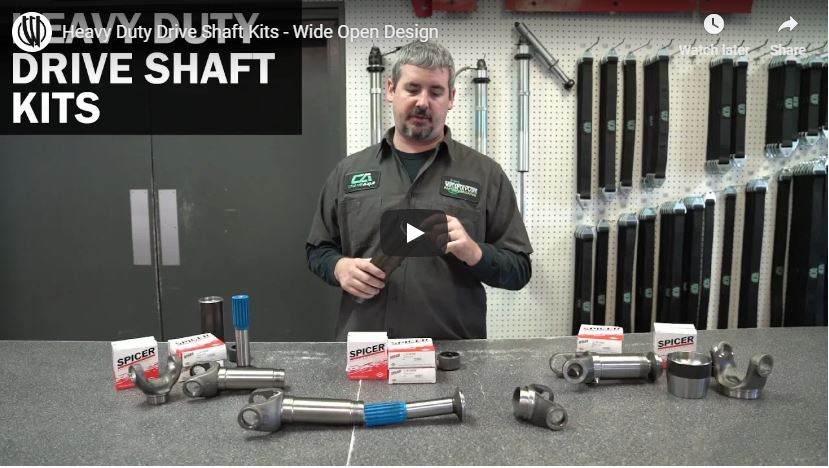 November 7, 2018
 -
How to Calculate Spring Rate for Coilover
 October 24, 2018
 -
Interlocking Tube Clamps Video
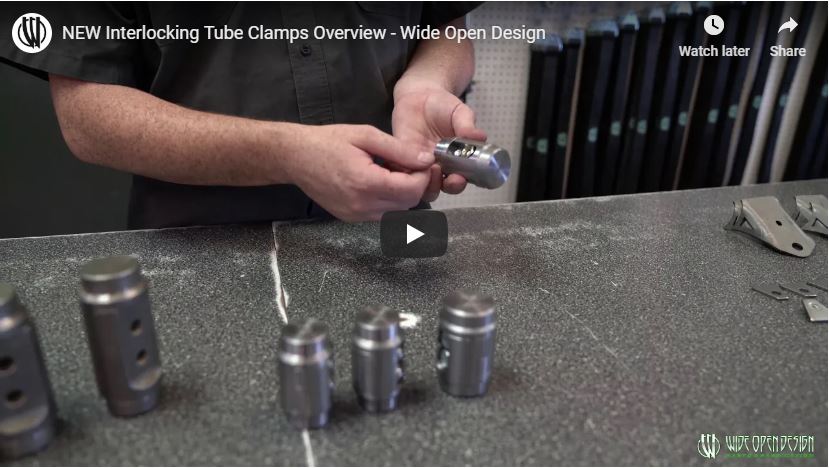 October 16, 2018
 -
Art Carr/Winters Shifter Overview Video
 October 10, 2018
 -
Interview with Richard McIntosh (Owner of Urban Rebel) Video
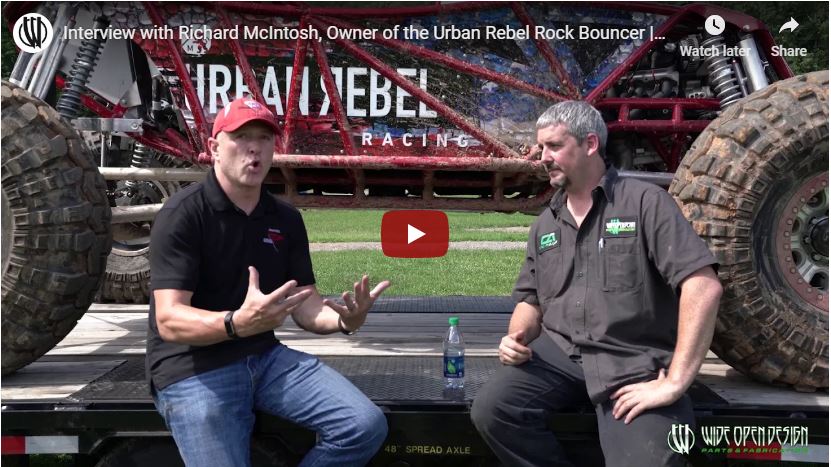 September 5, 2018
 -
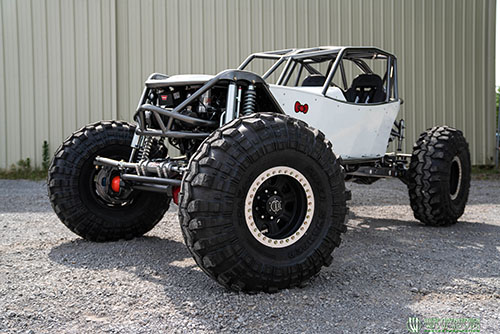
Urban Rebel Rock Bouncer Gallery
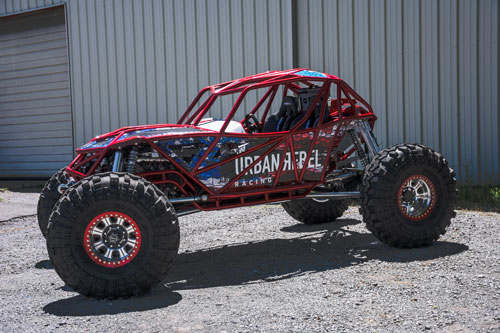 September 5, 2018
 -
Hello Kitty Rock Bouncer Gallery
 July 18, 2018
 -
How to Install a Carrier Bearing Shaft Kit (Intermediate Shaft) Video
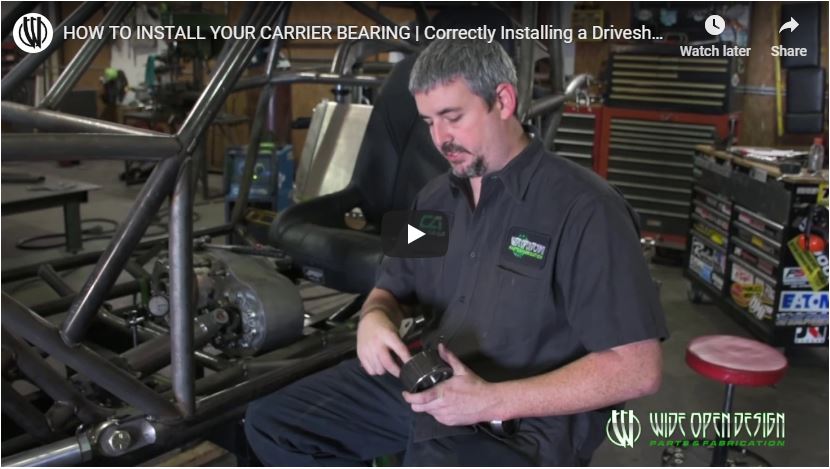 April 25, 2018
 -
Revolution 2.0 with Jeep Hood and Grill Chassis Gallery
 April 11, 2018
 -
Measuring Suspension Links Video
 March 28, 2018
 -
Determining the Correct Length of Limit Straps
 January 31, 2018
 -
Da Ros Jeep CJ Gallery
 January 31, 2018
 -
Flex Testing How to Video
 January 17, 2018
 -
Greg Higgs' Revolution 2.0 4 Seat Buggy Gallery
 September 30, 2017
 -
Jujo's Buggies for Indonesia
 August 4, 2017
 -
Stephen Broady's Rock Bouncer Gallery
 August 4, 2017
 -
The Beast Rock Bouncer Gallery
 August 4, 2017
 -
Joe Zipp Revolution Buggy Gallery
 July 19, 2017
 -
Jeep Evolution Gallery
 January 1, 2017
 -
Turnt Up Rock Bouncer Gallery
 November 9, 2016
 -
Kevin Porterfield's IFS Buggy Gallery
 November 8, 2016
 -
Shocking Y'all Rock Bouncer Gallery
 July 30, 2016
 -
TJ Jeep Build Gallery
 July 22, 2016
 -
AJ Spaay Rock Bouncer Gallery
 February 26, 2016
 -
TN Mojo Rock Racer Hill Killer Evolution Gallery
 January 2, 2016
 -
Copperhead 4 Seat Revolution Gallery
 January 2, 2016
 -
Jeff Corbett's Rock Bouncer Gallery
 November 5, 2015
 -
Terry Hilliard's Rock Bouncer Gallery
 January 3, 2015
 -
Brian McVay's Revolution Chassis Buggy Gallery
 January 3, 2015
 -
Rob Robert's Rock Bouncer Gallery
 January 3, 2015
 -
Shane Vizniors Boss' Rock Bouncer
 January 3, 2015
 -
Bob Barnett's Project UBkon
 January 3, 2015
 -
Patrick McGarry's Rock Bouncer
 January 3, 2015
 -
Matt Killian's Revolution 4 Seater Buggy
 January 3, 2015
 -
'38 Special
 January 3, 2015
 -
Agent Orange
 January 3, 2015
 -
Low Life
 January 3, 2015
 -
Donald Hadden's Pimp'n Ain't Easy
 January 3, 2015
 -
Trevor Galloway's Rock Bouncer Gallery
 January 3, 2015
 -
Jim Guthries Rock Bouncer Gallery
 January 3, 2015
 -
Blower Buggy Gallery
 January 3, 2015
 -
Nathan Willis' 4 Seat Revolution Rock Crawler Gallery
 January 3, 2015
 -
Hustler Buggy Gallery
 January 3, 2015
 -
Wiloughbuy's Evolution Buggy Gallery
 January 3, 2015
 -
Luther Gardner's Rock Bouncer Gallery
 January 3, 2015
 -
Evolution Rolling Chassis on Boggers Gallery
 September 3, 2014
 -
Jarred Stover's Rock Bouncer
 April 26, 2014
 -
BJ Allen's WFO Buggy Gallery
 April 10, 2013
 -
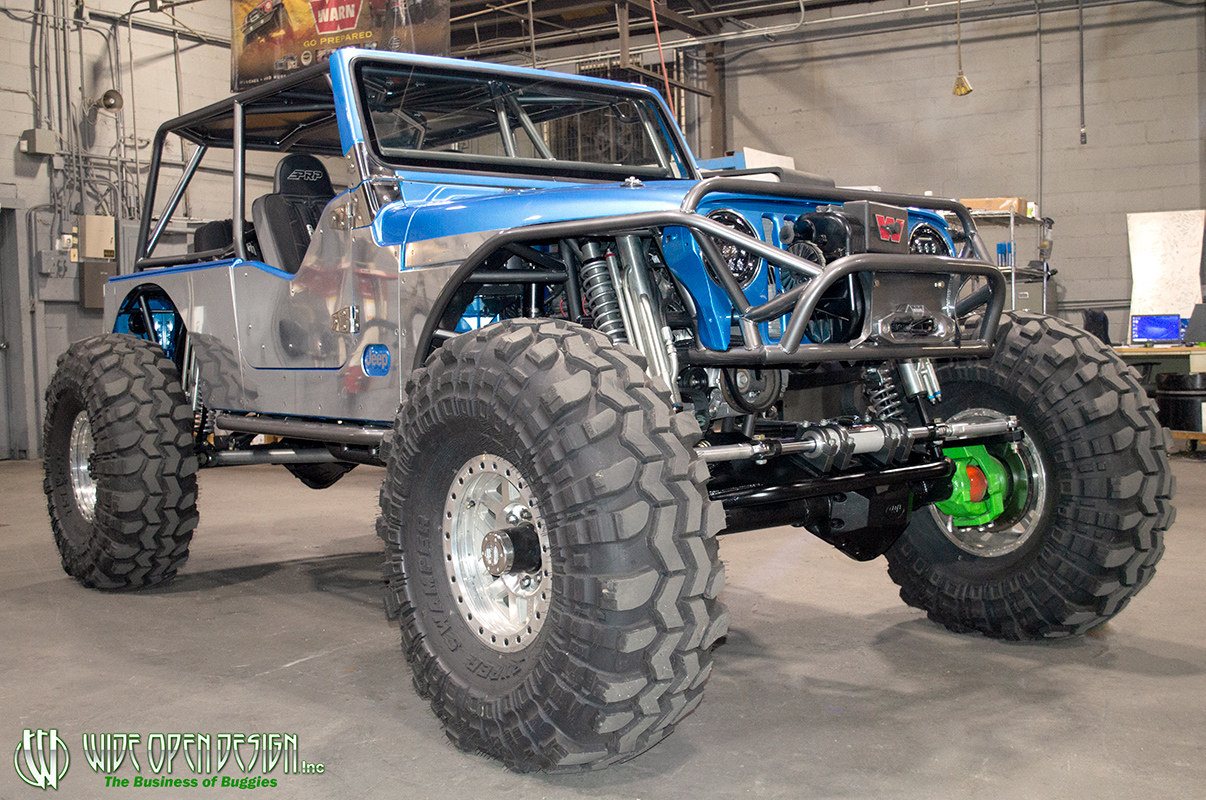
Jeff Kirschner's Aluminum LJ
 March 4, 2003
 -
Jeep Roller
 July 17, 1998